
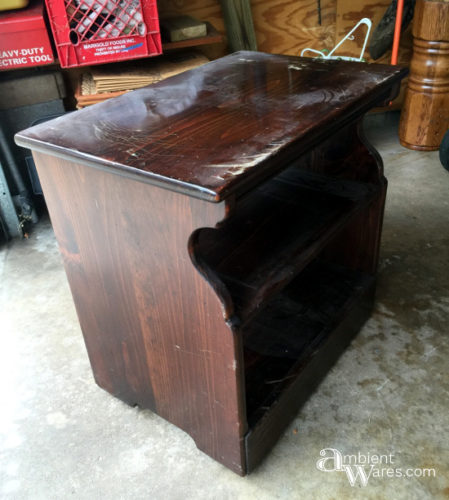
Do you know people who give you their old junk because they know you’ll refurbish and DIY the heck out of it? Just like when I received the changing table from my sister-in-law. Well, my friend’s mom sent me this picture of an old, boring wooden cart and asked if I wanted it. To which I replied, “Sure!”
Actually, is it a TV cart? Or is it a microwave cart? It’s on wheels but, I’m not sure.

Please know some links in this post are affiliate links. If you click on a link and make a purchase, I receive a small commission with no extra cost to you. Thank you. Click here for my full disclosure.
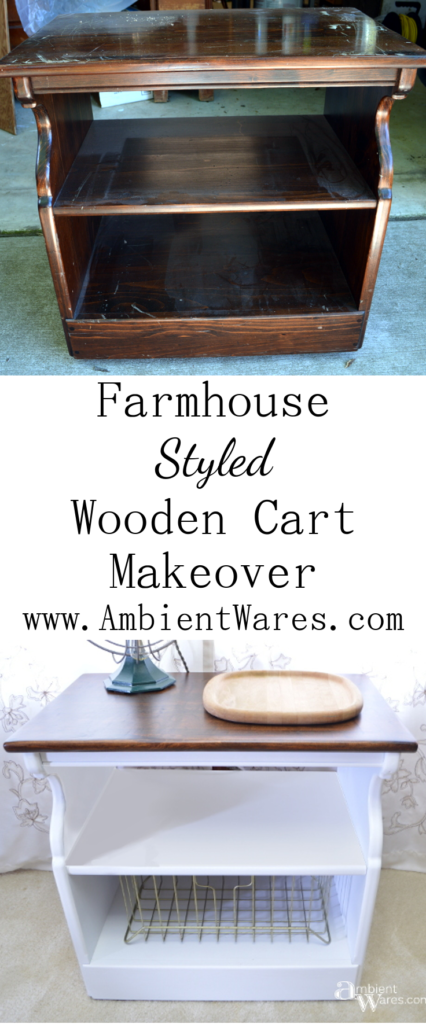
Farmhouse Styled Wooden Cart Makeover
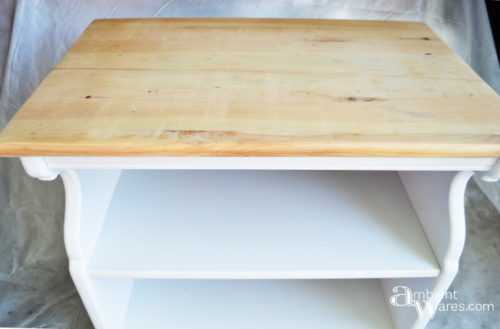
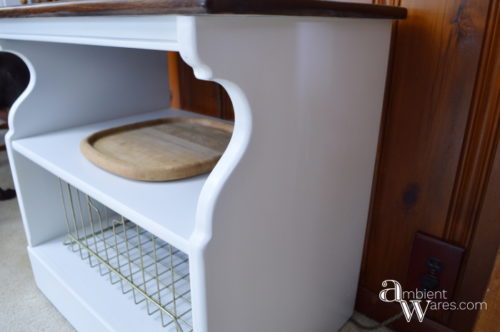
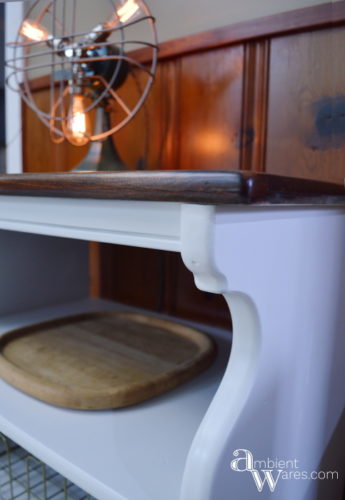
The way I approached this wooden cart is my favorite way; a painted base with a stained top. It turns boring furniture into fancier looking furniture, no matter your style. Who doesn’t want that? Further, I thought, farmhouse style, making it white with a stained top. I think that’s just the perfect farmhouse look.
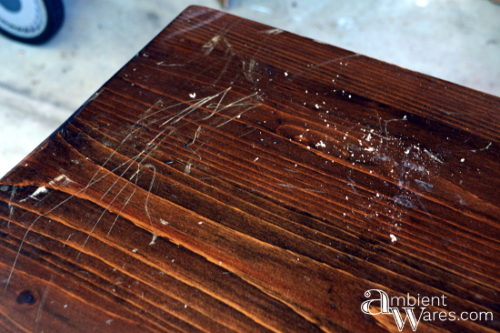
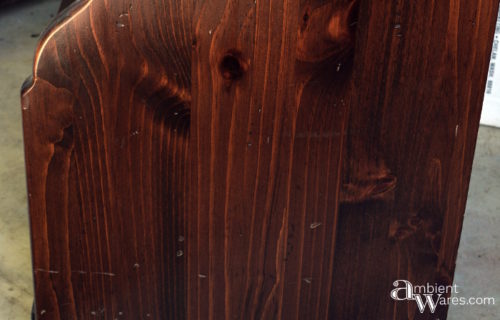
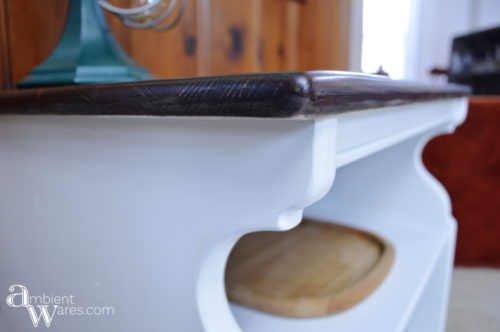
The top was in the worst shape with wear & tear in the form of dings, nicks, scratches, stains, etc. 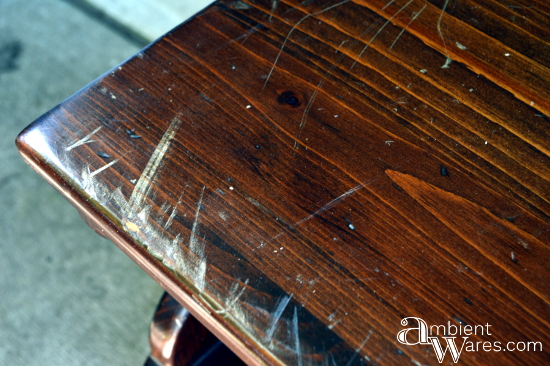

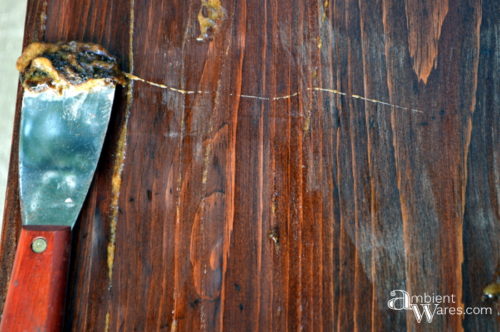
Stripping the Stain
I do not like paint stripper. End of story. I just don’t have the patience for it and I rarely give it time do it’s thing. I started with removing the old stain from the top as much as I could.
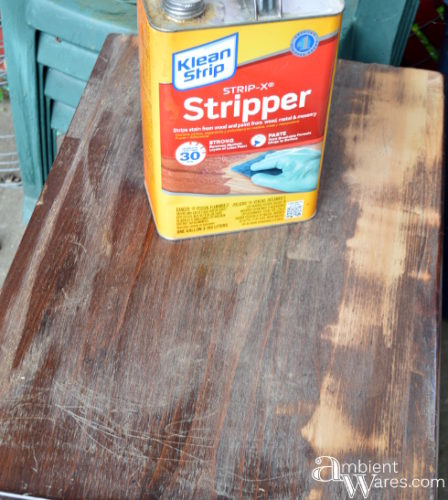
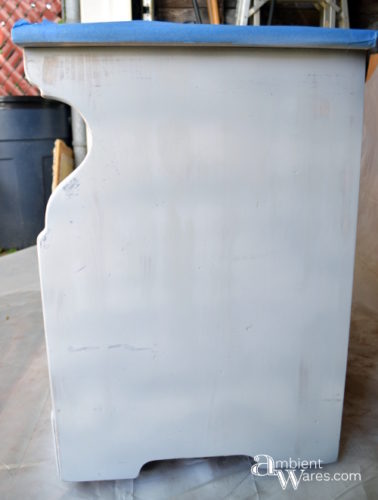
Nine times out of ten, I end up grabbing my older belt sander (a.k.a. destroyer of all things painty and stainy) and using 80 grit paper to let it do its intended job. I only did this on the top and sanded the base and sides using our older palm sander using 150 to 220 grit paper.
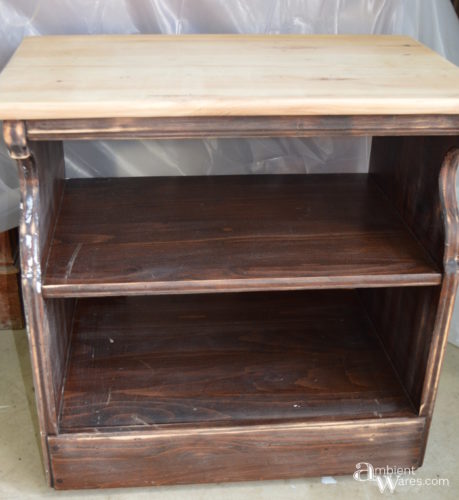
Painting the Base
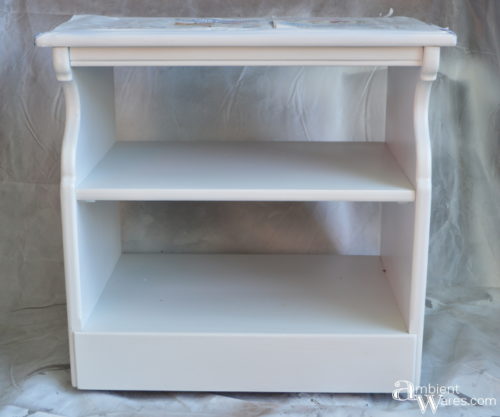
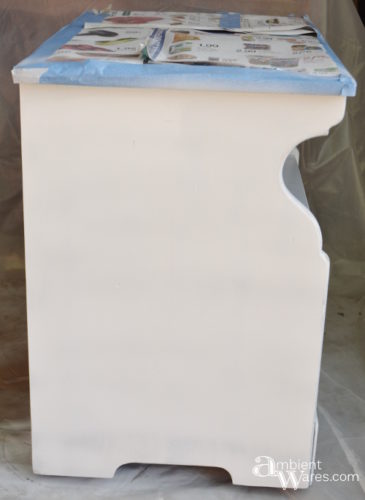
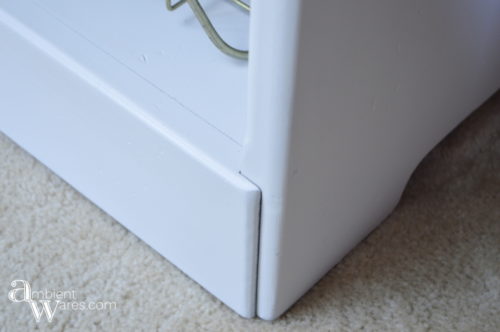
I first taped off the top of the cart using newspaper and painters tape. I then filled my Harbor Freight cheapo paint sprayer with some leftover white, semi-gloss interior latex paint.
The only reason I say cheapo is because I got it for only $10 on sale so I picked up two. I’ve used it with no problems for over a year now and I believe the most important thing is making sure you clean it thoroughly after each use. The paint sprayer, for me, is a game and life changer.
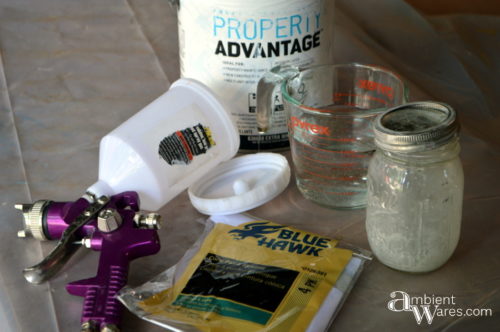
To prepare the sprayer, I pour latex paint into a mason jar about 1/2 way adding just a little bit of water and shake it to mix. I then filter the paint through a cone paint strainer, similar to these, into the cup that’s attached to the spray gun.
It does take a little getting used to; getting the air pressure right on both the air compressor and on the paint sprayer itself. Mainly trial and error. It’s easy to keep the paint sprayer in one place for too long leading to dripping but, again, practice makes perfect and if I can catch on, you can too.
Staining & Sealing the Top
After letting the paint set for a couple of days I stained the top. It really does look nice as is but, I can’t resist the stain.
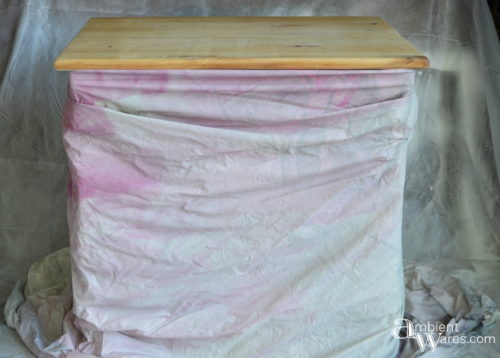
To protect the base, I just wrapped an old plastic tarp around it and overlapped the tarp in the back securing it with a plastic clamp
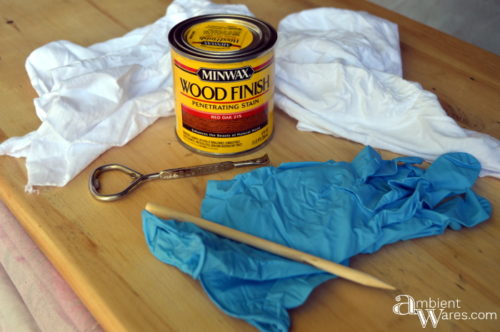
Now, usually, this is where I say I grabbed my little tiny baby can of Red Mahogany like I used on the cane back barrel chair and on this little dresser but, NO! I am spreading my wings.
This one is Red Oak we had purchased with another project in mind so I went with it. Hmmm, as I write this I’m realizing it still has red in the name. Maybe I didn’t stray too far after all.
It’s recommended you stir the stain before and during use to bring anything that’s rested on the bottom up to the top. Never shake as that encourages bubbles. A flat paint stick might work better than my little wooden stick but, I have a ton of them so I put them to good use and have stained little craft sticks everywhere.
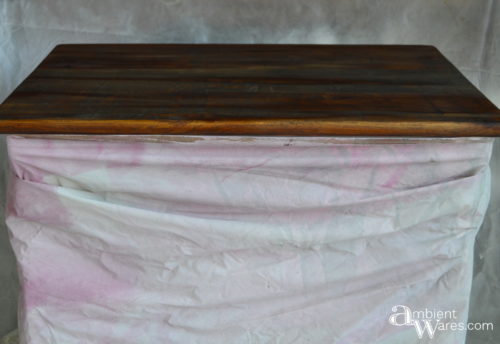
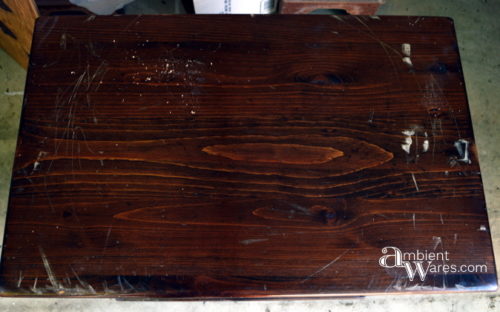
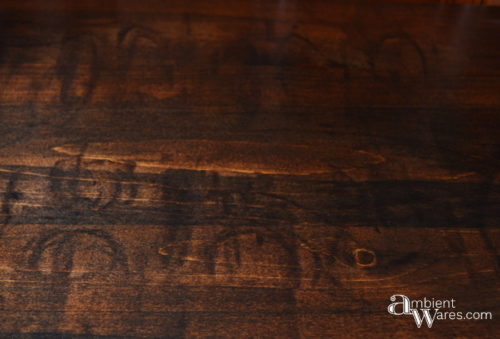
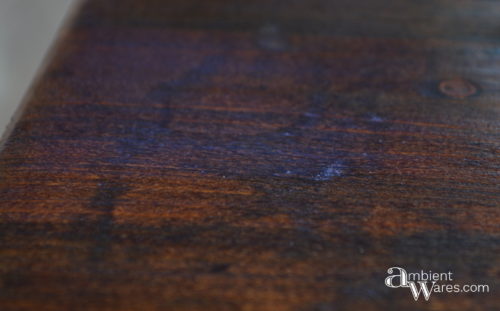
When the stain had dried, I was kind of surprised at what I saw. There were marks all over the top. I thought I had prepped it well enough; sanded it down so smooth; couldn’t feel any divots or bumps. I just didn’t see any of these “imperfections” prior to staining. For now, I’m saying it adds character. Lots and lots of character…
My final touch to the piece was sealing it with Polycrylic.

The poly goes on looking cloudy with some spots more cloudy than others but, dries clear. Also, I believe it suggests using a synthetic bristle brush which I rarely use so my use of a foam brush might be a no-no.
Imperfections and all, I think this little cart turned out lovely. It offered up a great learning experience and the fact someone was gracious enough to give it to me means I don’t have to worry too much about things going wrong since I didn’t invest any money into it in the first place. Free pieces are a great way to test things out without the guilt. The fact that I’m kind of minimalistic in home decor, I ended up selling it at a local consignment store. I’m glad someone is actually enjoying it now. Raise your hand if you have an old cart itchin’ for a makeover.
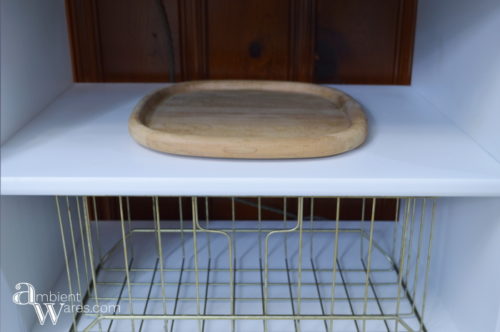
Also, check out how I repurposed this wooden trivet into lazy susan and how I made a wooden basket insert for the metal basket.
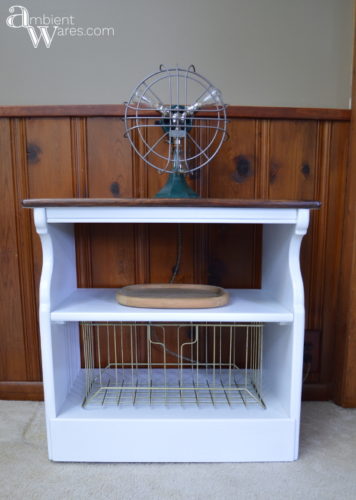
 You can also find this gorgeous vintage fan we turned into a lamp on Etsy.
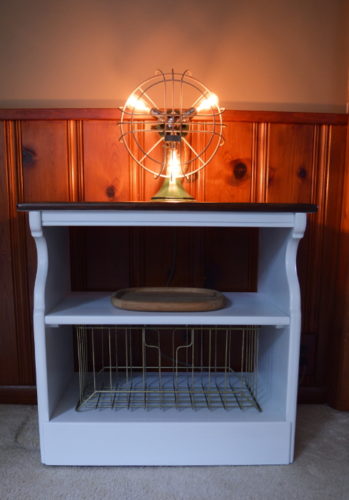
It looks so much better! Next time you need to strip something try CitrusStrip. You’ll be amazed at how well & fast it works and it doesn’t smell bad at all 🙂 Nice tutorial!
Thanks Wendi! I’ll definitely have to try the CitrusStrip. I’ve heard great things about it but, this can I have won’t run out because I don’t like using it 😉
Im always impressed when I see people upcycling things, love what you’ve done with this project 😀
Thanks Trace! I appreciate you stopping by 🙂
This is really lovely 🙂 I am obsessed with the combination of dark stain and white paint! We would be really excited to have you at our link party called To grandma’s house we go!
Thanks Tarah! I’d love to hop over and join. Thanks for the invite!