Finally! The 3rd and final part of the refurbished cane back chair saga. In case you missed them, here’s Part 1 and Part 2.
Actually, before I laid one finger on this chair, I Google-d cane back barrel chair in a slew of different worded ways to see if I could find one like mine with broken cane. While there were a ton of cane back chair refurbishing posts, I couldn’t find one exactly like mine and most were in good shape and were just updated with paint and/or a new cushion. So, if you’re looking on how to make a cane back barrel chair look new, I hope I can help.
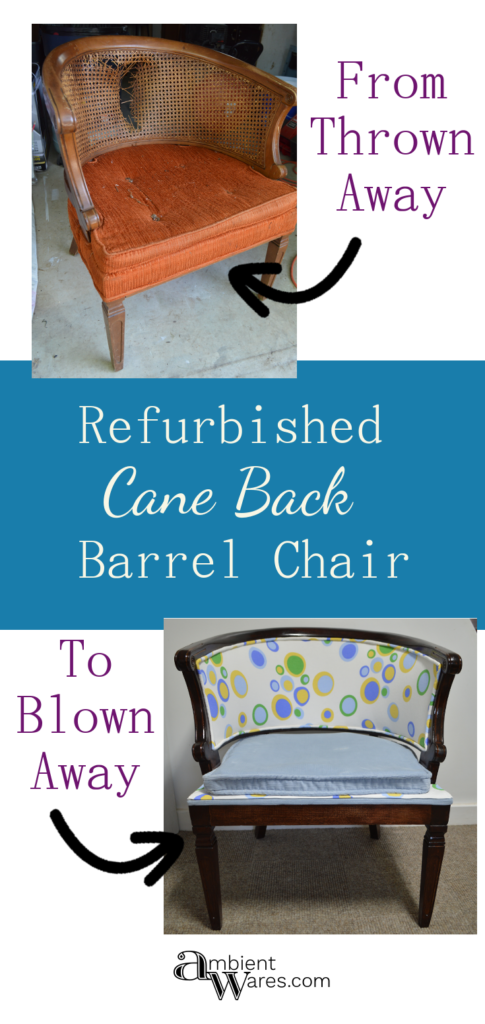
Refurbished Cane Back Barrel Chair ~ Part 3 of 3
Please know some links in this post are affiliate links. If you click on a link and make a purchase, I may receive a small commission with no extra cost to you. Thank you. Click here for my full disclosure.
Base
I’d found some burlap at a thrift store and since this is what was used originally, I thought I’d give it a go. I stapled it all around using our air stapler. I spoke of it when I recovered this chair with an old skirt and this chair with added storage. 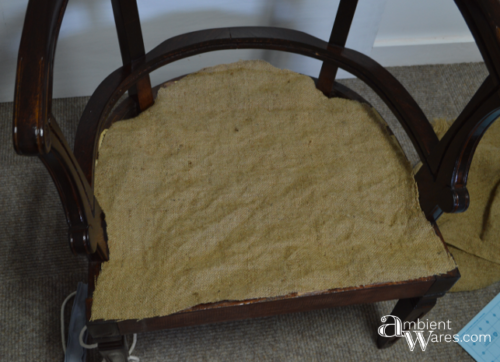
I didn’t want to cover the entire bottom frame with fabric as it was before but, I did understand I needed something to cover the burlap. Even though this is not exactly how it was originally, this was my best solution. Of course, there are probably a ton of different ways it could’ve been done.
I measured across the front and the two sides (not the back), cut 3 strips of fabric, sewed them together so they met at the 2 front corners, and stapled close to the top edge. The back piece I did separately and in the same way.
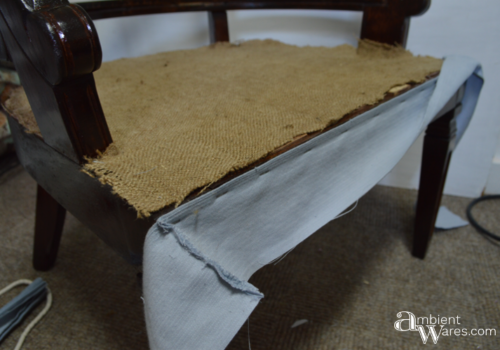
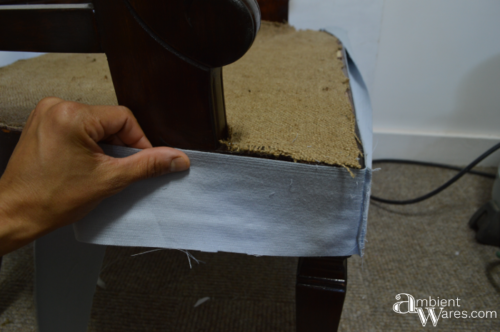
When I got to the end of each side where the back supports were, I folded the fabric in, then stapled.
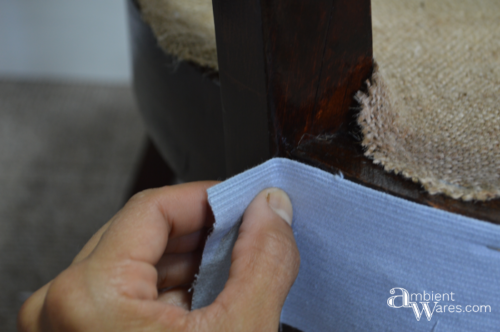
Once the three sides were attached, I slowly pulled the fabric upwards to reveal the correct side of the fabric. It was extremely snug.
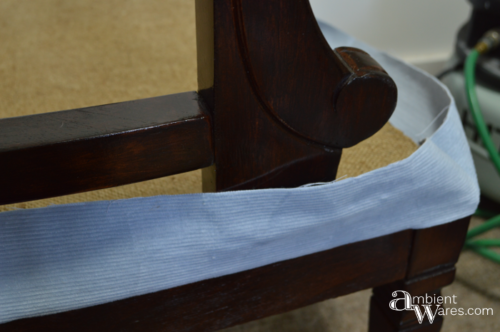
Then came the problem of the arms being in the way. I came up with the idea of cutting the fabric on either side of the arm and then I tucked and folded afterwards. I really needed 10 hands.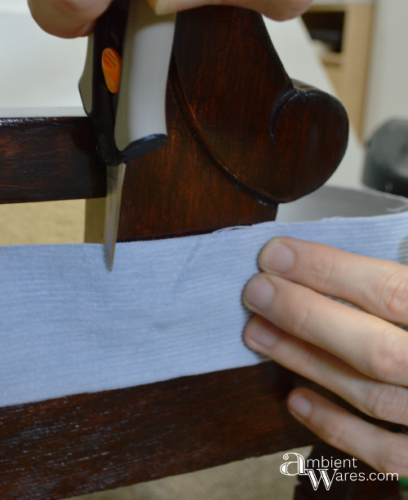
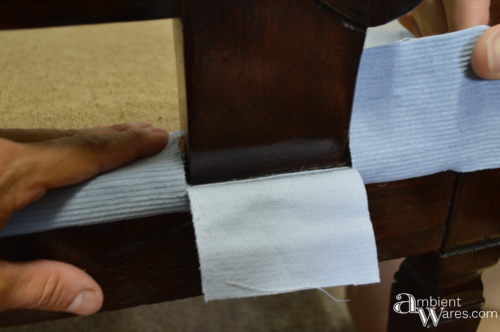 I snipped off the excess hanging down leaving a little to be tucked back down into itself.
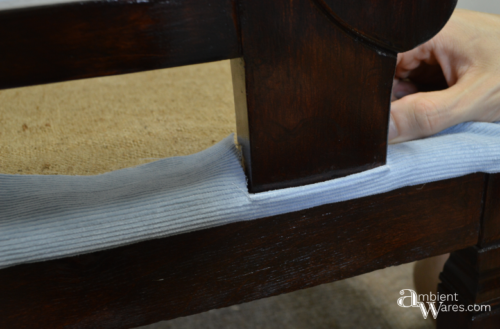
I then stapled again once all the fabric was folded over the burlap.
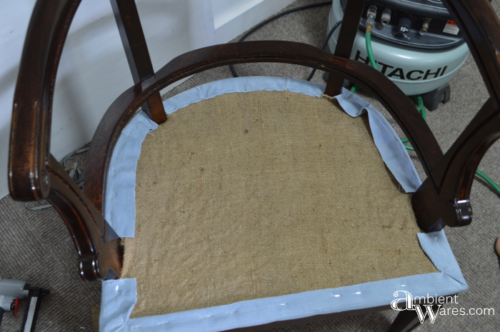
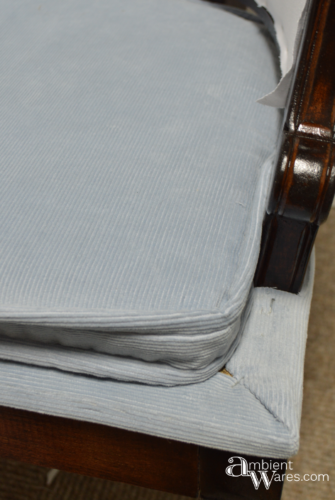
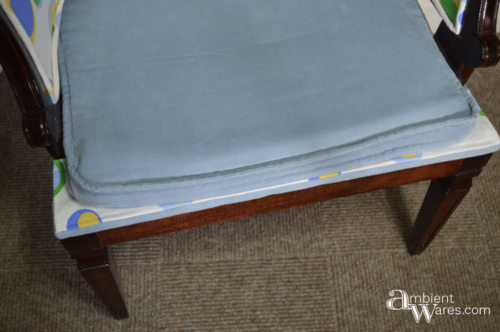
I put the cushion on just to see what it will look like when I find an issue. It doesn’t cover the staples and a little bit of the burlap is showing. I was extremely irritated with myself for cutting this part of the cushion off when I ran into the zipper problem in Part 2. I should have left this jutted out part and the one on the other side. I didn’t want to think about it just yet so I moved on.
Backing
Amazingly enough, I did have enough of the blue corduroy fabric to do the entire chair but, there were yellowish stains I hadn’t noticed before that wouldn’t come out. I’m guessing it was due to age and storage.
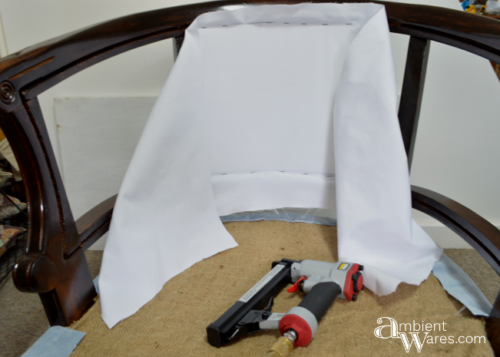
For the back of the chair, I used a piece of plain white fabric from my stash. I cut it larger than necessary and stapled it just inside the groove where the cane used to be. I definitely needed more hands so I enlisted the help of Joe (which I do all the time). One would hold the fabric tight while the other stapled. The fabric was then trimmed all around.
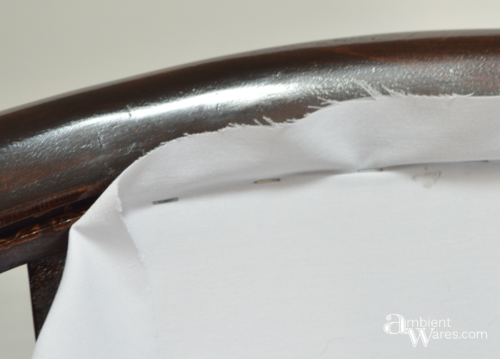
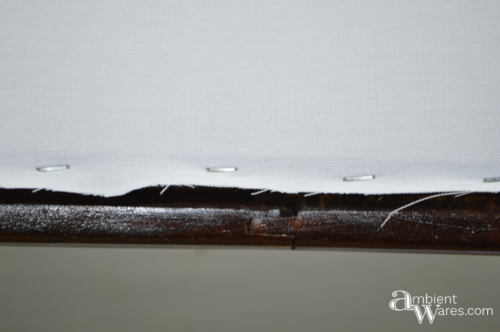
I’m loving how the back piece looks.
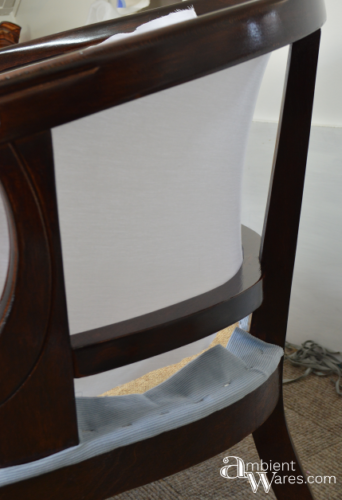
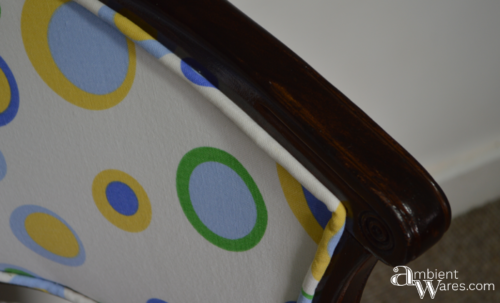
For the front piece of fabric, I decided to add yet another fabric to the mix. Why not? I found this one at a sale as well and I love it.
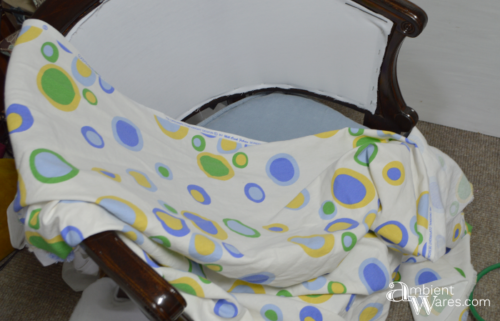
The front piece was attached in the same way as the back.
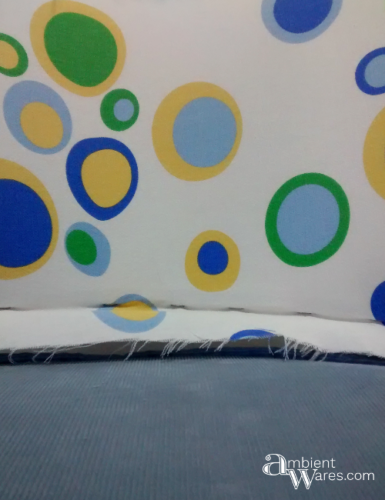
After trimming the excess, I hot glued piping I’d made using the same fabric. I squeezed some glue into the groove, pressed the piping in and repeated until the end.
Back to the fact of the staples and burlap showing even when the cushion is in place. Here’s my response.
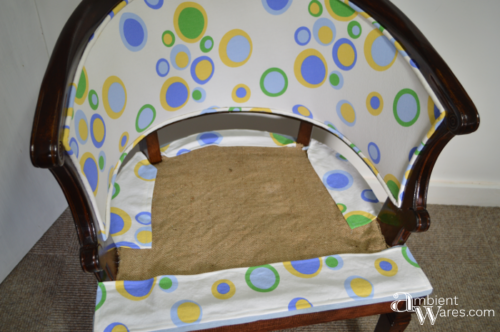
I cut the pieces, stitched up the edges to give them a clean finish and hot glued those down. I’m hoping this doesn’t look flat out silly. I’d like to think of it as whimsical, fun, different, unique, etc. Then I worry I’m just fooling myself.
Just look at how curvaceous she is.
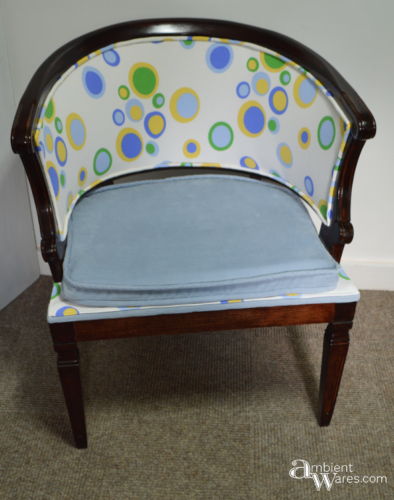
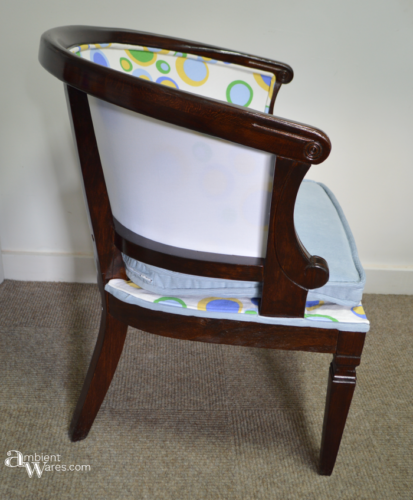
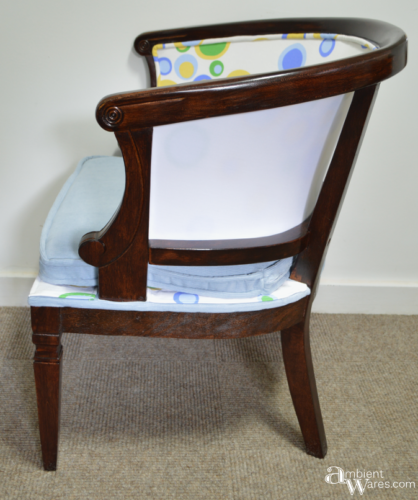
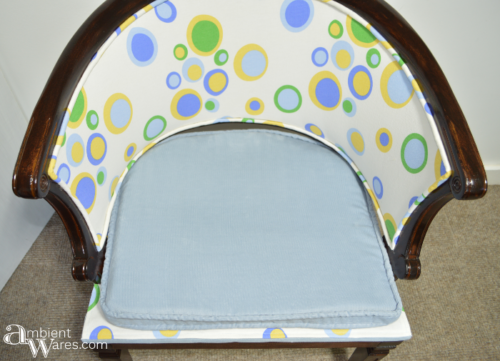
It’s easy for me to say now, how I would do a ton of things differently. Thing is, I’d never be able to say that had I not tried it at all or given up; which is so tempting to do sometimes. I’m pretty sure I could do another entire post on all of the wrongs I committed but, who’s got the time?!
I’m holding onto this chair and I plan on making another cushion that actually fits the shape of the base…in about 5 years or so. I learned an incredible amount and while I need a break from it, I’ll be back.
What have you been putting off due to a fear of uncharted territories?
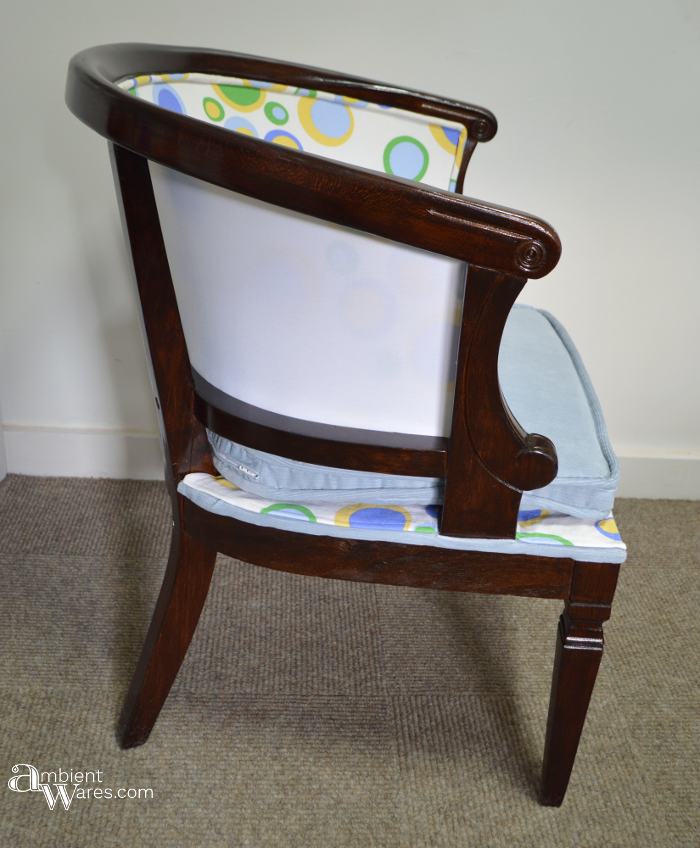


I like it!
Is the back comfortable to lean against? What would you have done differently with the back? Would you have matched the out facing of the back to be the same as the cushion
Would you have added any batting on the back?
My sewing mind says redo the cushion thicker with the shaped cut outs take scrap of the dot print to fabric store to match for new seat cushion the creative sewing part of me says to do the shaped cushion and piping but do the zipper in the front again but do it on the underside of the bottom ledge of the piping or set it back and inch. And be able to treat the bottom fabric as one flat piece when you sew the top and bottom to the edge.
Cindy from Wilsonville oregon
Hi Cindy! The back is actually very comfortable and sturdy. I wouldn’t have done anything differently with that part. I definitely agree that the cushion needs to be thicker and your suggestion of putting the zipper in front but, underneath is genius! I’m no sewer at all if you can’t tell 😀 Thank you so much for your help and ideas!!
I have a chair similar to this one that I’ve been wanting to refinish for years. I’ve always been a little nervous to start though! Thank you for walking me through the process! And BTW, I was looking at your shop and saw you are from Peoria–I grew up just north of there in a small town. We always did our shopping in Peoria and I even lived there for a brief time.
Hi Amanda! Small world, isn’t it? Now I have to ask, what town? I hope this post does help you when you take on your chair…because you should totally take on that chair!! 😉
Your chair turned out so darling. I love that fabric on it. I’ve tried reupholstering pieces before, but you’ve done a very professional job of it.
Many thanks Debbie! I learned an incredible amount and that’s what DIY is all about to me. Challenging myself to do things I don’t think I can do!
I read Part 2 and had to see how you figured out how to reupholster the chair. I am so impressed. The chair looks fabulous. Actually I like it so much better with the fabric than the cane. You did an excellent job.
Hi Debra! Thank you and yes, I definitely like how the fabric on the back turned out. It really surprised me how well that part turned out!
Hey Angie! You did fabulous! I would be intimidated to sew the piping on the cushion. I’ll remember this post if I have to attempt it. Did you know you can buy thick foam at Home Depot?
Thank you Lacie! That’s crazy, I had no idea Home Depot sold it but, I’m glad they do 😀 Next time I’m there, I’ll check it out!