
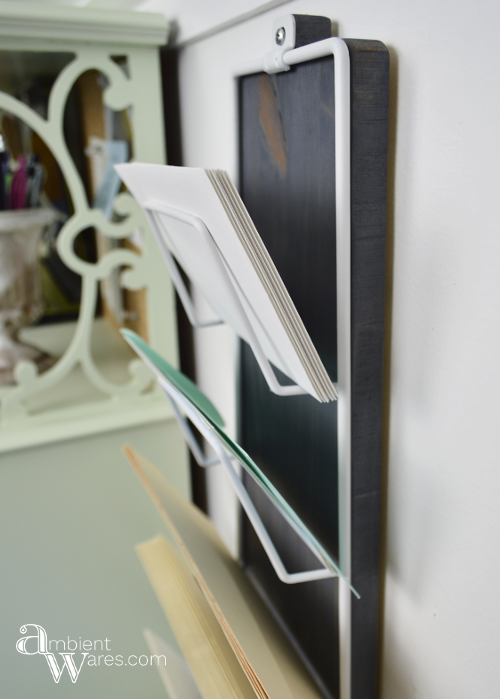
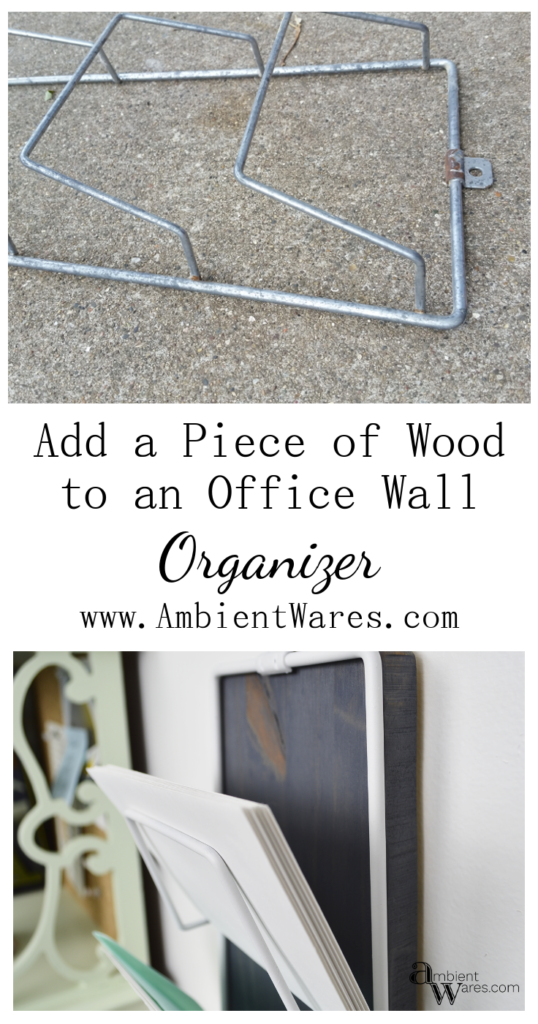
I think my new obsession is mixing metal with wood. I’m not sure if it’s really new, but, I’m just now realizing it’s what I like. This hanging mail organizer is made of metal so what better way to make it over, outside of just using spray paint, then to add a piece of wood to it?
When I really started thinking about it, I realized we incorporate metal and wood quite often. I made this super easy side table. More recently, I made over this vintage Cosco stool and a cute little white vanity chair. We even made this awesome lamp from a ceiling fixture using wood mixed with metal. See, I like it.

Adding a Piece of Wood to a Metal Hanging Wall Organizer
Please know, some links in this post are affiliate links. If you click on a link and make any purchase, I may receive a small commission with no extra cost to you. Thank you. Click here for my full disclosure.
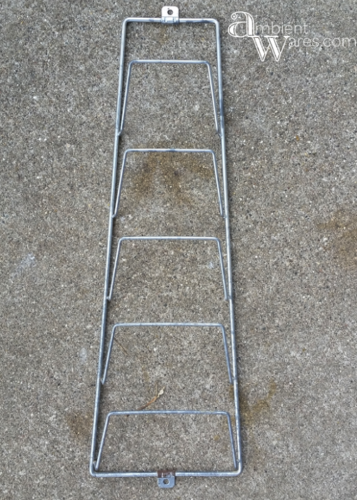
I found this old metal letter holder and thought it would be perfect as my office wall organizer. I didn’t just want to paint it though, I wanted a little bit more.

Enter, a piece of pine. I used the same piece of wood I used on both the stool and vanity chair. I traced it out and cut it with our band saw I scored for $60 at a garage sale! I guess they can run upwards of $200+ so I think I got a deal.
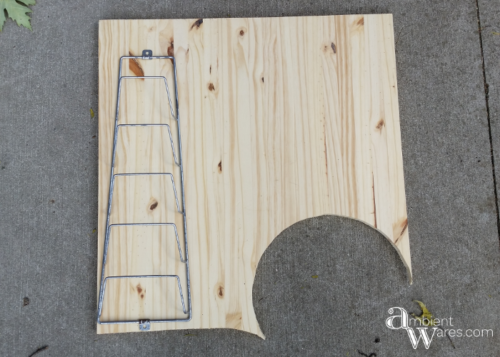
The band saw, unfortunately doesn’t have a lot of space for larger pieces and my piece was too large. However, I went slowly and angled it in weird ways. Since I was turning it at awkward angles to make it work, it left me with a bunch of bumps in the wood which I had to sand down with 80 grit paper. You could definitely use a jigsaw on this

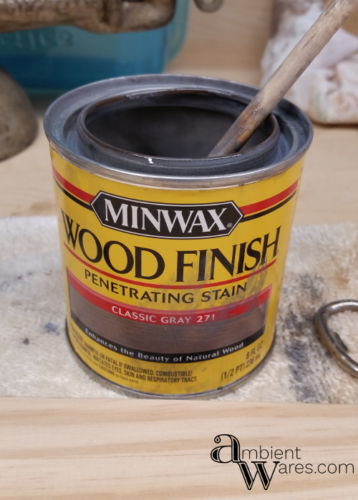
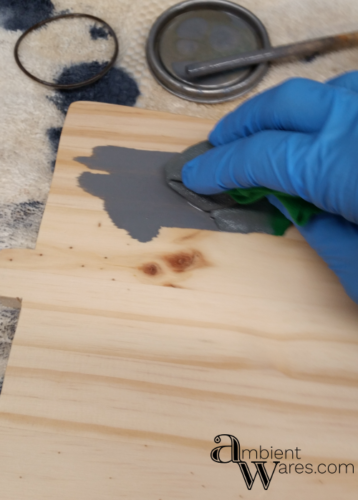
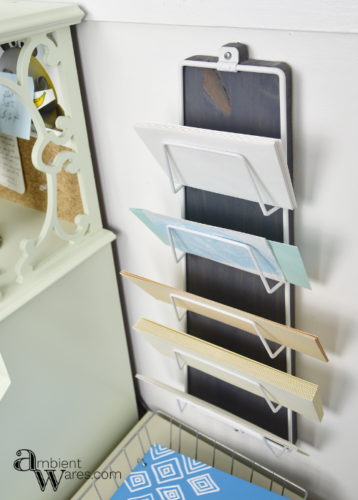
I stained the wooden piece using my tiny can of Classic Gray which is also my newest fave color. It goes on so smooth and if I didn’t know any better, I’d think it went on smoother than other stains. I’m probably making that up but, it sure feels like it.
Someone shared with me on Facebook how she used this gray stain along with an aqua stain (this is an 8 oz. tiny can) and the combo turned out beautiful!
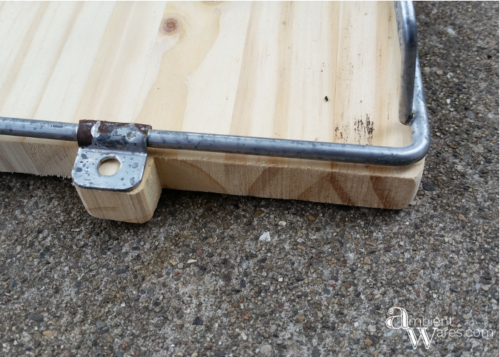
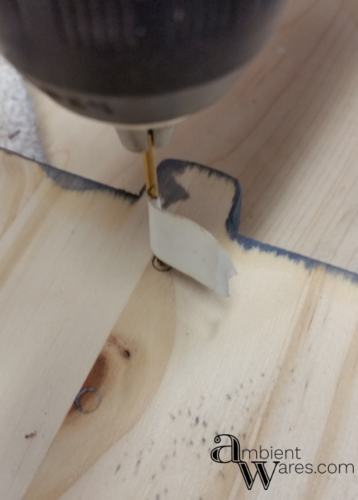
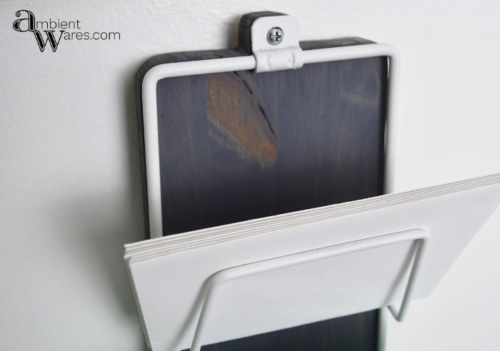
Once the stain had dried, I drilled my pilot holes for both the hanging piece and the metal mail organizer itself. Then, all I did was screw everything on and I was done. In the meantime, I’d sanded down the metal rack, painting it in enamel white.
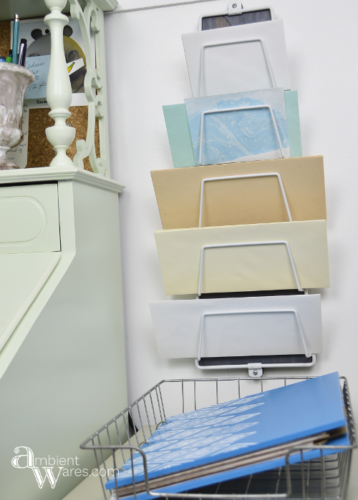
It really couldn’t be any easier and I love the look it gives off. I was afraid the wood wouldn’t show through and I was kind of right. If you look at it straight on, it’s hard to see the wood but, it’s off to the right of my secretary desk and I can see it perfectly.
I plan on using this to store envelopes. Being that my office is in the attic with a tapered ceiling (read, we hit our heads a lot), functional wall space is minimal. It’s hard to find things that aren’t too big. This office wall organizer hangs lower than most would too. So, what do you think? I’d love to know!

Since I don’t have any fancy equipment like a band saw, I wouldn’t make those little extra “tabs” at the end of the wood where you fastened the two pieces together, but yours are truly elegant and dress up your wire rack beautifully. You do great work and thanks for sharing the idea!
Wow, thank you so much, Nancy! It means a lot 🙂
You´ve turned this into such a cool piece Angie! I also love metal with wood, it´s just a great combi and I love your colour choice!! Have a fun Friday 😉
Thanks, Katrin. That gray is probably going to be put on anything and everything 😉
I love it too Angie and I’m with you on the wood and metal obsession. There’s just something about the combo that appeals to me I don’t know if it’s the “cast in fire” vs. “I am the wood that will burn your fire” but they are meant to be together
Oooh, I like that, Michelle. They were definitely meant to be together and I will gladly help them find each other 😉
Such a smart idea! It looks really great. Full of rustic character.
Thanks so much, Mary. I’m so happy with it. Another thing off the “junk” pile is gone now 😉
This turned out so good! I love the texture of the wood that comes out.
Angie, the texture shows through beautifully! You should definitely try it out 😉 Thanks!