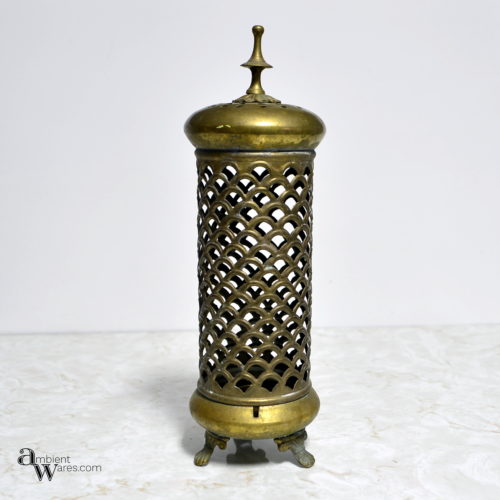
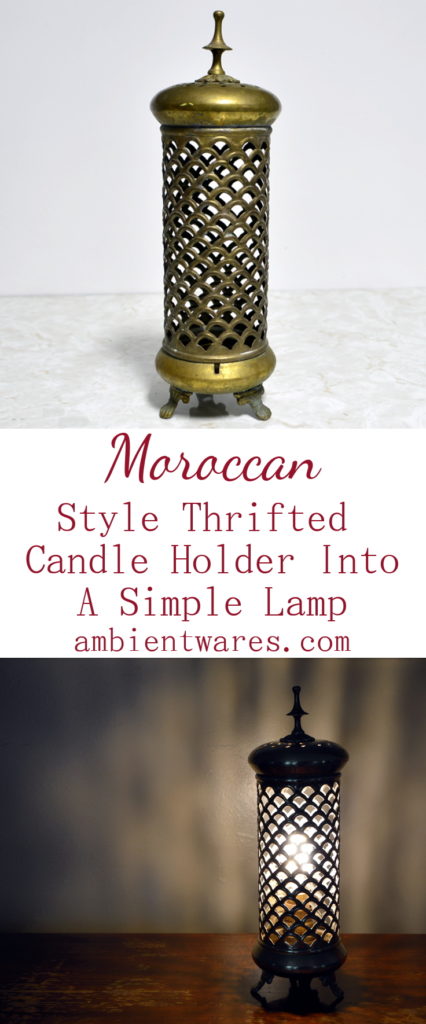
While on our usual trip to the local thrift stores, Angie spotted this brass candle holder. Immediately, she thought “This would make a great lamp.” Sure enough, it does make a great lamp and it was a quick one too!
The candle holder is made of brass and after some searching online it seems to be from Morocco or possibly somewhere else in the Mediterranean region (Turkish?). It’s a very simple design with just two parts, the base which holds the candle and a removable top. The design isn’t extremely ornate and has just the right amount of flare. Lucky for us, the base of the candle holder already had a hole that was the perfect size for a standard lamp pipe making this a simple makeover.

Please know some links in this post are affiliate links. If you click on a link and make a purchase, I receive a small commission with no extra cost to you. Thank you. Click here for my full disclosure
Materials Used (you may need different supplies)
- Moroccan Style Brass Candle Holder (thrift store find)
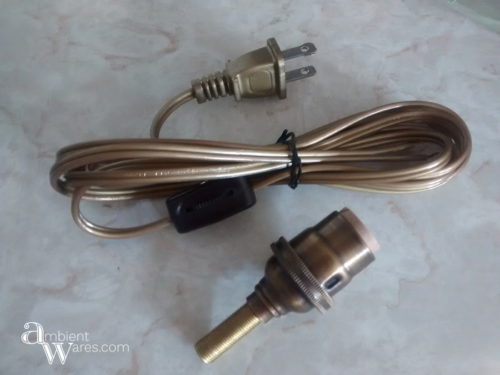
- Metallic gold lamp cord with inline rotary switch
- Antique Brass candelabra/E-12 socket
- 1/2″ Hex Nipple with 1/8″ IPS Male Thread
- Thread Lock
- Brasso
- Carnauba Turtle Wax
- Candelabra (E12) Base LED Filament (Edison Style) Bulb
Tools Used
- Pliers
- Screwdriver
- Clean rags
The first step was to cleanup the tarnished brass. It was quite dirty with some wax stuck on the inside base and soot from the candle smoke. I gave it a cleaning with some hot water, dish soap and toothbrush to remove that. Then we moved on to polishing it.
We used Brasso to polish it. Brasso works great on brass (hence the name 🙂 ). Brasso was applied in generous amounts all over the outside and rubbed with a cloth to give it a nice shine. Cotton swabs were used to get in the tight spots and edges. This was a team effort using all the elbow grease we could muster.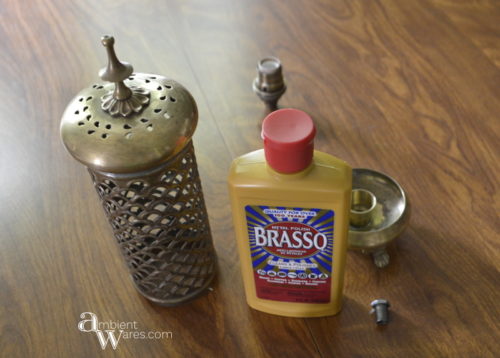

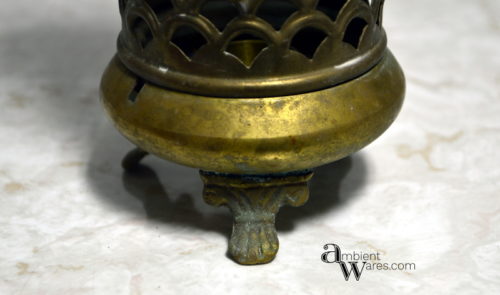
Here you can see what the base looked like before and after the Brasso: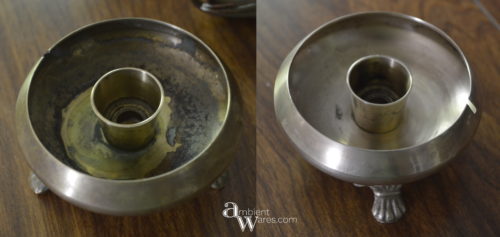 To keep the brass shiny for a long time, we used Carnauba Turtle Wax on the candle holder. This wax gives it a protective layer and slows down any future tarnish. The wax was applied in a thin layer over the outside and allowed to mostly dry.
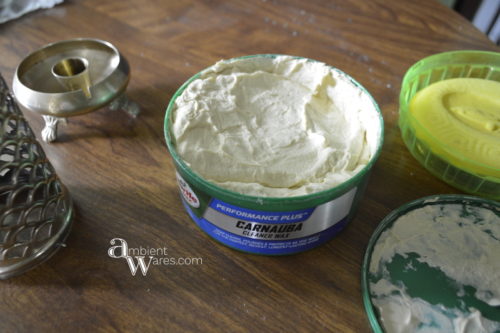
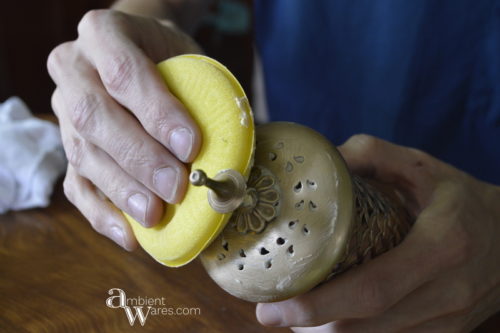
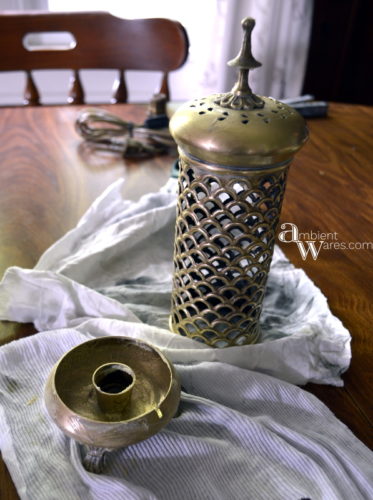 Then we used a clean rag to gently polish the wax. Some wax got stuck in the holes and we used our air compressor to blow it out, finishing up with some cotton swabs. And here it is polished and ready:
 Now that the candle holder is polished, it’s ready for the electrics.
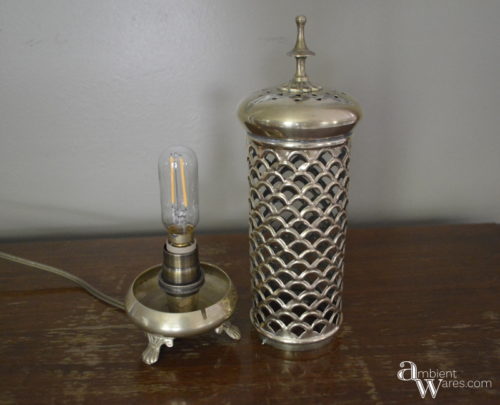
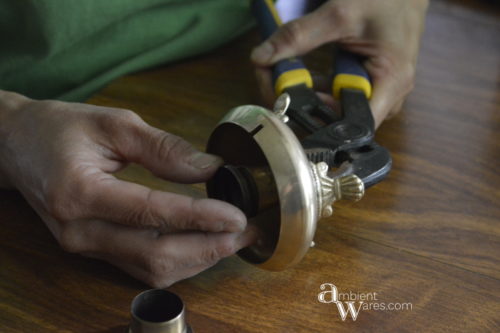
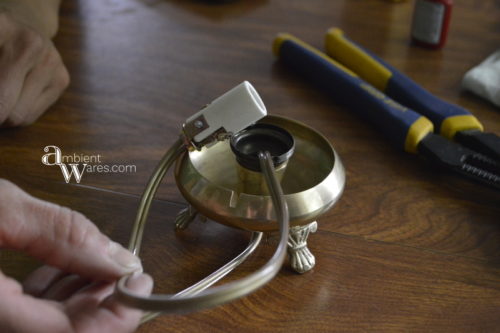
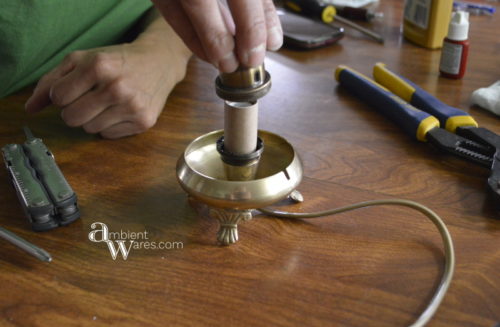
We first took the socket apart. The center ring of the socket body unscrews and the top brass cover comes off. Then the porcelain socket unscrews and comes out. The bottom brass cover is threaded and screws onto the hex nipple through the hole in the bottom of the candle holder base. We also used a dab of thread lock on the hex nipple to keep it together.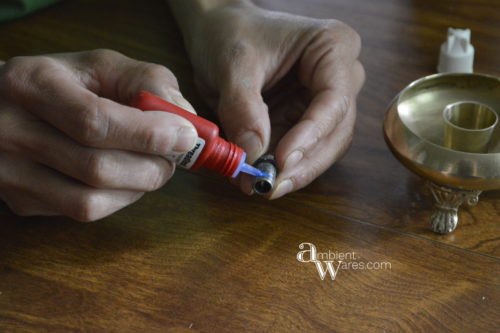
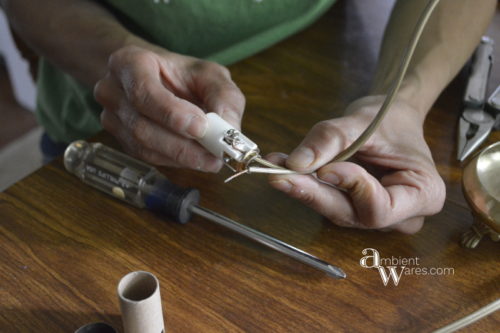
Next, we fed the cord through the bottom hole of the candle holder and through the threaded hole of the socket. The cord comes pre-stripped so we just needed to make a ‘U’ shape with the exposed copper wire to wrap around the screws on the socket. We attached the ribbed wire of the cord to the gold screw on the socket (neutral) and the smooth wire of the cord to the silver screw (hot).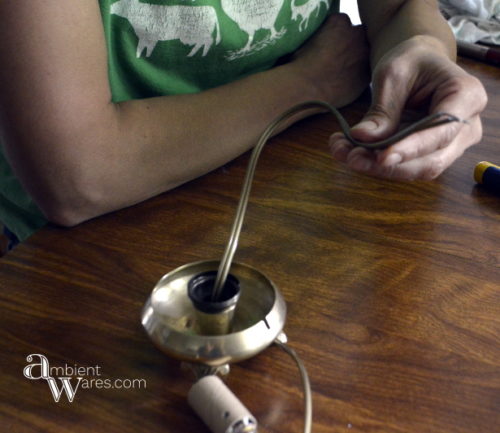
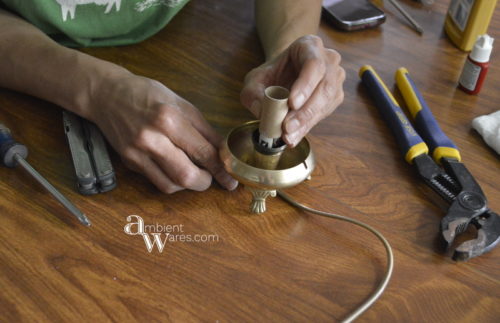
 We pulled the excess cord back through the bottom of the candle holder base and screwed the socket back onto the socket base. The cardboard insulator was put over the porcelain socket and finally the brass socket cover re-attached.
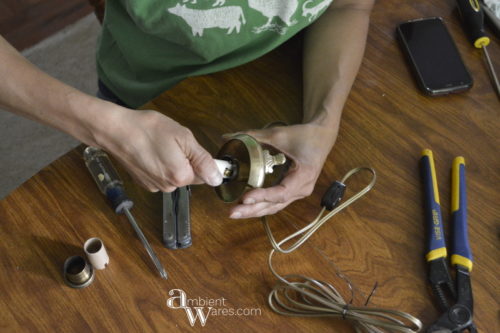
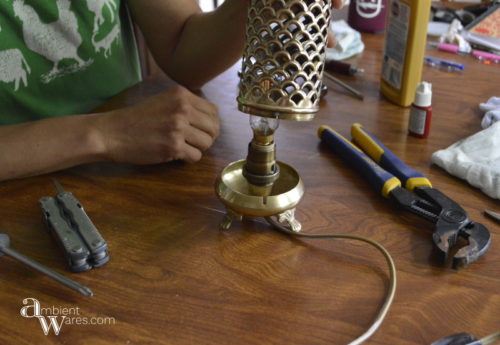
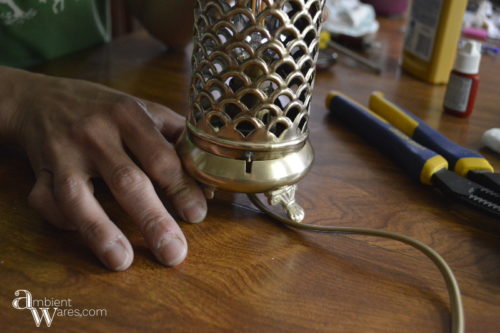
 We installed an Edison Style Filament LED bulb just like in our Ceiling Fixture to Table Lamp conversion. The candle holder cover has two tabs on the bottom rim, opposite each other. The base has a notch cut out for a tab to fit through. To put the cover on, you tip the cover slightly and put one tab inside the rim of the base opposite the notch, then tip the cover vertical so that the tab slides down into the notch. Then, you turn the cover while the base is stationary and this keeps it from falling off.
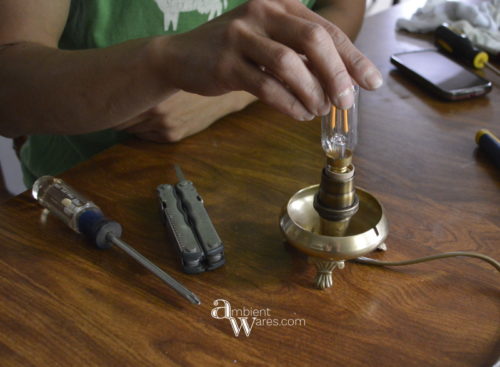
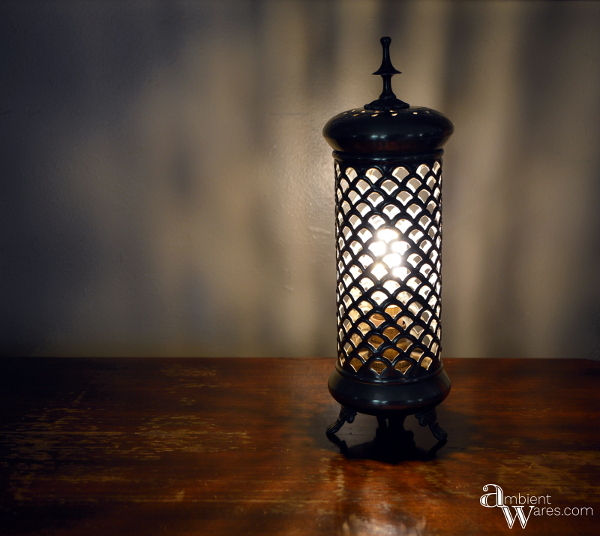
 I love the light pattern displayed on the wall through the holes, don’t you? We’ve got it listed on Etsy!


Click the image below to PIN!
Such a great idea. I love how well it cleaned up.
Thanks for sharing at Waste Not Wednesday.
Thanks Kimm 🙂
Oh yes, I’ve been waiting for this makeover Angie. I love, love, love what it looks like and how the light patterns reflect off the walls. It Moroccan magic
Thanks, Michelle! I really do love it and the quick turnaround time too 😉