This small 2 drawer wooden box has been in my garage for too long. I brought it out one day and did indeed knock it out. Sure, it took me a few days because I have other responsibilities to attend to but, I made sure I always went right back to it because I wanted it done. Nothing is worse than having a half completed project waiting for you to return to it. At least for me. Unfortunately I have plenty of half finished projects to attend to.
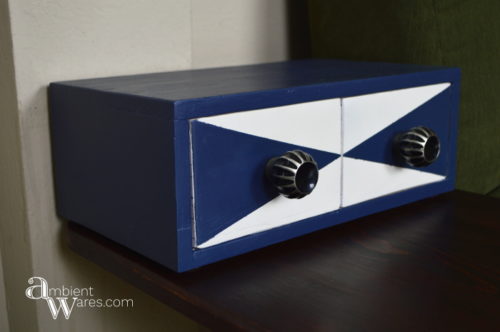
Small Wooden Box Makeover with a Retro Design
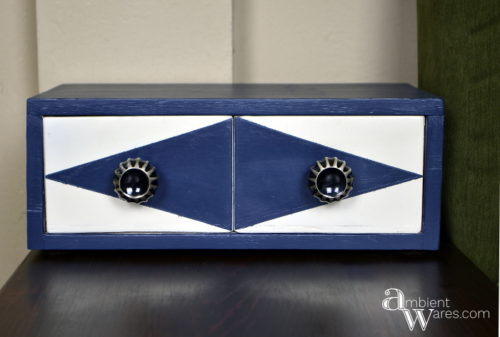
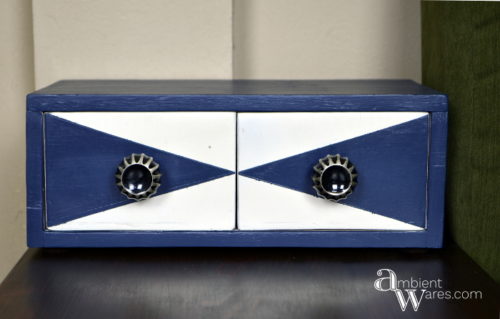
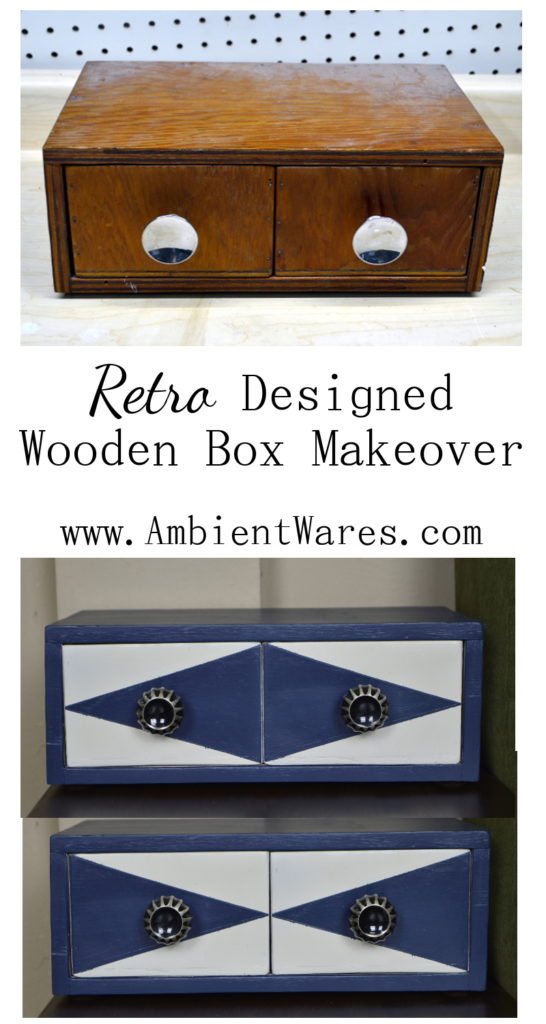
I got this wooden box for $1 and it’s got to be handmade. It’s made of cheap plywood nailed together. I decided to give it a simple paint job with a retro look. I think I accomplished the retro design I was going for but, you can definitely tell me what you think.
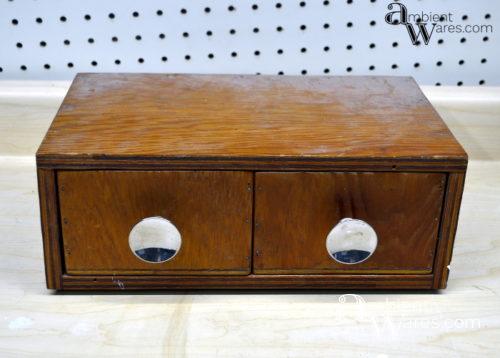
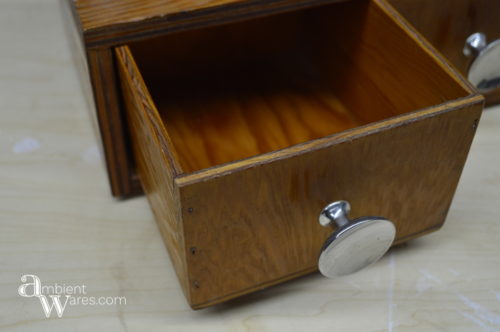
This rubber protective mat was so thick and really gross the more I looked at it so I scraped it off with a putty knife going slowly since it was glued on good.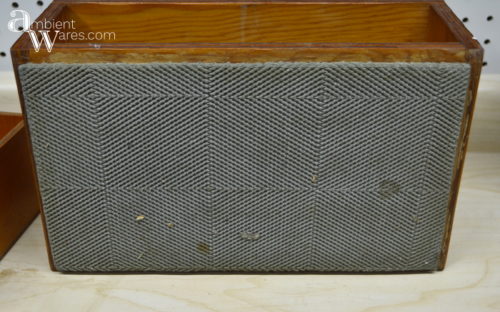
I filled the bazillion holes with wood filler but, before I did that, I tapped the nails further into the wood with a Phillips head screwdriver and a hammer. I then sanded the entire thing.
I spray painted everything white at first.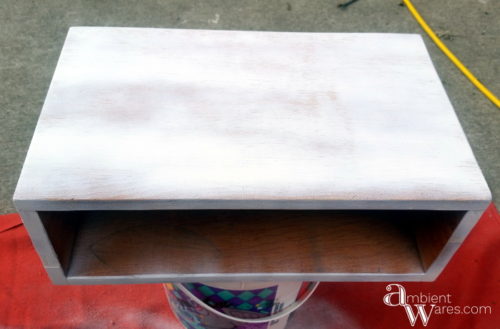
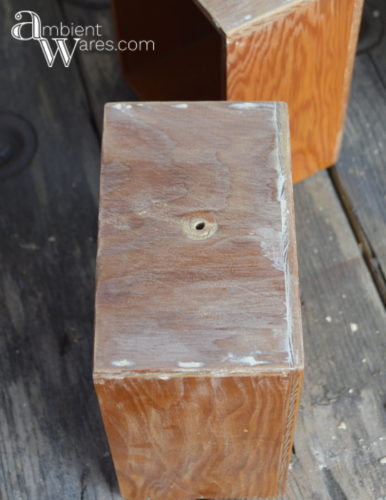
Also, I noticed when I’d push one drawer in, the other would come popping out because of the air/suction so I drilled 2 good sized holes in the back hoping the air would have somewhere to go and it actually worked.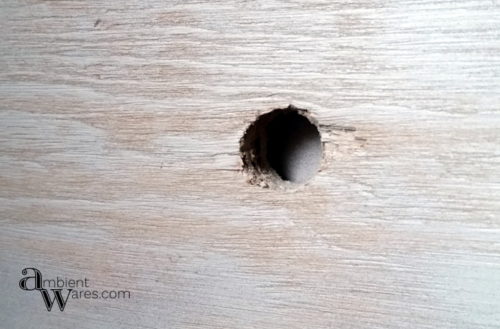
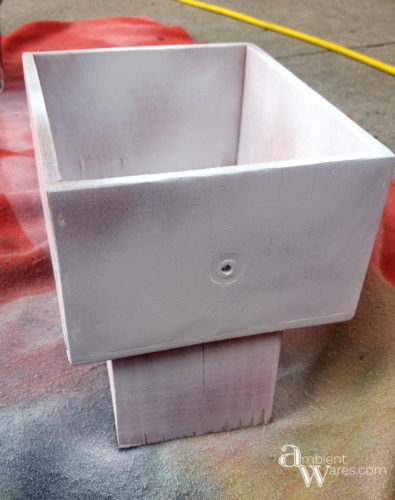
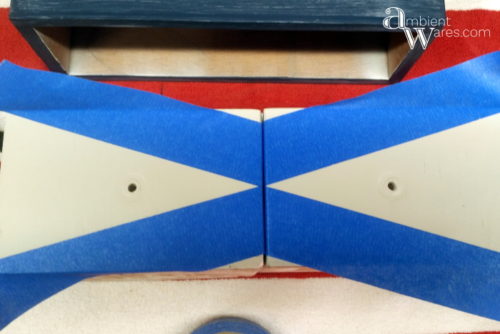
I realized at some point, I wanted the drawer front designs to be blue and then figured I’d paint the whole thing blue accept where it’s taped off. I used the same blue I used on this old chair with a nautical theme.
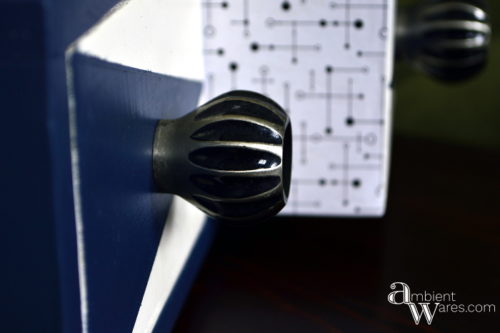
The original hardware definitely had a retro look but, I had a bag of these knobs that I thought might add a bit more to the atomic design I was going for.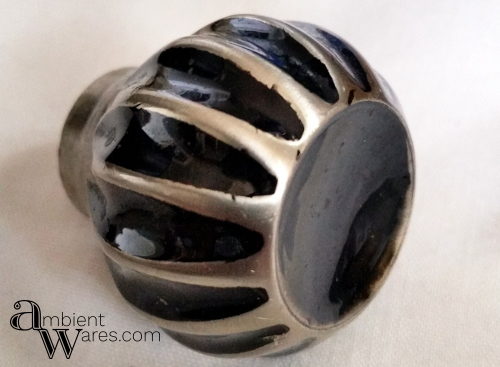
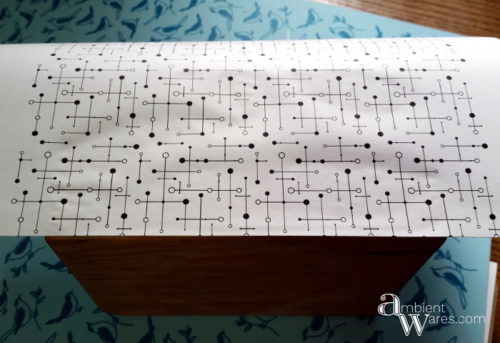
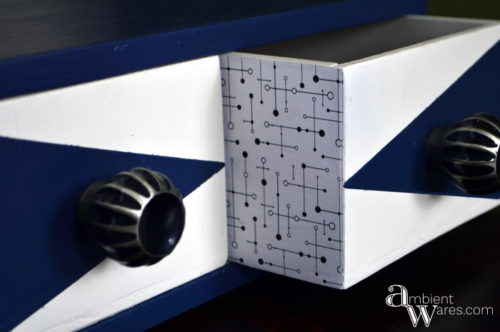
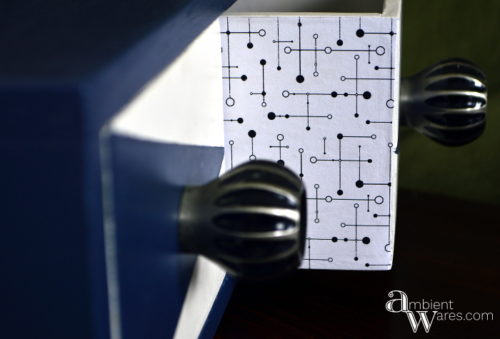
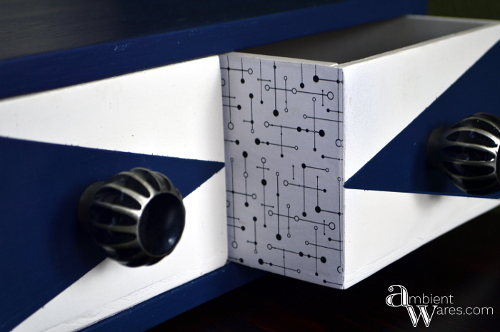
Once the paint was dry and it was sitting there waiting for me to take some final pictures of it, I thought about the lines and dots pattern we used on these plant stands and this side table. It would be perfect!
I’ve never been good at decoupaging but, I couldn’t pass up this opportunity to use our design. I know most people would use mod podge if they’re going to decoupage and I do have some but, I went the route of wood glue. Mainly because I use this cheat sheet and I wanted to experiment. Worked great but, it was very thick. If I use it again, I’ll water it down a bit.
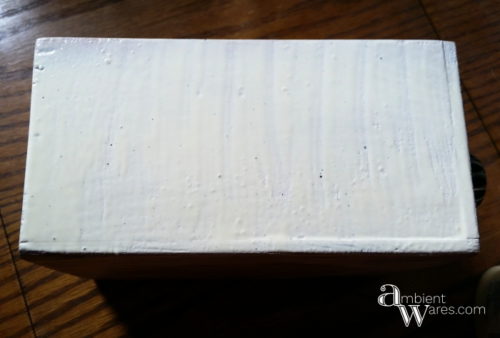
I cut a straight edge on the paper first to give me an even starting point and using an old driver’s license, smoothed it out the best I could.
I then trimmed it up with a utility knife going in at an angle to get as close to the wood (without shaving the wood) as possible. We’ve talked about the 5 small tools we can’t work without and this is one of them.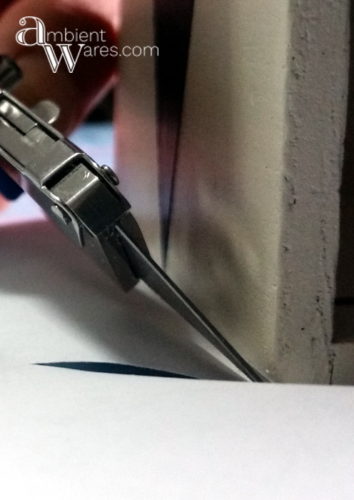
If you saw my most recent projects of the nautical chair makeover and the mid century, industrial styled side table and then you see this little retro look of a box, you might wonder how on earth I can meld my varying tastes in home decor and make it look cohesive. Well, ya see, I can’t!
I don’t meld and don’t necessarily try to make it all “work” together. I like what I like so I make it and use it. I’d like to think my home decor styles are on the neutral, retro, modern, cozy, make it up as I go side. I have no idea really 😉 Do you have a style when it comes to your decor or do you just use what you like?



I thought this was a dresser at first. Love the design and I’d definitely do it again on a bigger piece. The colors are perfect! Pinned for future inspiration 🙂
Thanks, Wendi! The design would look great on a dresser and I know you’d do an amazing job! Thanks for the pin 😉
Nice save on this old wooden box – love the MCM retro vibe. Pinned
Thank you, Marie! It couldn’t have been any simpler 🙂
This is a real beauty. I know it gave you trouble but it was so worth it in the end to come up with such a cool looking box!
Hi, Mary! Thank you and it was definitely worth it. We love it!