If you’re looking for a great chair project, have I got one for you. Heck, I’ve got this chair idea, this simple chair makeover, and this chair project (I’m still not happy with it) but, will tackle again one day. I’ve only been getting better especially at reupholstering. Just like most of my diy projects, I have no idea what the plan is until I’m in the thick of it. Can you relate?
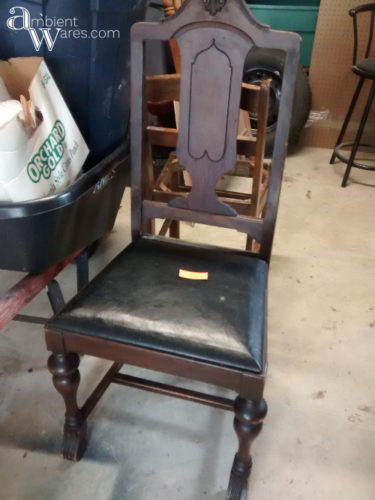
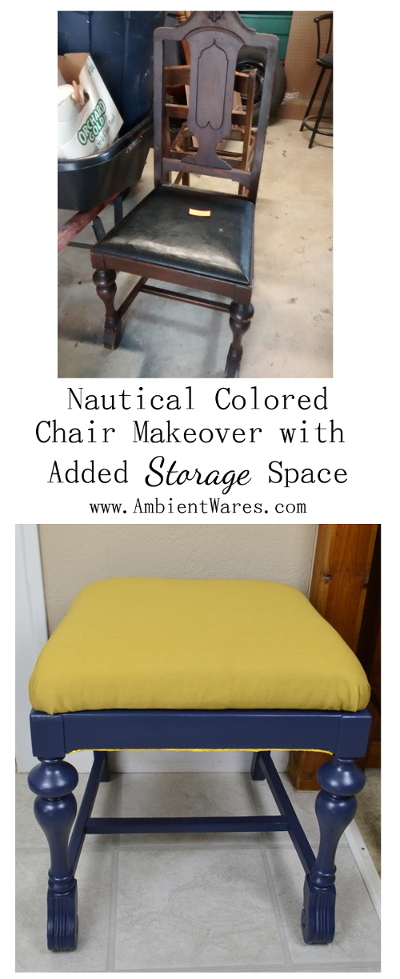
I found this chair at the thrift store and according to my immaculate records (kidding), I spent $5. It honestly wasn’t in horrendous shape but, I thought I could make it a stool for in front of the couch. Spoiler alert: it’s too tall for the couch. Sure, if you need to get blood back to your head then by all means, put it by the couch. If you’d rather watch TV without your mammoth feet in the way, I wouldn’t suggest it.

You see, I didn’t bother to measure. I found out while I was happily skipping with my new foot stool, snug in my arms and placed it in front of the couch when my smile slowly turned into a confused frown. Dammit. I didn’t measure. Oh well, it has another spot in the house now.
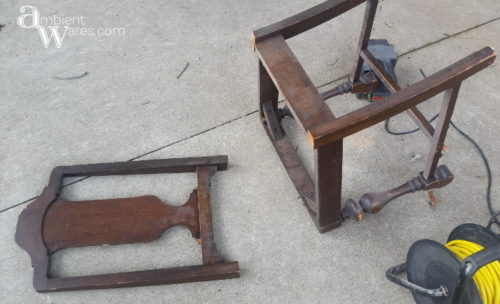
In the never ending quest to create furniture and other home decor items that are both functional and/or space saving, I broke down this little old chair. I at least had an idea of doing the same thing I did to this awesome chair makeover.
Nautical Chair Makeover with Added Storage
Please know some links in this post are affiliate links. If you click on a link and make a purchase, I may receive a small commission with no extra cost to you. Thank you. Click here for my full disclosure.

I’ve had this for at least a couple years and looking at the picture, it doesn’t even look that bad. When I first bought it, I was eager to refinish it so I removed the seat and took off the leather. Fast forward a couple years and I saw the back of the chair was losing it’s veneer. Gah, I guess I’ll just saw the back off and focus on removing the veneer another time for another project. This is how I think. Is that bad?
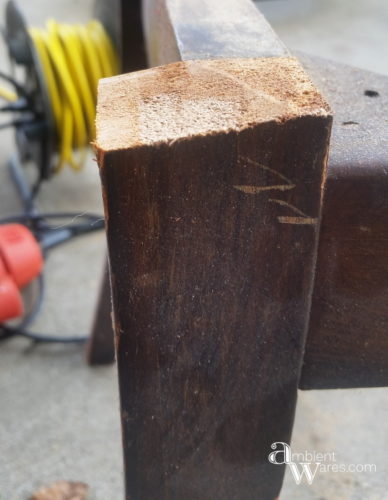
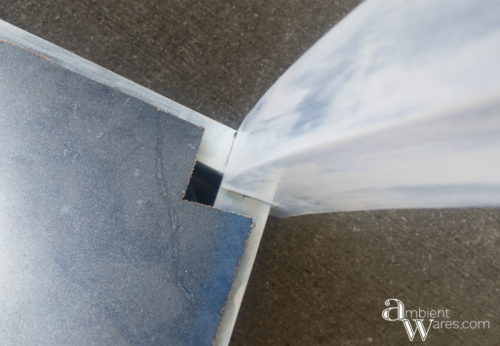
If you’ve never used a jigsaw before, it can be a little bouncy so you just to make sure you’re holding it steady and moving it slowly. Let the blade do most of the work. I used our jigsaw to slice the back off and I tried to stay as straight as possible to get an even cut.
This one is straight across.

This one not so much.
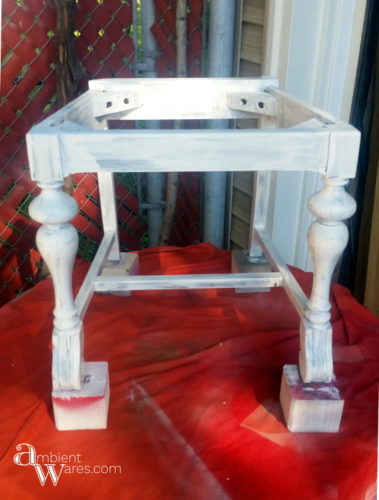
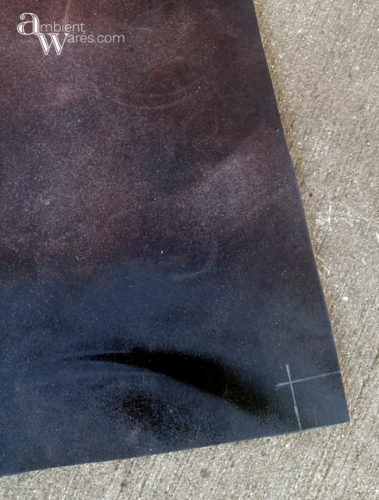
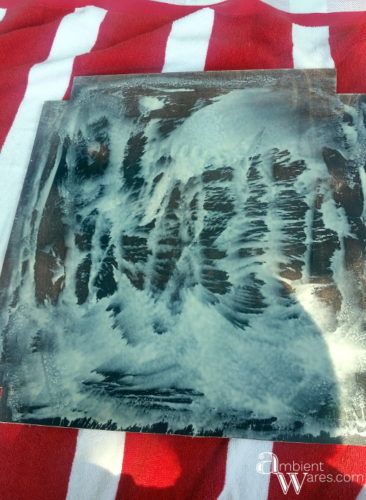
I moved onto priming using B-I-N. I swear by this brand now as I’ve had other issues with bleedthrough using other primers. I did 1 coat. If you do purchase, know that it is extremely runny and needs to be cleaned with either denatured alcohol or ammonia.
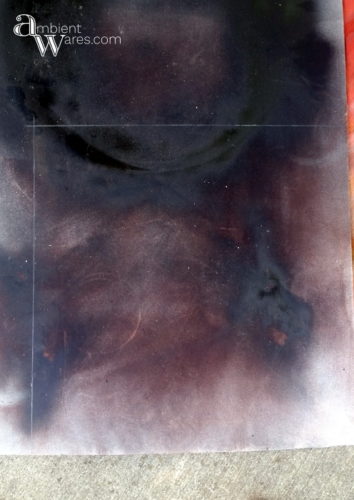
I then used the most awful looking piece of scrap wood as the bottom of the storage compartment. It was my spray painting spot where I put small objects on it.
In measuring the bottom of the chair, I went a different route than I did with my first chair repurpose with added storage. Instead of placing it within the chair, up against the 4 corner pieces (where the screws go to hold the cushion), I measured it to fit almost all the way to the edges.
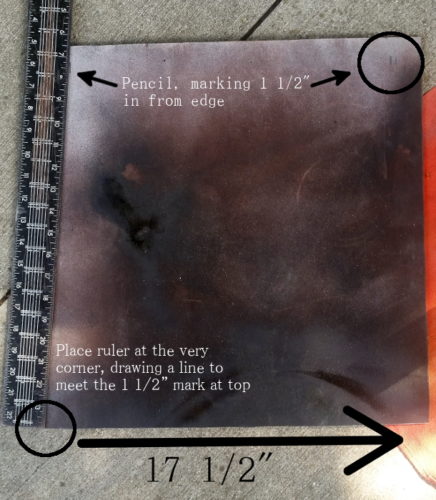
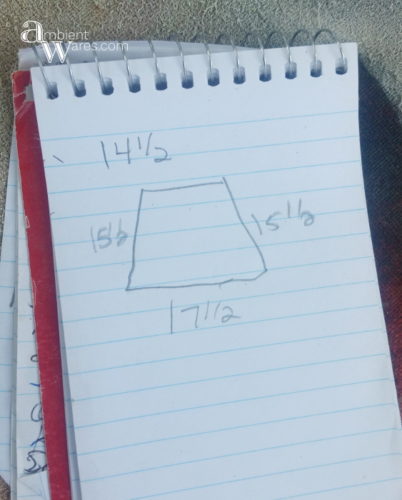
When measuring the underside, where the scrap piece would go, I found the longest edge would have to be 17 1/2″ so I cut a 17 1/2″ square.
In figuring out the taper, back to the more narrow spot of 14 1/2″, I had to subtract 14 1/2″ from 17 1/2″ which is 3″. This means I’d measure in 1 1/2″ on either side of the 14 1/2″ part and draw a straight, angled line from the 17 1/2″ sides all the way back. That would also then give me the 15 1/2″ sides I’d need.
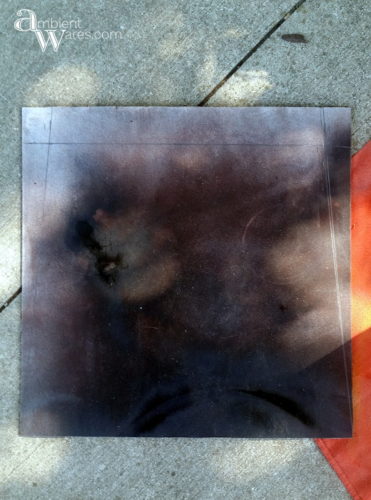
The scrap piece would now need to be cut to go around the legs and I guesstimated they’d need about a 1″ clearance and I marked those and cut those notches out.
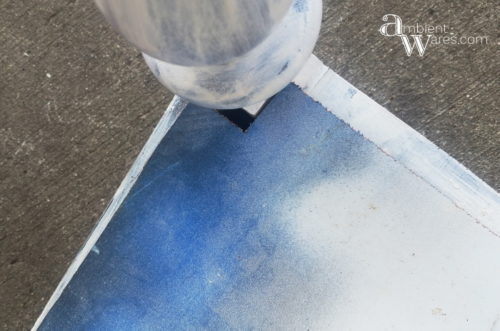
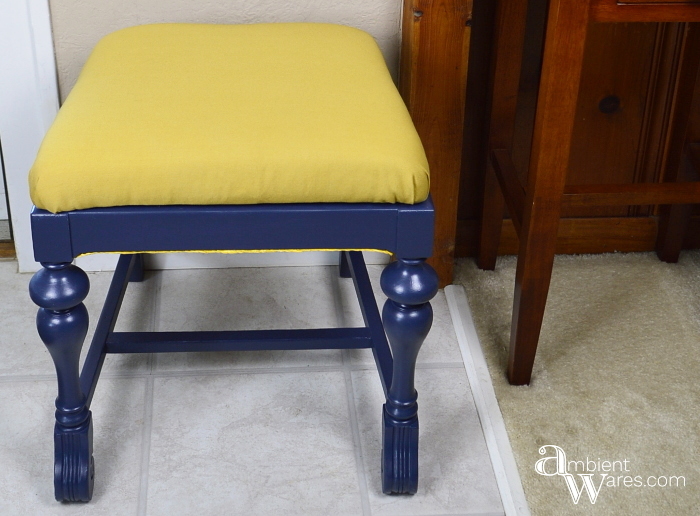
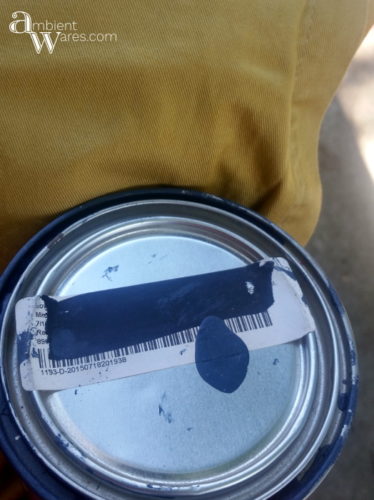
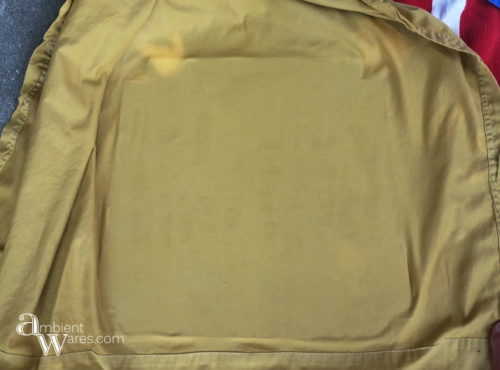
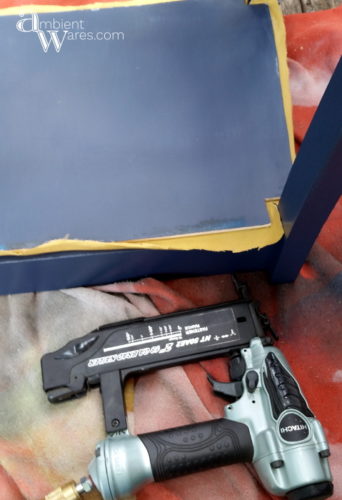
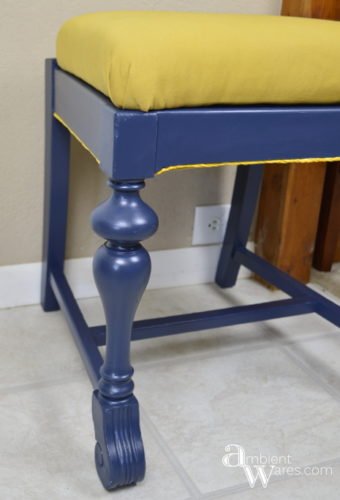
Once I’d figured out the scrap wood, I moved onto figuring out the colors I wanted on both the chair and the cushion. I rarely go out and buy something for my projects so I worked with what I had which were these 2 colors. A navy blue oops can of paint and a yellow (maize?) colored fabric. The fabric is actually a drapery panel we used to have in our dining room that I’d dyed yellow some time ago. Don’t the two colors have a nautical theme going on? It’s funny since I don’t have any nautical decor in my home.
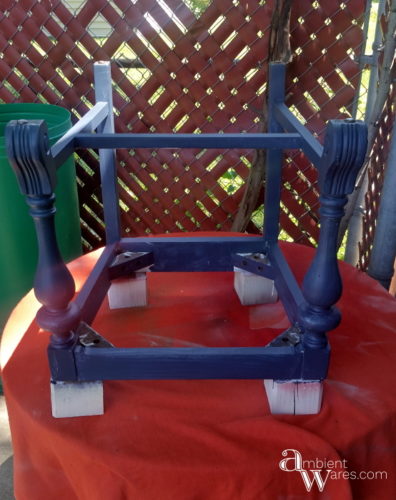
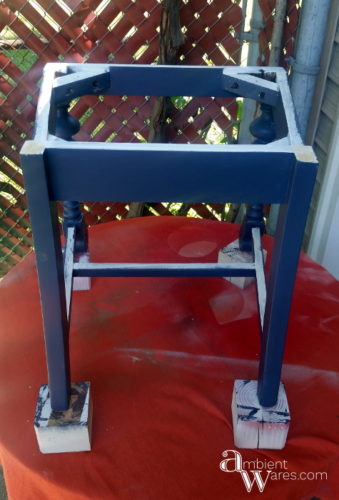
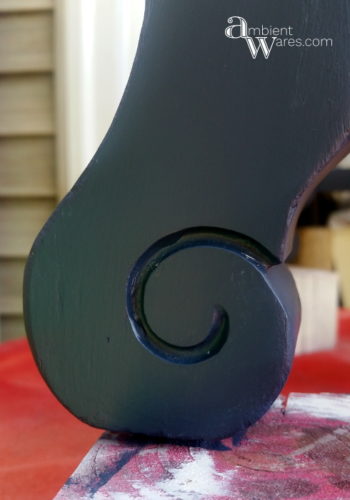
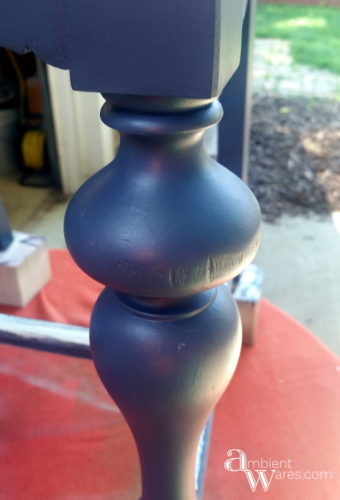
I painted the chair in a couple coats of the beautiful blue.
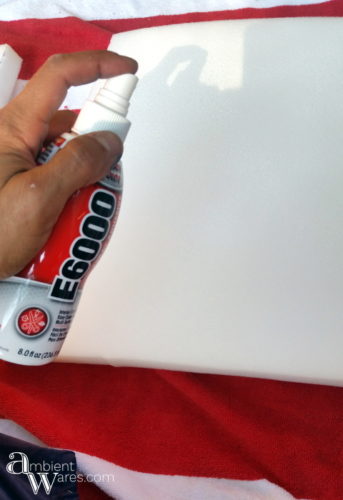
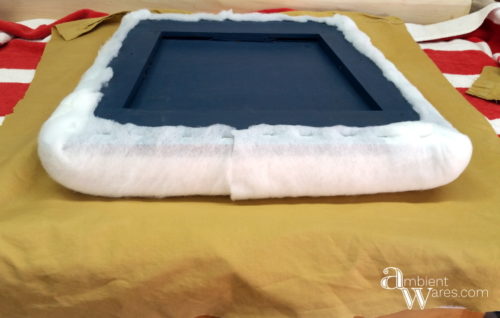
For the chair cushion, I used this video which is so straightforward. I follow each time I recover a cushion and it doesn’t dissapoint. I had 1″ thick roll of foam and decided to stack them together. I cut 2, 1″ pieces and glued them together using E6000 spray adhesive. Did you know they make E6000 in a spray now?
It’s a little steep in price but, sometimes you want the ease of a spray. I often refer to this little cheat sheet when gluing different items together. That way you know if you’re going to have a permanent or not so permanent hold. I noticed a few negative reviews of the spray and when I saw what they were trying to glue together, that they said didn’t work, a spray adhesive isn’t recommended for the materials they were using according to that sheet. Interesting
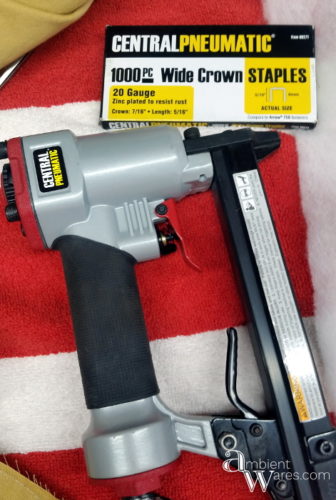
I laid the fabric down first, then batting, the foam, and finally the wooden seat. Using our staple gun, I stapled the batting first, then the fabric. I could have/should have pulled the fabric tighter really.
As for the “shelf” which will be the bottom of the new storage area, I used wood glue on the scrap piece of wood, laying the fabric onto it and smoothing it out. Once the glue was dry, I trimmed up the fabric with enough overhang that I’d be able to fold it over and glue down.
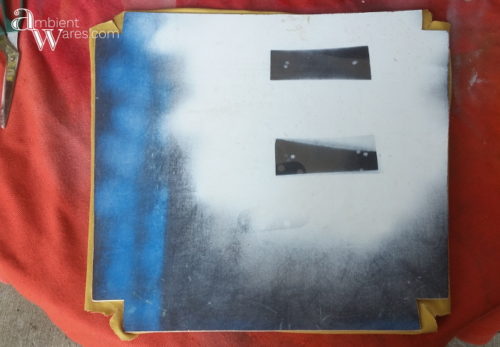
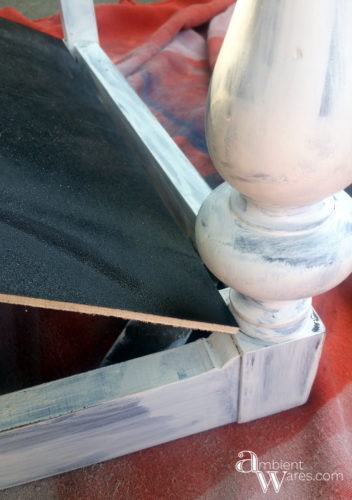
I forgot to paint the exposed bottom of the shelf and even though it won’t be seen, I thought it needed to be done. I painted a coat of blue carefully since the fabric was glued to the other side.
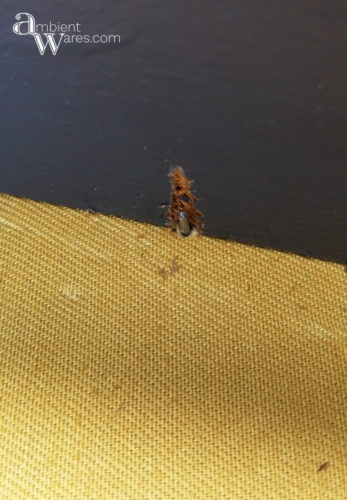
This is why I suggest doing the bottom shelf the way I did on my other chair instead of how I tried on this one. The edges of the chair are thin and I had to be super careful about my air nailer going through the wood and showing. Of course, that’s what I did because I wasn’t careful enough. A nail went right through the edge. All I did was remove the nail (which is a pain) and painted over the now dented part.
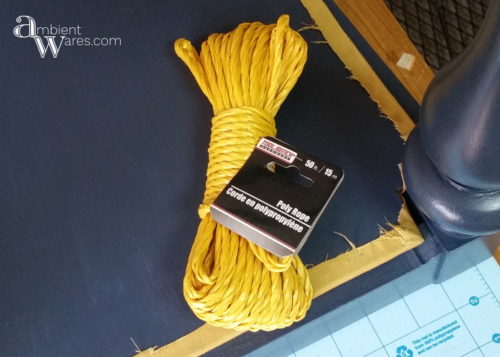
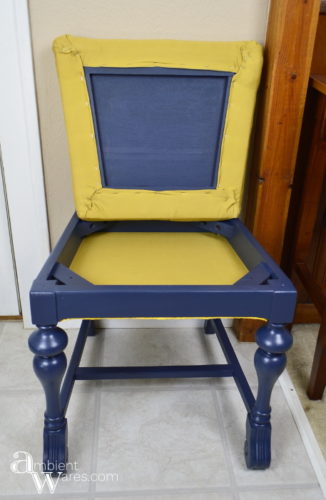
Now that it’s all together and the overhang of the fabric is glued down, I see that the shelf I just installed can be seen when the chair is sitting upright. I had a few differnt colored poly ropes that were very thin and I think if I’d had 1/2″ thick rope it would’ve been perfect. I used the thin poly by hot gluing it around the underside to “hide” the shelf and it only kinda sorta did. I like how it turned out but, like I said 1/2″ probably would’ve been better.
It unwound very easily so I kept having to twist it tight.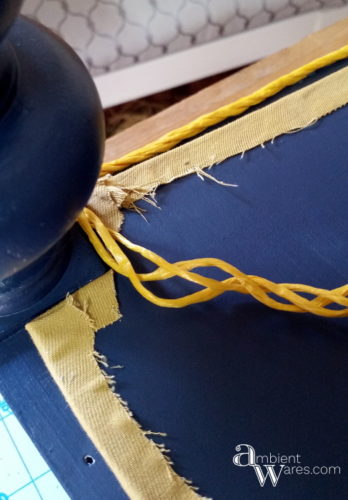
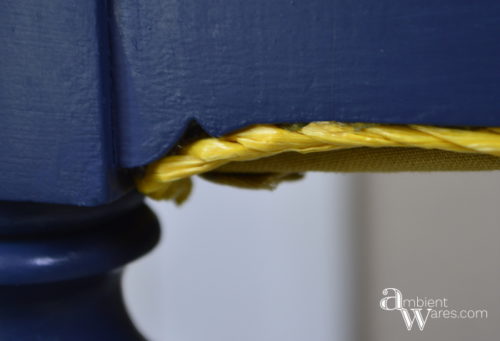
Then I just hot glued it where the ends met. This goes against what the cheat sheet recommends but, I hope to add a thicker rope one of these days 😉 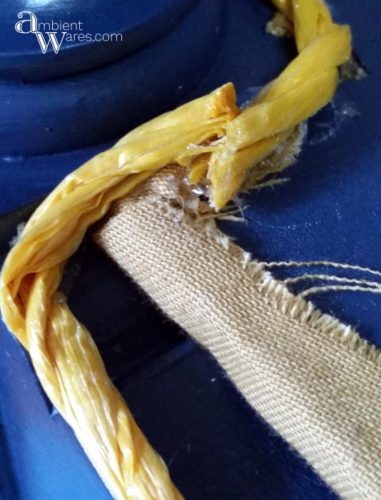
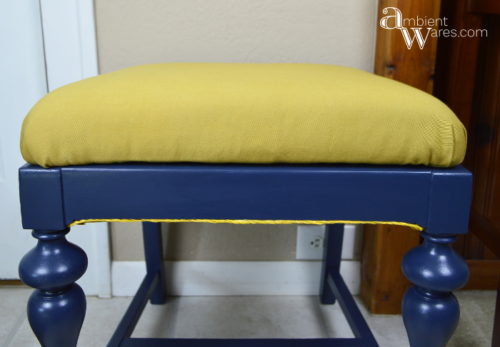
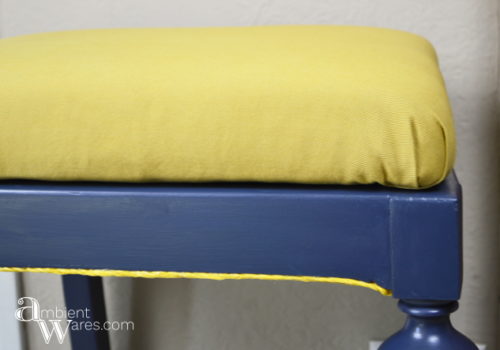
So, there you have it. Now you can refurbish your own chair with a little hidden storage compartment in any color scheme you’d like. I’m kinda diggin’ the whole nautical theme room decor and I like the addition of it just to the inside of our front door. I guess I’ll need to find something that’s the right height for a foot stool in front of the couch and make yet another compartment so I can toss the remotes in it. Now, I’m not quite sure what I’ll be storing inside this one.
Here you can see why a wider rope would be nice. Although, I will never be this low staring at the bottom of the chair.


Just so you know, I have been inspired by you to take a chair apart. I am not going to do the same thing but chair dismemberment is a good thing, right? Anyway I am very impressed with this chair makeover and the storage is so cute and sneaky too.
Yes, take that chair apart, Mary! I do love a sneaky project 😉 Thanks!
This chair looks a lot like one we had while I was growing up, but it had taller legs. We called it the sewing stool because it was the right height forsitting at the treddle sewing machine, and the storage space was perfect for spools of thread, tape measure, scissors, and pin cushions.
If my mom were still living, I would now have to ask her if it was a repurposed
Hi Mel! That’s so interesting. I never even thought about putting it in front of the sewing machine but, that’s a great idea. Thank you for sharing. I greatly appreciate you taking the time to comment 🙂
So cool! I’ve never thought to add storage to a chair, but I could always use more places to put things!
Thanks, Natasha. Now, I feel the need to add storage to almost every chair I redo 😉
Ha! I’ve been guilty of not measuring too! Far more times than I should have…LOL Love the bright colors of your stool, the yellow pops out a nautical look against the blue for sure! Pinned 🙂
Thank you so much, Wendi! It was so funny when I realized it wouldn’t fit and then I just felt silly 😀
I’ve been wondering why you were hacking the back of a chair off, since you first put it on your FB page Angie. Now it all makes sense 😉 What a great idea to add storage inside the seat area and that yellow and blue works really well together. What are you going to do with the back?
Thanks, Michelle 🙂 I’m not quite sure just yet what I’ll do with the back but, I was thinking a simple chalkboard. I dunno though!
It would make a great shelf too 😉
Very true. Hmmm, we shall see 🙂