Making shelves is something I’ve wanted to do for a long time now and I need to make more. I think some basement shelving would be awesome in our short 5’ 5” tall basement. Having a small home is wonderful. It forces us to question everything we bring in to the house. However, we still have too much stuff. We have a back “mudroom” that is pretty much overflow of the kitchen. However, there are plenty of other things we can add to this shelving unit. It just keeps adding up.
Please know some links in this post are affiliate links. If you click on a link and make a purchase, I may receive a small commission with no extra cost to you. Thank you. Click here for my full disclosure.
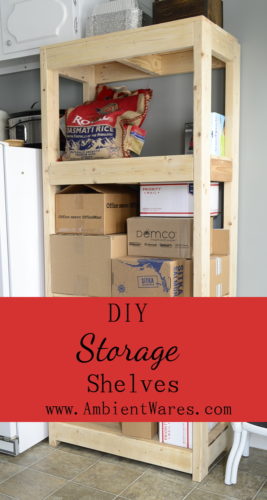
Materials we used
- 4 – 10′ 2x4s – We already had these (Under $6 each at our local hardware store)
- Miscellaneous scrap 2x4s – For the individual shelf frames
- Kreg Jig R3 (Screwing and gluing would work too)
- Kreg Jig Screws
- Drill
- Pencil
- Rulers
- Square
- Clamps
- Miter Saw
- Pallet Wood
- DeWalt Planer (we used an older version)
- Hand Sander
- Sand Paper
- Air Compressor
- Brad Nailer
- Brad Nails
DIY Shelving Unit using 2x4s and Pallet Wood
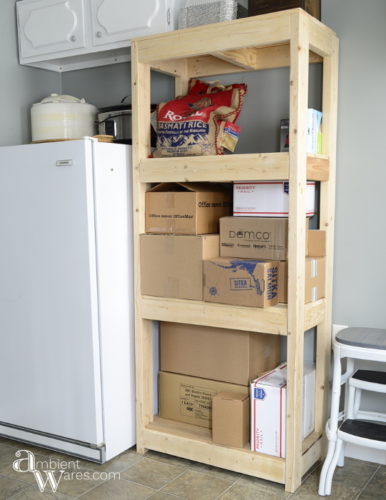
The first thing is to figure out the dimensions of the shelf you need. We figured we needed approximately 72” tall x 30” wide x 17” deep. I wanted to avoid hitting the shelf above our freezer and blocking an outlet, so I took that into account.
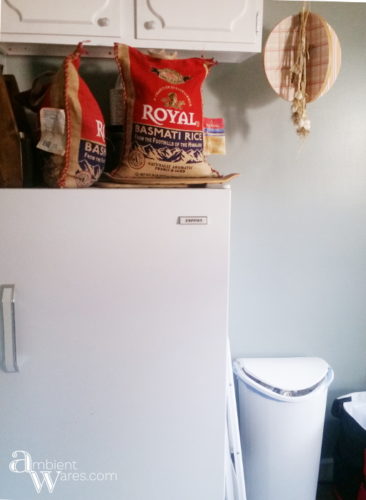
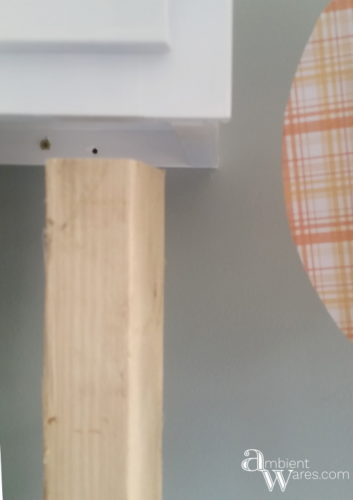
Cut the legs of your shelf to the right height. We cut four of the 10’ – 2x4s first, to the 72” height and took them inside to make sure they fit.
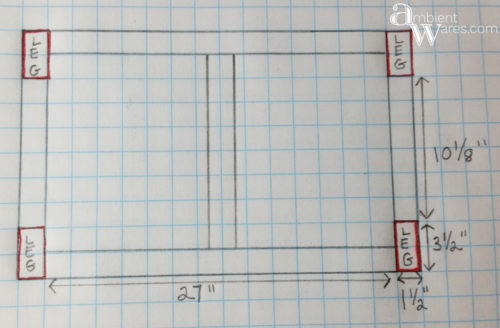
 This is how the shelf will look from the top view and how each shelf’s frame will look. Your dimensions will of course differ from ours but, the set up can be the same. We cut the front cross bars (27”) and the side cross bars (10 1/8”) to length for all of the shelves using scrap 2×4 wood.
 Using the Kreg Jig R3, which I was lucky enough to win from Bre, over at Average But Inspired, we got all the holes ready. The Kreg Jig R3 is much more capable then how we used it but, the nice thing is it has all the measurements you need right on the tool itself. We have a Kreg Jig mini which is awesome but, doesn’t have the measurements on it for placement. We built a frame for an old refrigerator glass shelf using the Kreg Jig mini.
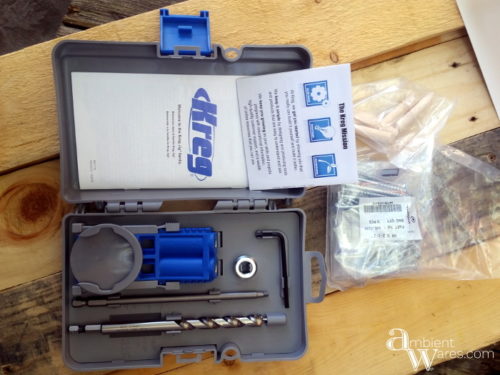
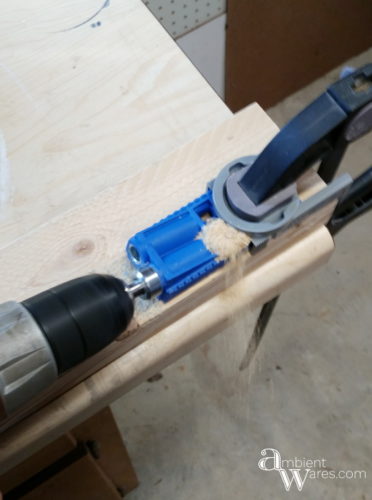
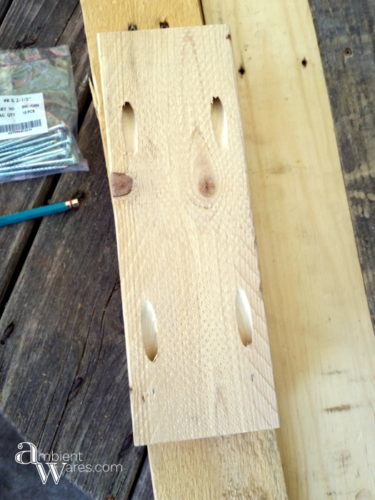
We drilled holes just like this, 2 at each end, of the 27″ and 10 1/8″ support pieces. The only pieces we didn’t drill pocket holes were the 72″ legs.
 We wanted the bottom shelf to sit about an inch off the ground so we put a scrap wood spacer in before we attached the shorter cross bars
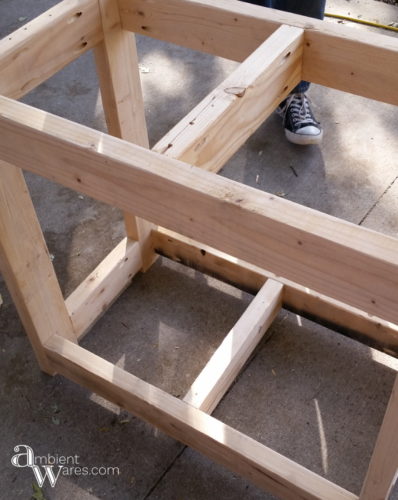
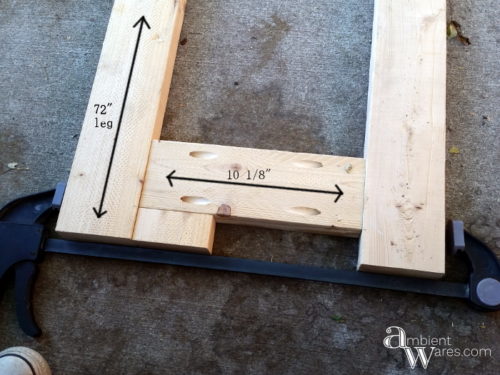 We installed those shorter side top and bottom pieces and we now had our 2 side frames built.
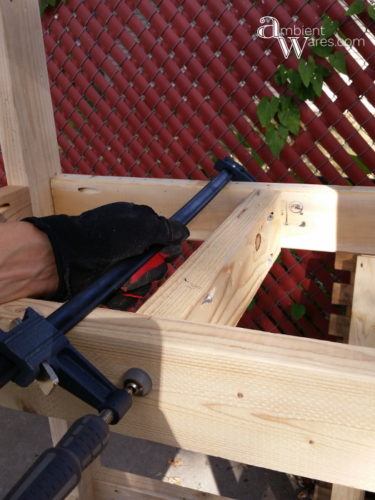
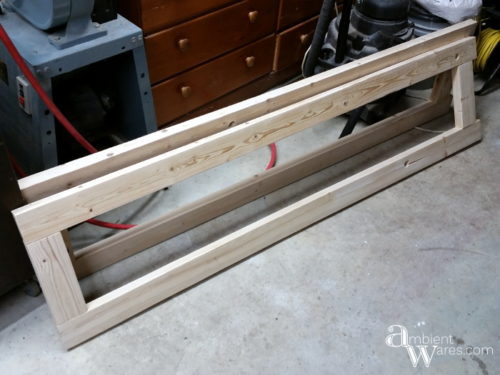 Laying one of the frames down, we attached the longer crossbars first, clamping them down tight and using a scrap piece to ensure it stayed as straight as possible.
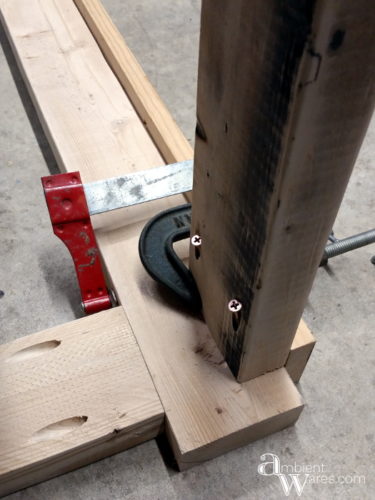
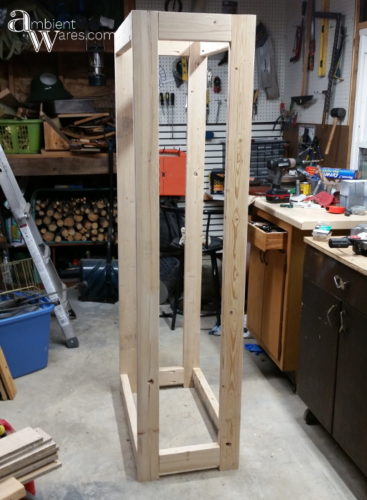
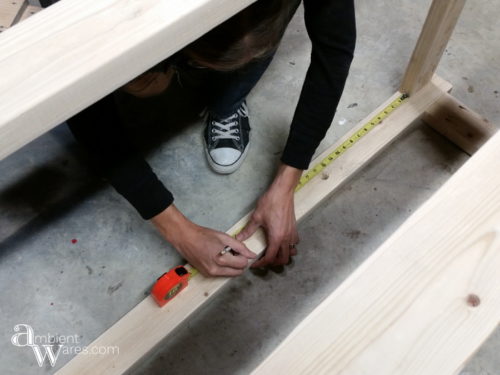 The last thing we added were the support pieces that will go under the middle of each shelf.
 We used pallet wood to make the shelves. Can you believe I’ve never used pallet wood for a project before? When we were given 2 old pallets, we purchased a pallet breaker similar to this and it’s amazing. Just know you’ll have to purchase the right sized pipe to fit it. It made taking our pallets apart ridiculously easy.
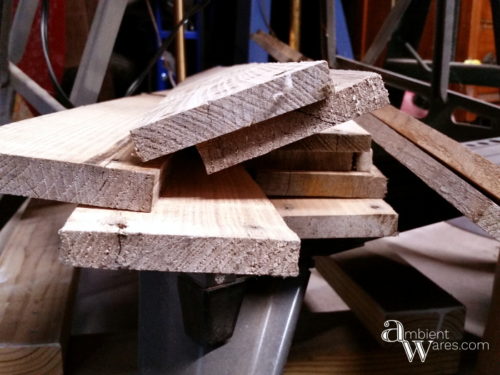
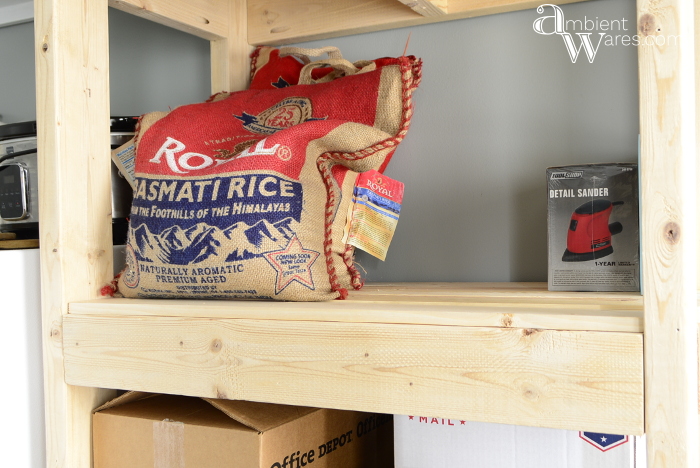
3 pieces of pallet wood fit nicely in between leaving a tiny gap and some of the pallet wood was warped and more narrow in certain places but, I can’t be picky here. We’re talking free material. The front pallet piece and the back pallet piece were shorter than the rest due to the frame’s legs. So, a total of 5 pallet pieces were used per shelf.
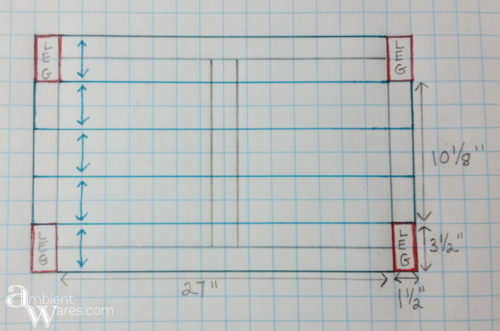
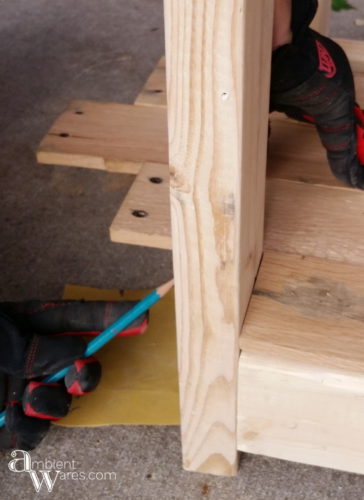
Instead of actually measuring the length of the pallet wood we’d need to cut, we laid the 3 center pieces over the side supports and drew in pencil from underneath. Then we cut with the miter saw.
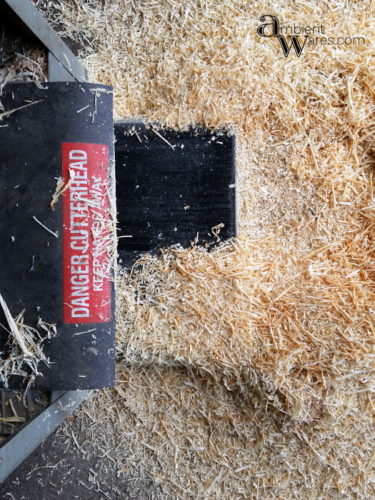
I should say the pallet wood was extremely rough and I’m lucky enough that my dad has a planer. I’ve never used it until this shelf project and it is my goal in life to own one. I also have to say, I used to get frustrated when I read the tools that a blogger used with which I didn’t own or would never buy or didn’t have the money to buy so, I’m wondering if you’re thinking this right now. It is nice however, when you know someone who has the exact tool you need.
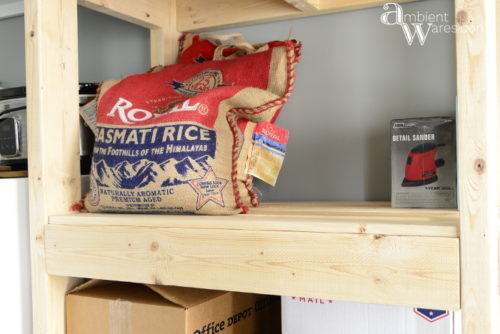
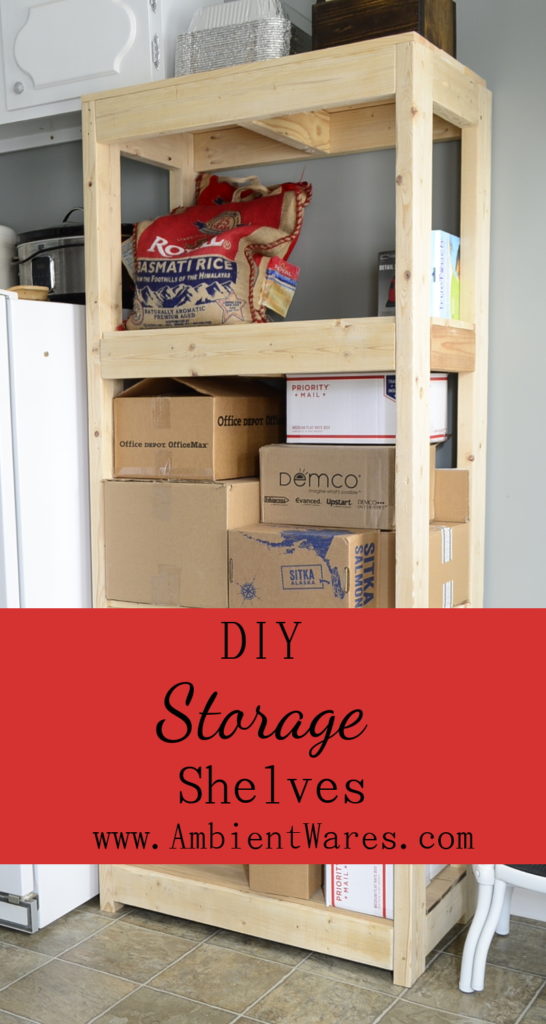
I’ve already filled it up with some miscellaneous items as well as with products we sell on Etsy and Ebay. When things are boxed up they take up a lot more room and I was getting claustrophobic in my upstairs attic office. I’m not that good about listing but, it’s projects like this shelving unit that allow me to do more of the things I need to. At least that’s what I keep telling myself. Are you a shelving junkie?
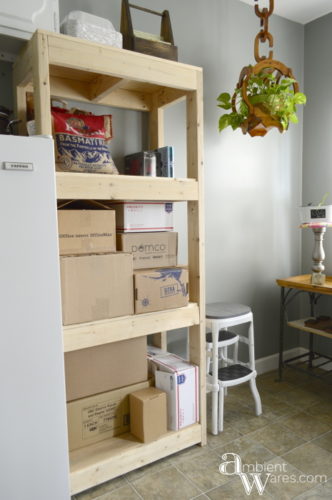


Good job Angie! That’s one nice, sturdy shelf. I am desperate for some shelves in my garage. I wish I had a basement for storage like you do. We have too much stuff in our small home in Fl too and it’s always a challenge. I’m loving planers too lately! I’ve been using one here and am now scheming to get one for home. Pinned your super shelf !
Thanks, Wendi! Is it strange that I check the sturdiness of the shelving daily because I’m so amazed by it 😉 It’s a constant struggle to organize the things we need since we don’t have much that we don’t need. I’m so in love with the planer and as I said, it’s my goal to get one! Thank you as well for pinning 🙂
What!!! You’ve never used pallets before to make something. Isn’t it fun trying to figure out what pieces will fit together? I wish we had a planer though, it would mean less sanding to get those bumbs and wobbles out. But, saw dust is good for the garden 😉 I love how you made your shelf BTW, the instructions are so clear and congrats on winning that Kreg Jig. I still need to figure out how it works. Can you make a video of that too?
Hehe! I’m definitely no expert at the Kreg Jig, Michelle 🙂 This project went so smoothly with it but, another project I’m working on is hilarious. I can’t get a 1″ screw to sink into the wood and I have no idea why. I also can’t find any info on-line as to why it could be happening since I’m doing everything they recommmend. Will that stop me? No but, it ain’t pretty. The planer is seriously the best tool I’ve ever used and the pallet wood went through like butter!