My brother in law texted me one day and asked if I wouldn’t mind taking a look at a broken dresser drawer from his son’s dresser wondering if I’d be able to repair it. Seeing the picture he sent me, I’d asked if it was just coming apart. He said, yep, the drawer side is coming apart and there isn’t much teeth left and that he’d tried fixing it to no avail. All I said was, I’d be willing to try.
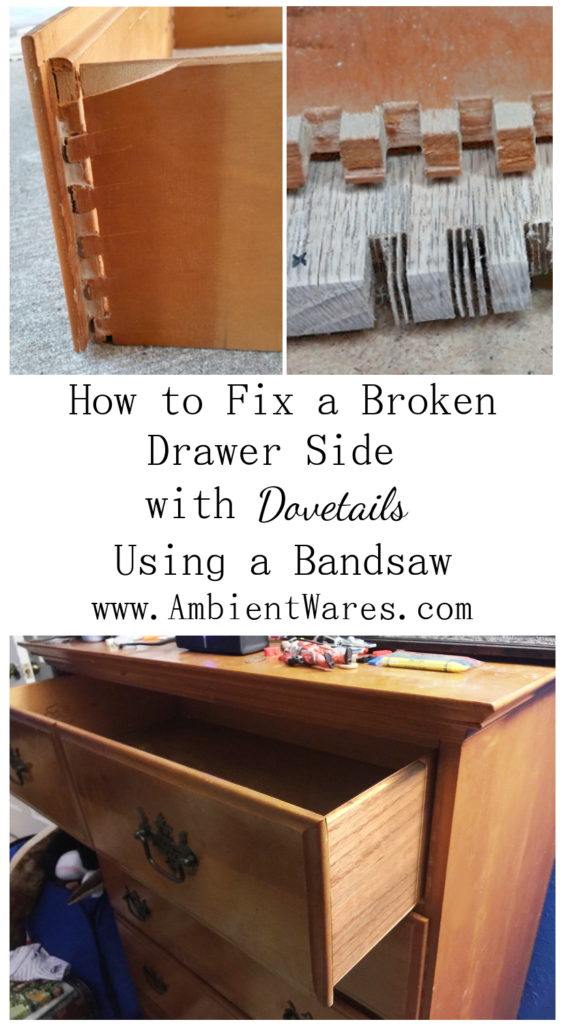
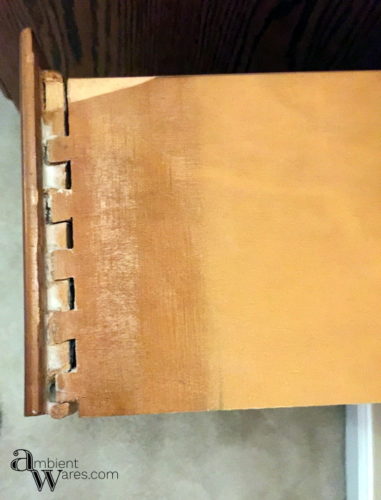 How to Fix a Broken Drawer Side with Dovetails Using a Bandsaw
The next thing I know, he’s in town dropping off both the drawer and tons of meat for us. Payment for me to fix it. Oh man, I better do this right is all I could think of. We sat on it for a couple weeks, ate all the food, and tried to figure out how to repair this drawer.
A closer look at it gave us the shivers. Why did I say I’d look at this? Why did I except all that delicious food? Mind you, I wanted to keep the integrity of the drawer and keep the dovetails. It was my husband’s grandfather’s dresser handed down to my nephew. I didn’t want it to look repaired.
After awhile we came to the conclusion that we might just be able to fix it using the bandsaw. Sure, it would be tedious and slow but, that’s the only tool we felt was thin enough to make the notches. In all honesty, Joe totally did the work.
Here’s the before and the right side is the broken side. The back right corner is actually fine, it’s just the upper front that sits behind the drawer front that’s a mess.
Please know some links in this post are affiliate links. If you click on a link and make a purchase, I may receive a small commission with no extra cost to you. Thank you. Click here for my full disclosure.
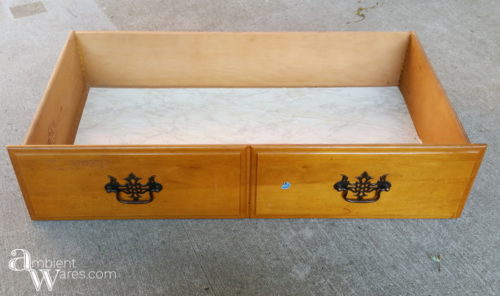
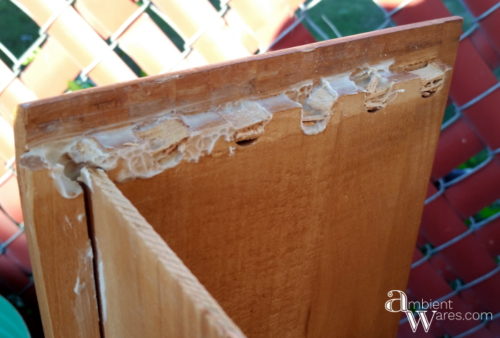
This view is from the back side of the broken part.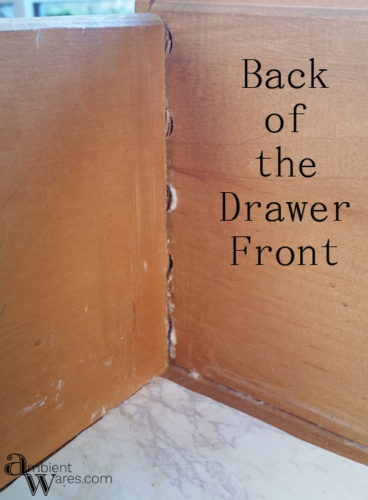
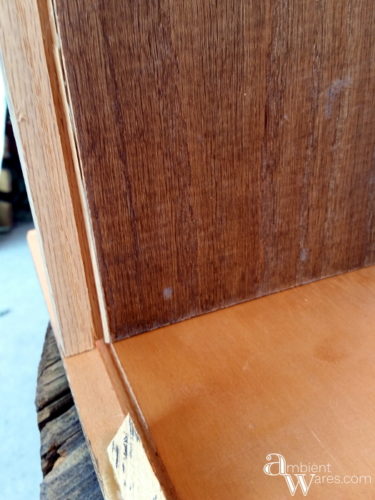
This is the back corner of the broken side. Nothing wrong with this corner but, we’re going to have to remove it.
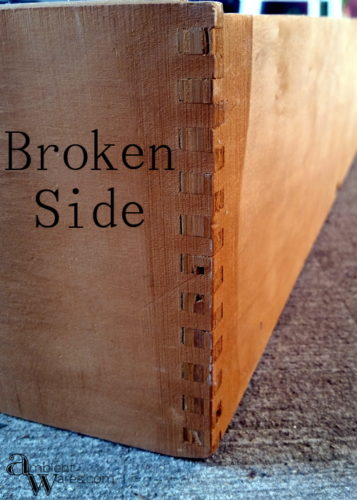
We first tapped the drawer side off and out using a combination of the heat gun and a mallet. Always be careful with the heat gun and don’t keep it one spot for too long.
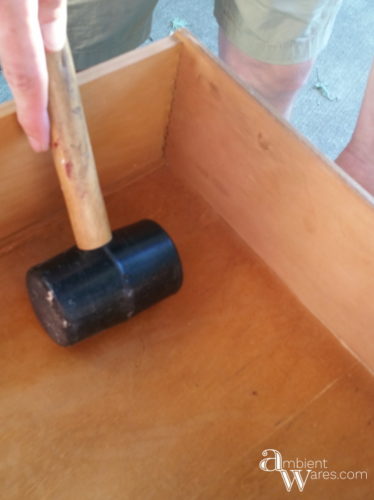
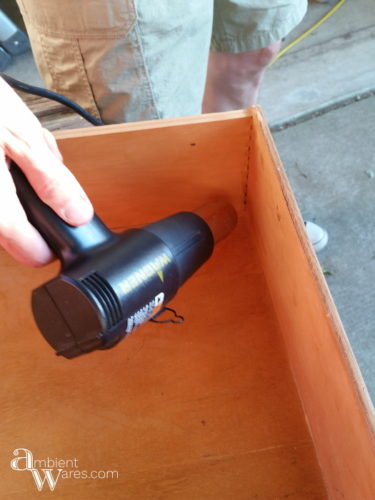 Now the broken drawer side is out.
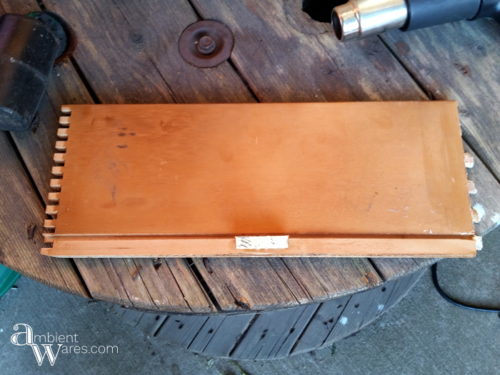
Heres the part that was up against the drawer front. It was covered in wood glue and missing pieces.
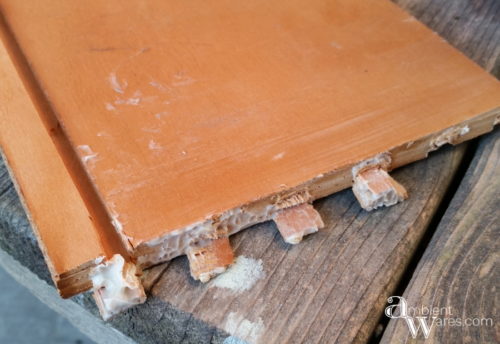
This is what the drawer front looked like after the broken side piece was removed. It’s a mess. Wood chunks from the drawer side had broken off over time on top of being glued over and over.
Some time ago, I was given a bunch of old drawers and after awhile realized I probably wasn’t going to do anything with them as drawers so I broke every one of them down. I’m so happy I kept the drawer sides never thinking we’d actually need one to repair one.
Did you know you can actually purchase drawer sides that you then cut to length you need? I had no idea until we started working on this one but, since I had the drawer sides, I didn’t have to worry about it.
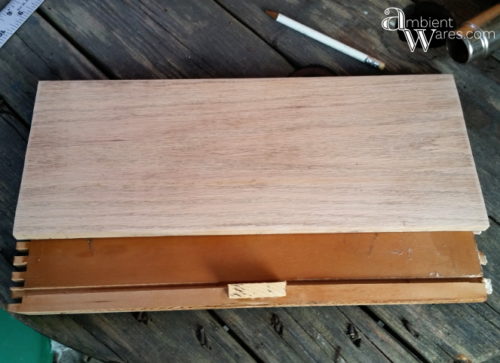
The darker wood on top is the new side. The bottom piece is the broken one. Just making sure it wasn’t too small.
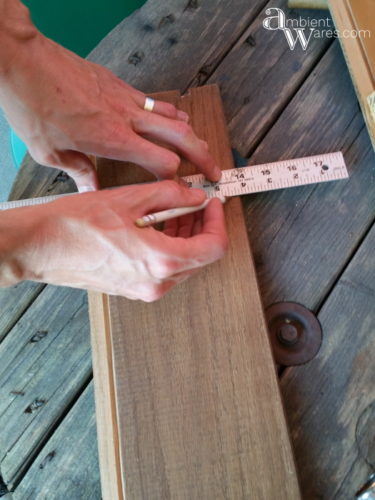
We marked a line on the new drawer where we’d cut it to length.
You might also have to trim down the height of the drawer side which we did and again, used the bandsaw. Just remember to not trim the side where the recess is. That’s what the bottom of the dresser drawer will slide into. Another thing to check is the thickness of the wood. Ours was OK.
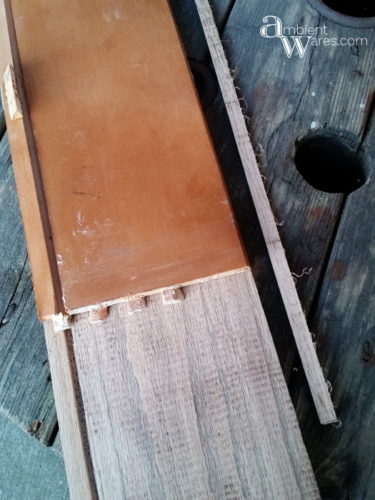
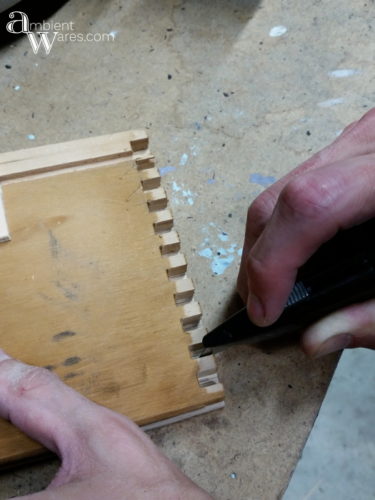
Here comes the tedious part. The old drawer’s dovetails need to be transferred onto the new piece of wood. We didn’t have a lot of room to work with so we used our utility knife to score the notches.
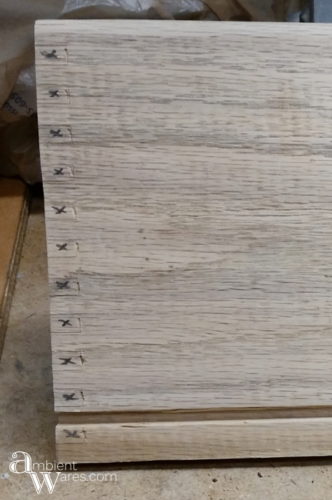
The X markings will help us keep straight what parts needed to be cut out. It all started to look the same so they definitely helped.
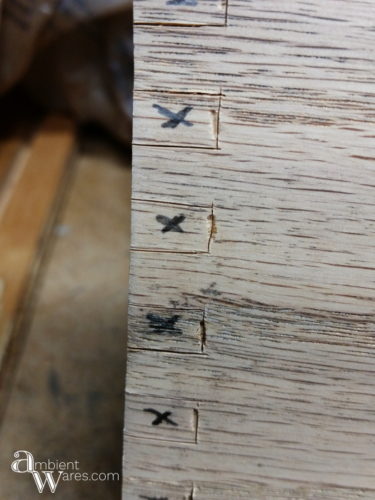
This is the other end of the broken drawer. The worst side. The dovetails are very different as far as shape and size. What’s difficult is that most of the pieces are broken. We did our best in tracing them out but, knew full well, we’d most likely have to alter them further. We didn’t want to take away too much.
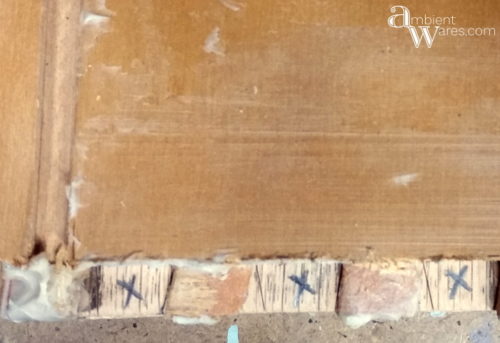
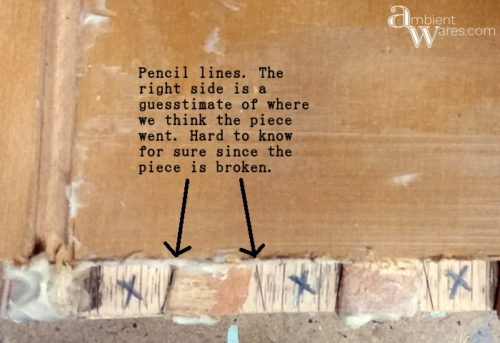 Again, the X’s are what we’ll be removing.
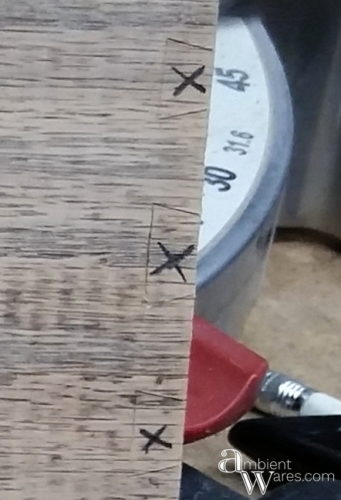
Next up, the bandsaw. It was the only tool we had we felt was small enough to slice those Xs out. Since the X is what you’ll need to remove, you place the blade to the inside of your line. The blade was slid in slightly multiple times and then the slits were chiseled out.
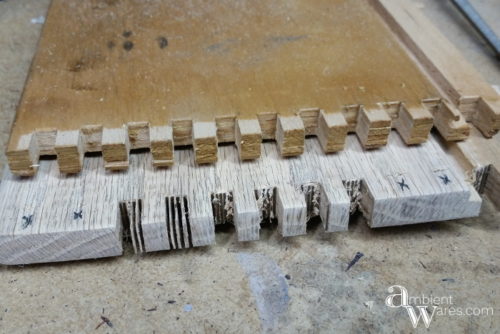
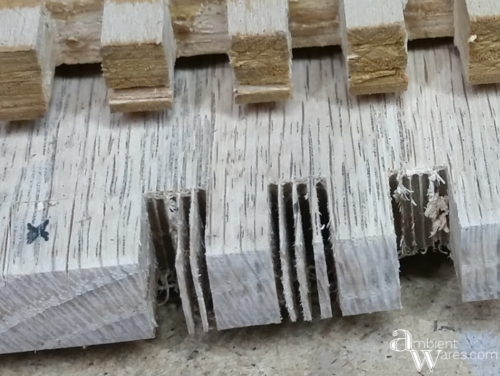
Out of all of our chisels, we didn’t have one small enough to fit in between these notches to tap out the thin slats so we used a screwdriver.
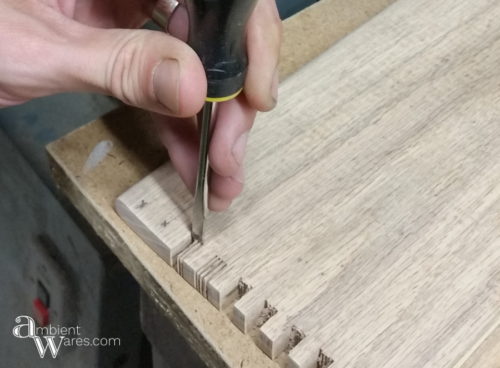
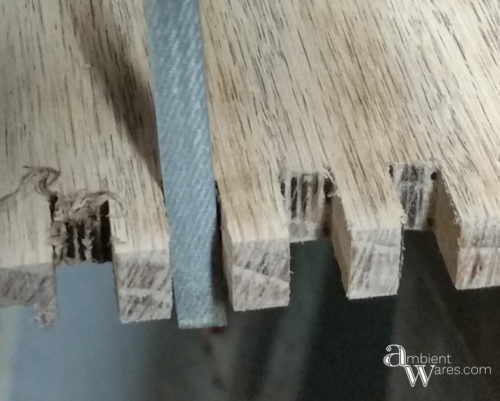
We then filed it down with handy little filers similar to these.
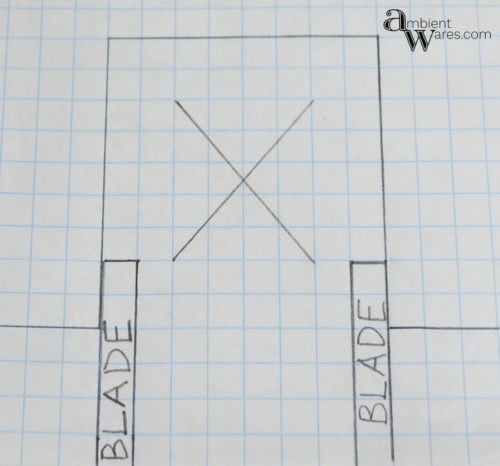
I used to have issues where I’d measure what I needed to cut and then use the jigsaw or the bandsaw. I didn’t understand why most of my cuts were usually off. How can that be? I’m measuring correctly.
Joe explained to me that it depends on where you place the blade. You place it within the side you want removed. I attempted to draw a little image trying to explain it. Don’t know if it’ll help at all. My cuts aren’t always perfect but, just that little bit of info helped out so much.
Remember the really bad part of the drawer our new drawer side will have to fit within? We did have to scrape out all of the wood bits and glue.

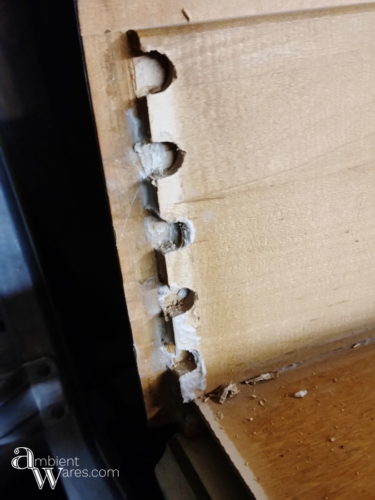
Here’s the new drawer side we’re trying to place and the notches are too big. Remember, these are what we thought we’d have to really trim down. Besides, now that the junk has been cleared out, we see the dovetails need to be rounded, not flat ended.
Joe marked in pencil the parts to trim off. It was a guesstimate but, he knew it wouldn’t be a lot. He then trimmed them up with the bandaw.
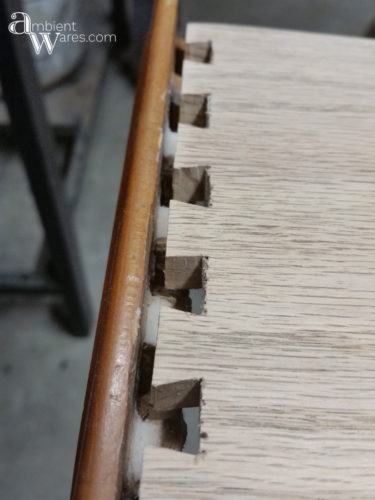
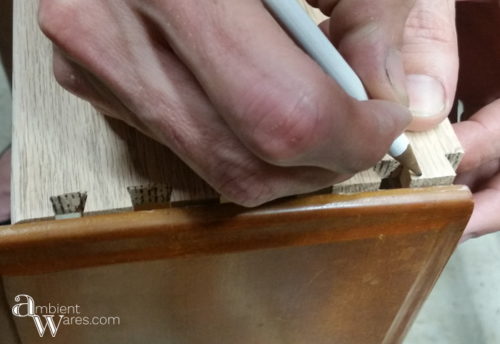
To replicate the rounded holes that these pieces will be glued to, we used a chisel and a hammer followed by sandpaper to get that curvature needed. The rounded parts will be what’s glued down.
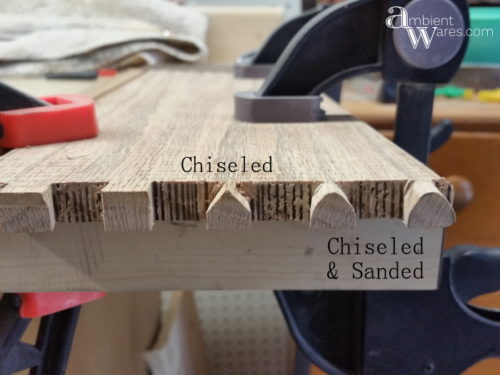
Then it was wood glue time baby.
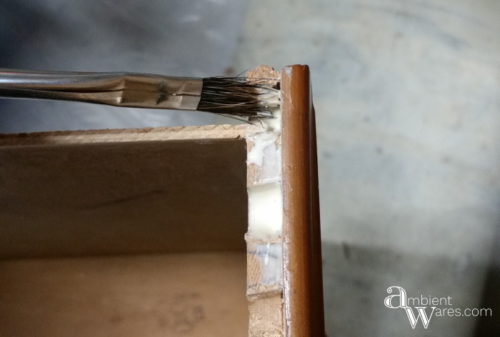
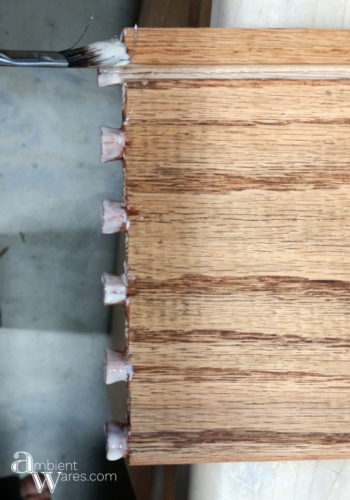
It fits beautifully.
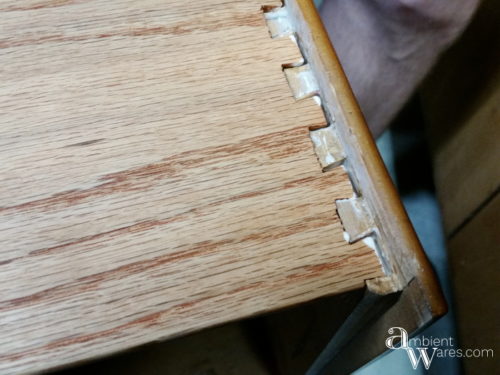
The back corner.
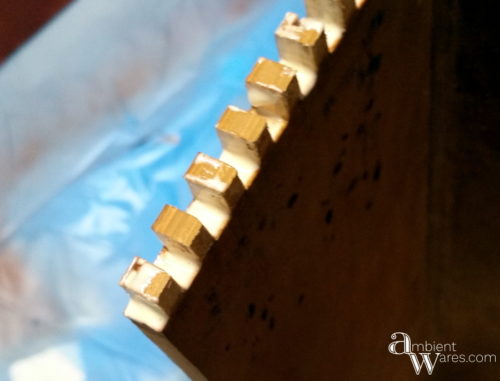
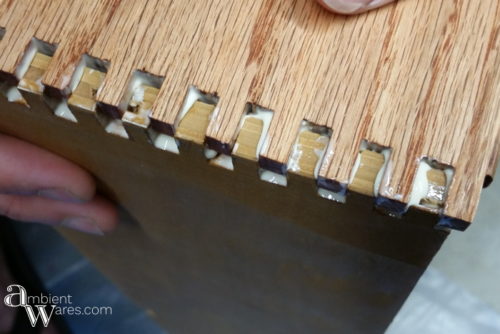
Once everything was glued and snug, it was clamped overnight. A few different colors of wood stain we had on hand were used to match the dresser. It’s definitely not perfect but, it’s pretty darn close
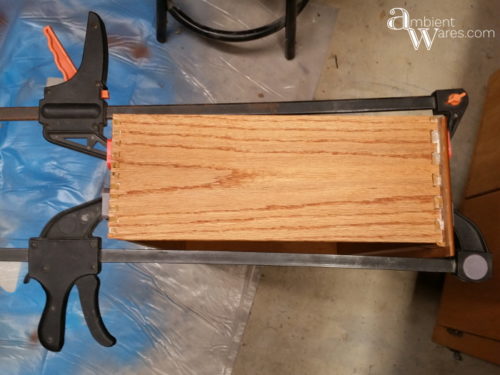
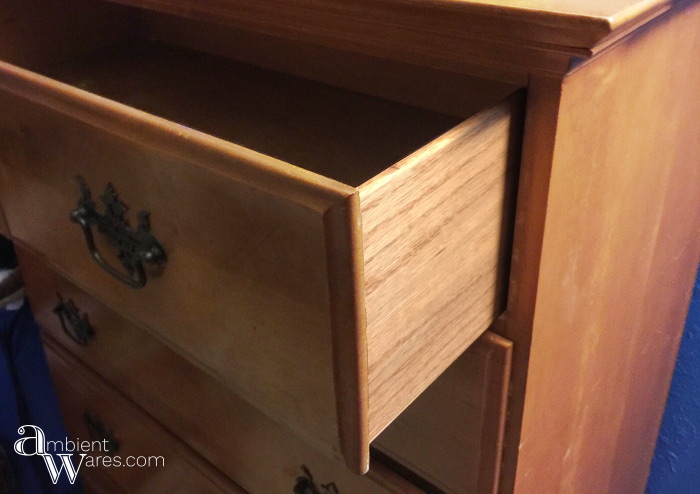
Here it is all done and before my brother in law picked it up. It’s funny, the picture above was taken inside our garage and shows the color better.
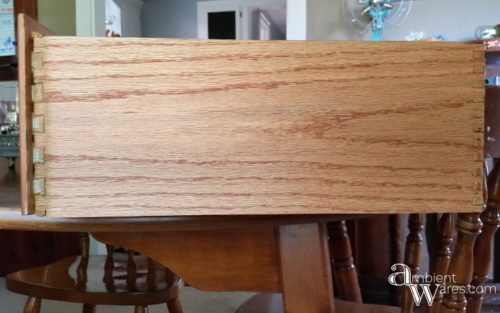
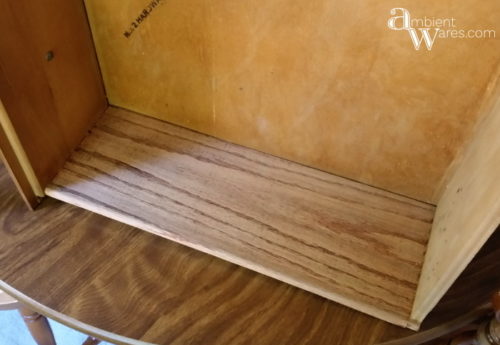
They live 4 hours away and we couldn’t wait to hear from him to see if it fit. Then, we got this.
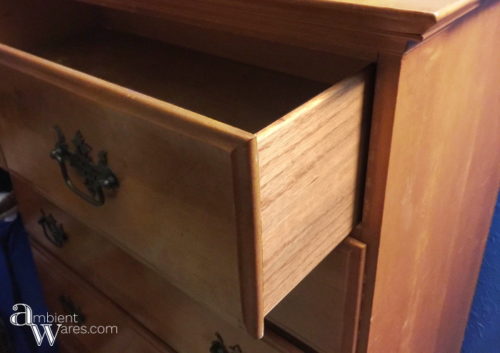 Woohoo it fit! Have you ever fixed a broken drawer before? What would you have done differently?
I’m happy to say they also took the tube TV I turned into a chalkboard and organization station and I hear the kiddos love it.



That’s a lot of work but for something that’s been handed down it’s so completely worth it Angie. And the idea of using another drawer side to replace the badly damaged one really works for me. The hubby did an amazing job, I’m glad you BIL trusted you guys with the fix.
It really couldn’t have turned out any better, Michelle. Outside of the different type of wood used, you can’t tell at all that it was repaired. It’s nice to know that if anyone needs us to fix a drawer side, we can definitely do it 😉
Thank you for this timely, amazing post, because I have a few drawers that needs repairing in an old dresser I have. Got to get my hubby working on this.
I definitely hope this helps your hubby repair some drawers! I think the biggest thing is, you just need to go slow. Would love to see how the drawers turn out. Thanks, Ivory!
That is amazing and very tedious work! Great job!!
It was definitely tedious but, to have an exact copy of the original drawer side was so important for us to achieve. Thanks, Angie 🙂