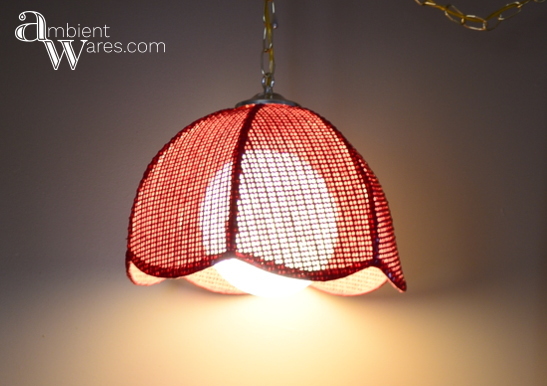
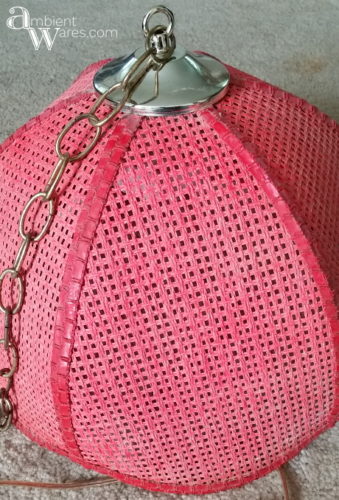
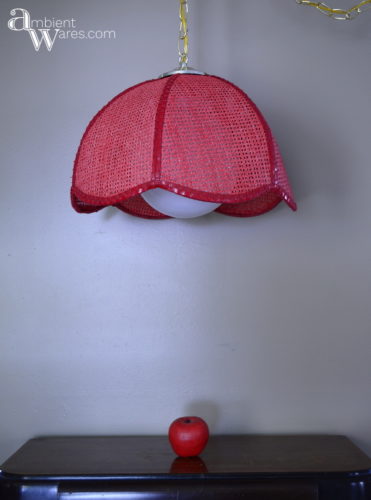
I found this awesome vintage pendant lamp at our local Habitat some months back and would you believe I noticed in the 2nd season of Stranger Things (if you don’t have Netflix, get it for this show alone) that this very same pendant lamp was above Ms. Byers dining room table? My new lamp. Is a prop. On an awesome show. I think it was white but, it was the exact same. Feel free to watch it and let me know if I’m mistaken. Because you should totally watch it.

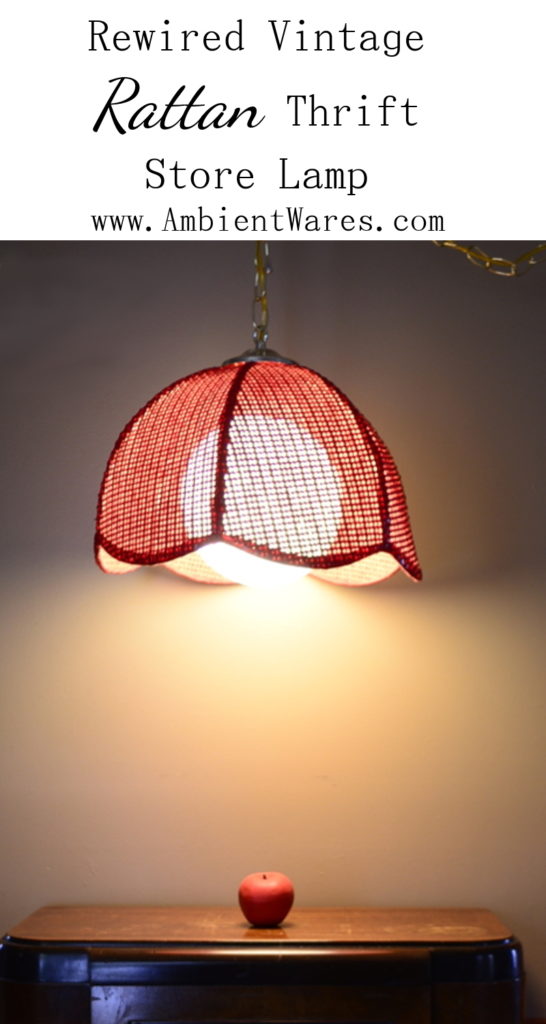
How To Rewire a Vintage Swag Lamp Using a Light Kit
This originally would have hung directly from the ceiling by the gold piece plopped on to the top of the shade but, I really wanted to make it a pendant lamp instead. If I could make every lamp a pendant lamp, I think I would. They’re just too cool.
Please know some links in this post are affiliate links. If you click on a link and make a purchase, I may receive a small commission with no extra cost to you. Thank you. Click here for my full disclosure.
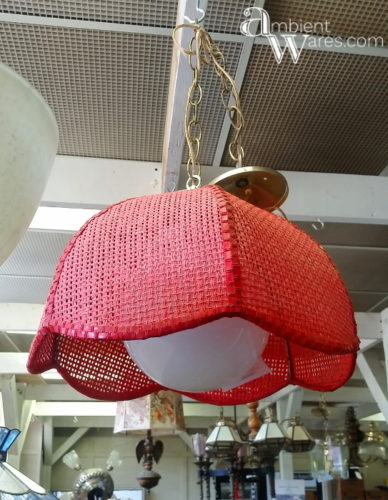
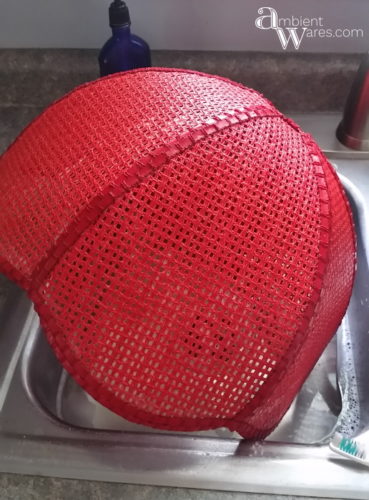
I brought it home and almost immediately took it apart. The wicker was incredibly dusty.


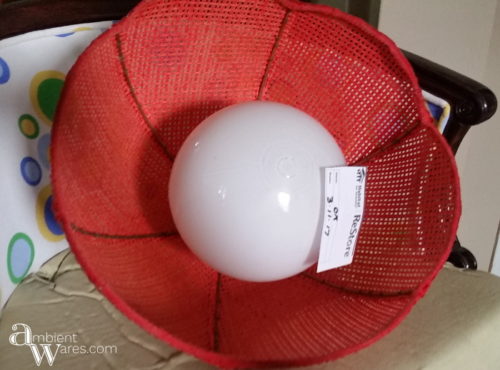
I unscrewed the glass globe and pulled the socket and the cord right out.
Then I removed the finial and the chain from the top.
I put it in the sink wiping it down with a damp rag and toothbrush for all the little crevices.
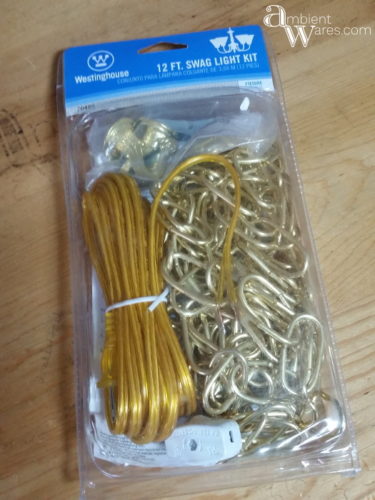
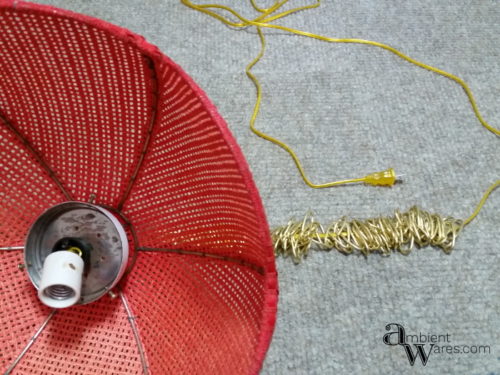
I’d purchased a gold colored 12’ swag light kit since the original wires and chains were gold.
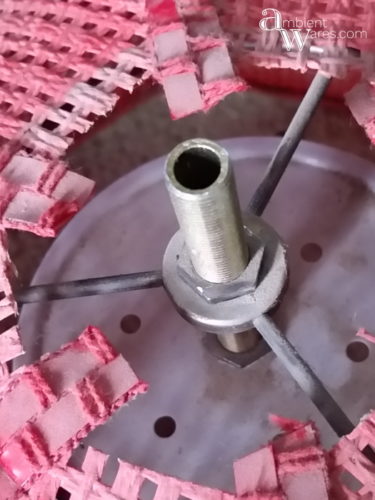
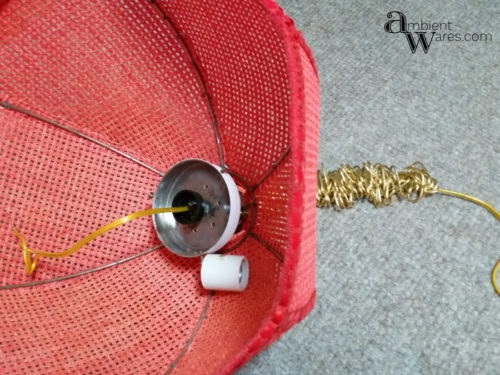
Now, this pendant light was originally fitted to be a ceiling fixture. In order to make it a swag light, I just needed to get rid of the piece that would have sat flush with the ceiling which is the piece on the right.
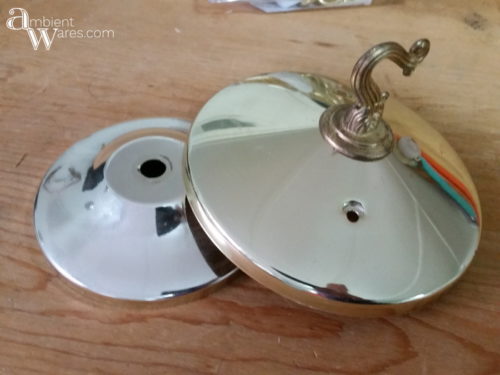
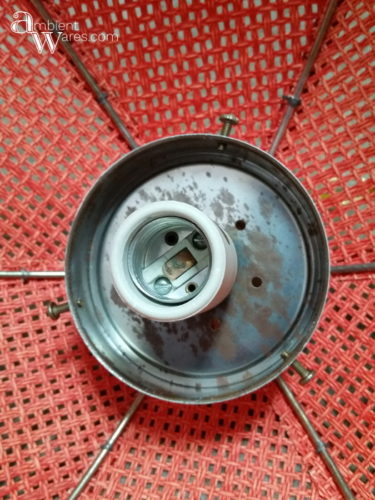
A reminder of what it looked like before I took it apart
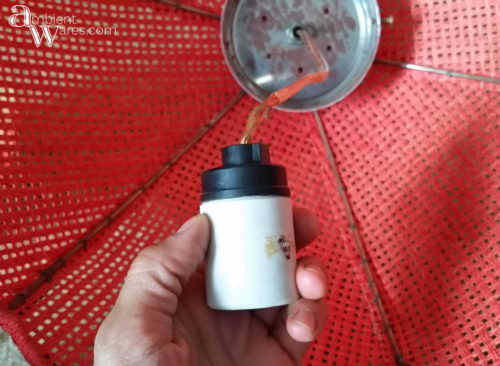
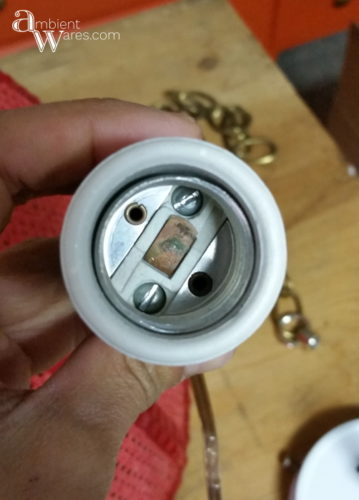
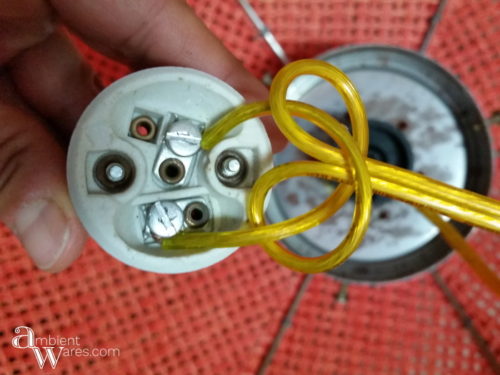
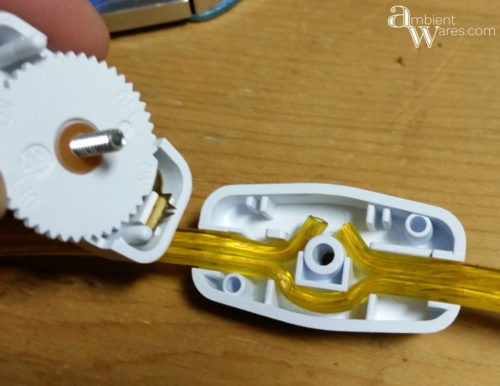
I removed the old wiring which was cracking in certain spots so replacing the wire was a must. I unscrewed the 2 screws within the socket.
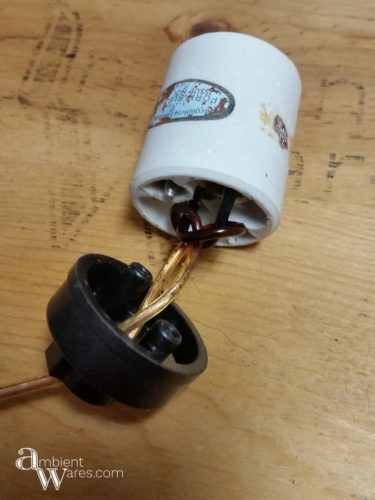
Then I unscrewed the wires.
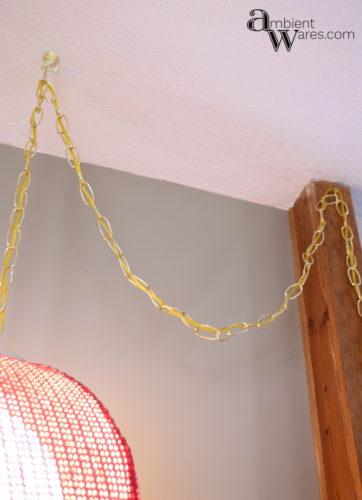
Before I could feed the new wire through the top, I had to feed it through the chain. Since the other end is the plug, the cord can’t slide onto the wire that way.
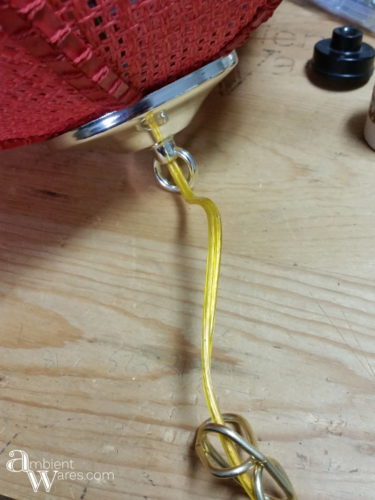
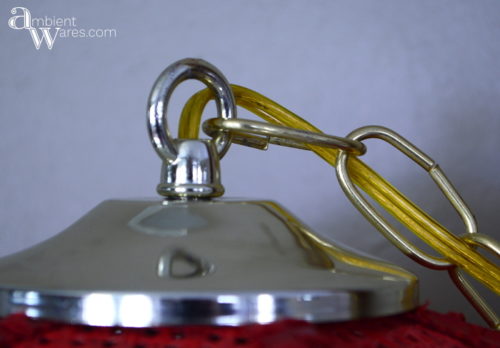
With vice grips I had to open up the last chain to connect it to the finial. I have to be honest, I found it hard to do. Especially sandwiching it back together once it was around the finial.
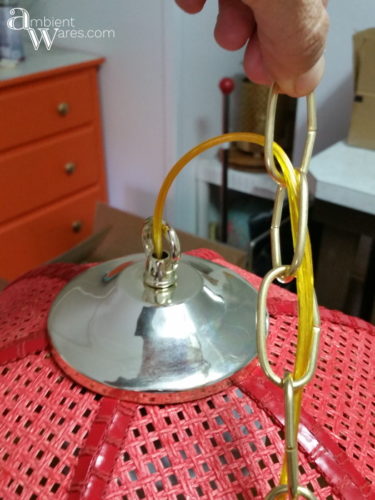
As you pull the wiring into the lamp, you’ll want to slide the chain up so you can pull the other end of the wire tight as necessary.
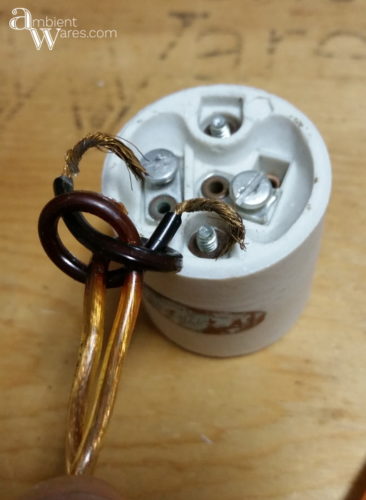
Now for the underwriter’s knot. It’s a knot that is used to minimize the strain on the screw connections within the socket. If the cord is yanked, the connections won’t be lost. Although, being a pendant lamp with a chain, I wonder if it’s as big of a risk.
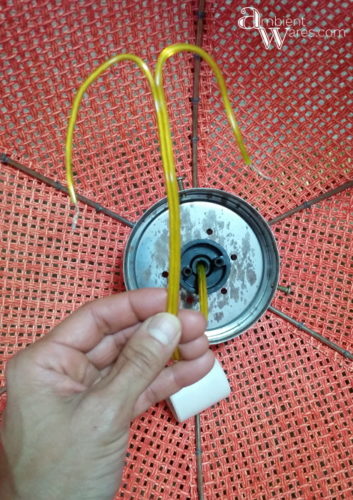
I took the right wire and slipped it behind.
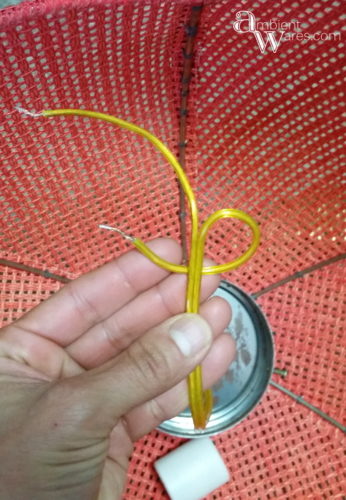
Then the left wire bent downward behind the right
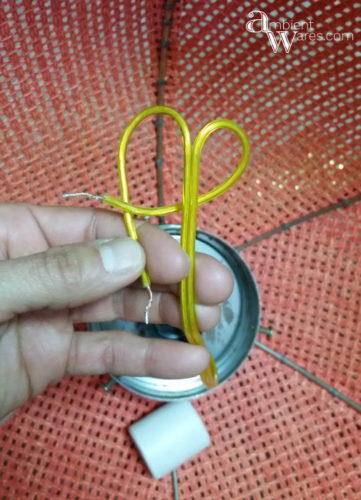
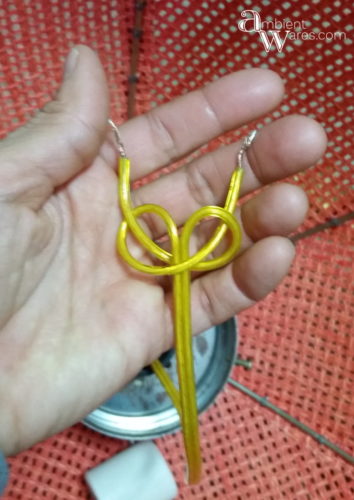
Bring the left wire up and through the right sided loop. Pulling both wire end’s tight to make the underwriter’s knot. This quick video of how to tie an underwriter’s knot is helpful.
Then I screwed the hot wire (smooth) into the hot terminal and the neutral wire (ribbed edge) into the neutral terminal. While I’m at it, if you’re interested in taking an online lamp course, Instructables is offering up one for free. All you have to do is create an account. Don’t worry, it’s a fun place to see cool projects, I swear.
Having pushed up the chain made it easy to pull the cord tight to draw the socket back down into the lamp shade.
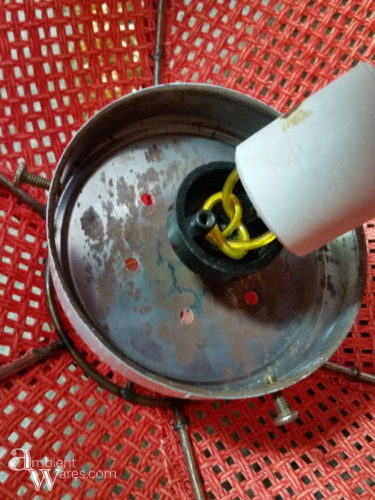
Then i just screwed it back in.
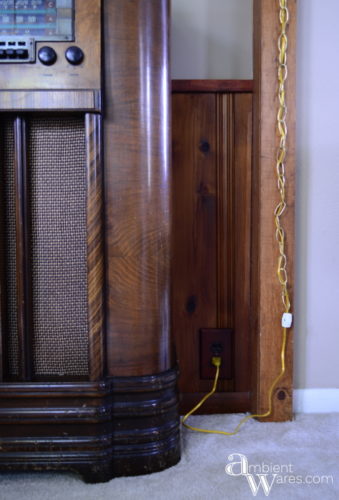
In the lamp kit I purchased, it came with an in-line switch which I’ve never installed before. I figured I’d place it near where the chain ended. The instructions explained I needed to cut a slit down the center of the wires about ¾” long. I used a utility knife. Then, the hot wire (smooth) is the one you slice in 1/2. Place it into the switch.

When you connect the other part of the switch, you need to make sure the sharp prongs puncture the line you just sliced in ½.
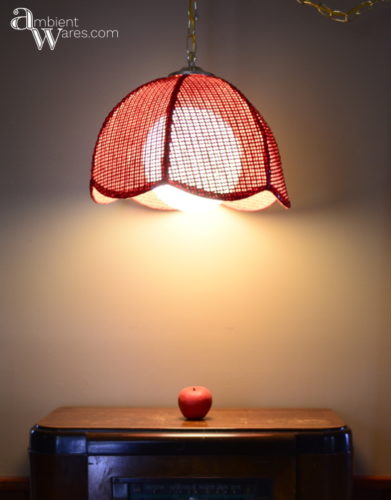
I plugged it in and heck yeah, light!
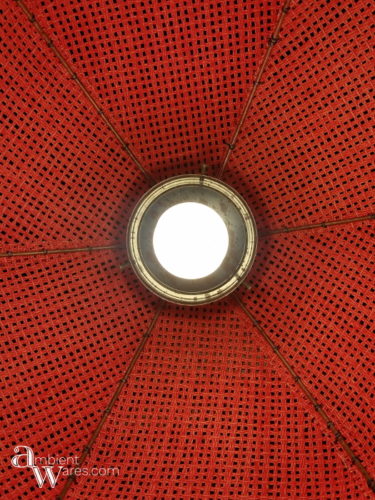
Put the globe in and it’s done.
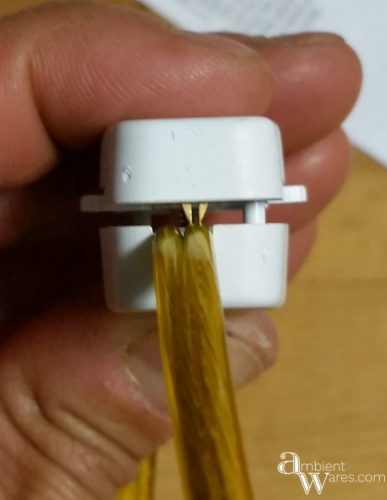
This is what the cord looks like.
So, while I love this lamp and had fun rewiring it, it’s meant for someone else to enjoy. You can now find it in my Etsy shop. That’s what I love about finding treasures. I get the thrill of buying. I get to enjoy them for a time and with my minimalist tendencies, I don’t feel the need to keep them. It’s a win win. Would you agree that this lamp is amazing?
You might also like:
How We Turned a Ceiling Fixture into a Table Lamp
One day Angie, you and I, and our hubbies will meet up in the real world. We were sitting here on our stoep (aka patio) looking at a huge copper still and trying to figure out how to wire it up for a friend of ours and I literally just popped into the house to check my mails and there you were. My life saver. That underwriter’s knot is going work perfectly and yes I remember that light from Stranger Things too. Such an awesome series.
Aww, wouldn’t that be something, Michelle? I’d love to see what ends up with the copper still. Such an easy fix and now the swag lamp is as good as new aaand I could talk about Stranger Things All.Day.Long 😉
You are so handy. Come to my house and help me. PLEASE.
Also, those vintage lamps were around when I was little. You know what that makes me?
Old.
Sobbing into a pillow now. 🙂
Anytime, Kari! Well, the only reason I feel comfortable calling it vintage is because Etsy told me anything at least 20 years old is indeed vintage. So, according to them, I’m vintage times 2. Yikes. Now, I’m sobbing into a pillow 😉
I’m a sucker for lamps too Angle; I just picked up another bridge lamp even though I have nowhere to put it – lol. I love pendant lamps and don’t think I could resist the urge to pick this one up either so I appreciate the detailed instructions for how to rewire one!
Haha! That’s why I just get rid of things 😀 No space! The little inline switch is so easy even though it can look difficult. Thanks so much, Sara!