Hey everyone, Joe here and my last post, How to Make a Table Lamp from a Ceiling Fixture – Part 1, focused on preparing the base and refurbishing the bulb sockets. Now I continue on with the lamp assembly and finishing touches.
Please note that I am not a certified electrician and working with electricity is not something to guess about. While I am comfortable taking on lighting projects, I always respect what I don’t know and double check that I’m doing it right. I also wrote a post on things to consider when deciding how to make a lamp.
Please know some links in this post are affiliate links. If you click on a link and make a purchase, I receive a small commission with no extra cost to you. Thank you. Click here for my full disclosure
Materials Used
- Ceiling Light Fixture (thrift store find)
- Sandpaper
- Wood Conditioner
- Red Oak Wood Stain
- Satin Polycrylic
- Blue Thread Lock (like this)
- 18 Gauge Wire (like this)
- 3/16″ Heat-Shrink Tubing
- On/Off Switch (like this)
- Brown extension cord (like this) or Lamp cord with plug
- Solder & Flux
- Galvanized Steel Gutter Guard
- Two Candelabra (E12) Base LED Filament (Edison Style) Bulbs
Tools Used
- Drill & Bits
- Palm Sander
- Clamps
- Dremel Rotary Tool & Diamond Tip Bit (I use these)
- Wire Strippers (I use this)
- Soldering Iron (I use this)
- Helping Hands Tool (like this)
- Heat Gun
- Tin Snips
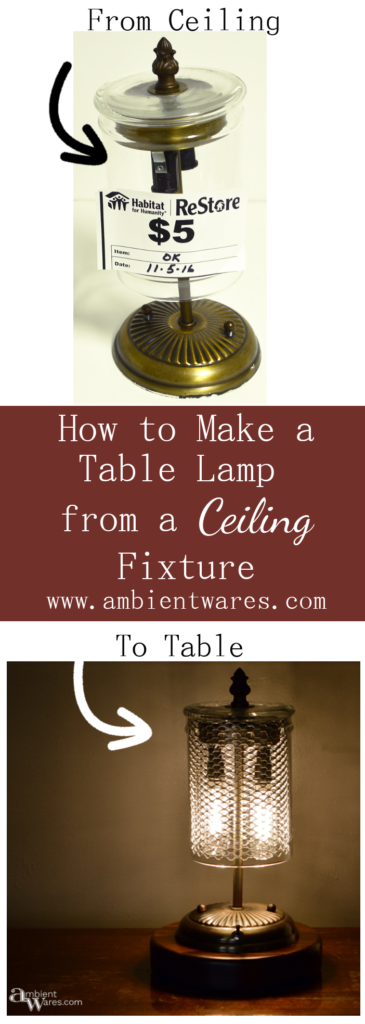
How to Make a Table Lamp from a Ceiling Fixture
Lamp Assembly
Before attaching the wires together I had to route them through the center pipe. The sockets attach to a plate that have a “hickey” (special threaded coupling) to hold the top half of the lamp and glass together. I fed the wires from the sockets through the opening in the hickey, through the threaded hickey hole, through a lock washer, through the plate and finally through the main pipe. 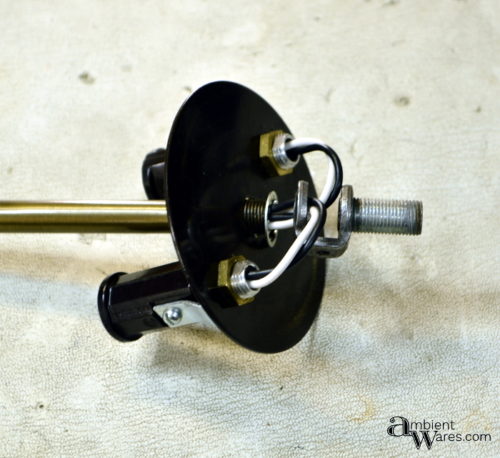
After the wires were fed through, I put a dab of thread lock on the pipe threads and screwed the hickey onto the pipe until it was snug. 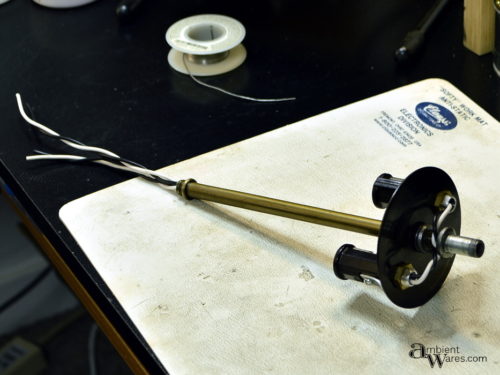
Time to attach the pipe to the bottom base. I fed the wires through the hole in the base and the nut that holds the base to the pipe. I used some thread lock and tightened the nut. I made sure to align the light sockets with the holes that hold the lamp base to the wooden base.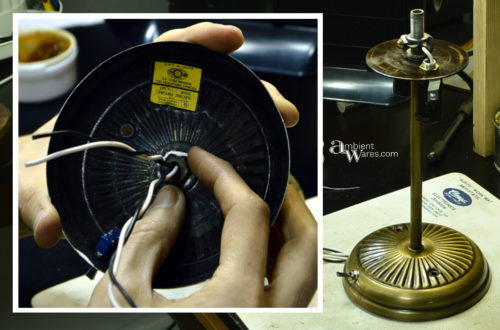
Wire Soldering
Depending on the parts used to build a lamp, soldering may not be needed at all. Many parts come with wire leads on them already and electrical wire twist nuts like these can be used to connect everything. For this lamp though, I’m using a switch without pre-attached wires so I need to solder the wires on myself. In addition, I soldered all the wires together for a more permanent installation.
Soldering is similar to welding but on a small scale. Basically, you’re joining two pieces of metal with solder by heating them up. Flux (which is a paste) is important to use when soldering as it cleans the metal and helps create a better joint. Solder and flux fumes can contain some nasty stuff so it needs to be done in a well ventilated area or with a fume extractor. If you are new to soldering you should check out this beginner’s guide at Instructables.
I turned on the soldering iron to get it warmed up and ready and trimmed the four socket wires leaving just enough slack to maneuver them (about 2-3 inches). Using wire strippers, I removed the insulation off the ends of the two white (neutral) wires and twisted them together. 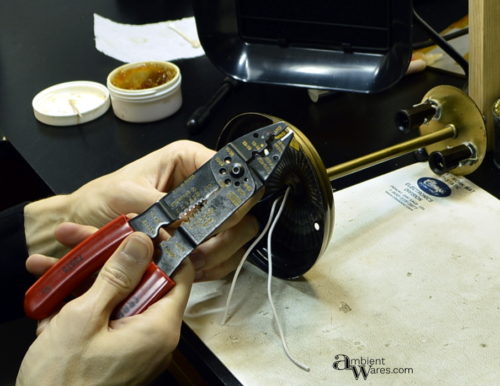
I applied some flux to the twisted wires and soldered them together. I then applied some flux to the ribbed neutral wire from the plug cord and tinned it with some solder. Then a piece of heat-shrink tubing was cut 2-3 times longer than the solder joint will be (that way it will cover the joint and some insulation on both wires) and I slid it on the ribbed wire. A helping hands tool is a great way to hold the wires while soldering them together.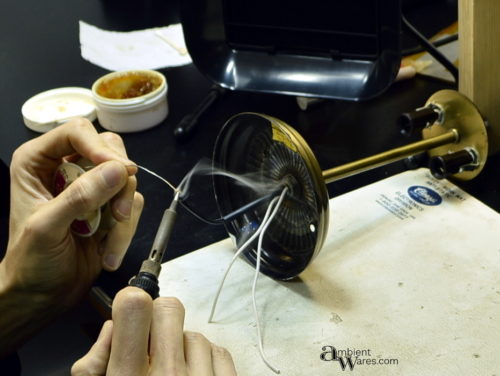
The black wires will be attached to the switch. This switch only has two contacts and it doesn’t matter which wire (plug wire or socket wires) is attached to either contact. I stripped the two black (hot) wires and twisted them together. I applied some flux to the twisted wires and soldered them together. Again, I cut a piece of heat-shrink tubing that was 2-3 times longer than the solder joint will be and slid it on the black wires and soldered the black wires to a contact on the switch. I applied some flux to the smooth wire from the plug cord and tinned it with solder. Heat-shrink tubing was slid it onto the smooth wire and soldered to the remaining contact on the switch.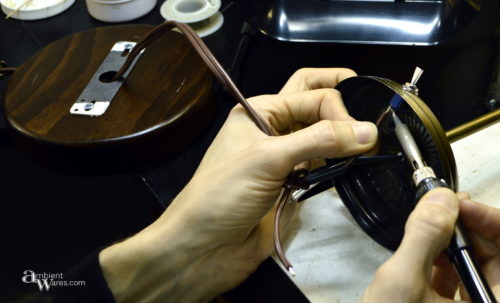
Now that everything is soldered together we can apply heat to the shrink tubing to protect all of the solder joints. I made sure all heat-shrink tubing pieces covered the joints completely and used a heat gun until they all shrunk like magic!
Final Assembly
I adjusted the wires in the base so they were out of the way of the screws and set the lamp on the wood base. Shining a flashlight into the holes on top of the lamp base, I rotated it until I saw the threaded hole on the mounting bar. I dropped the screws in the holes and twisted a little to get them started on the threads. The lamp base was centered on the wood base and finally the screws tightened.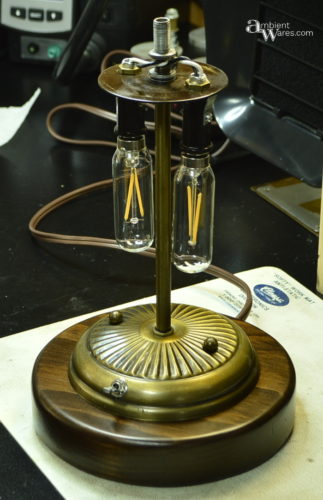
There is a metal piece to cover the socket wiring at the top. I put that on first, then a lock washer and nut (with thread lock, of course). A cloth washer helps protects the glass which went on next and I added a brass washer to give it some more stability.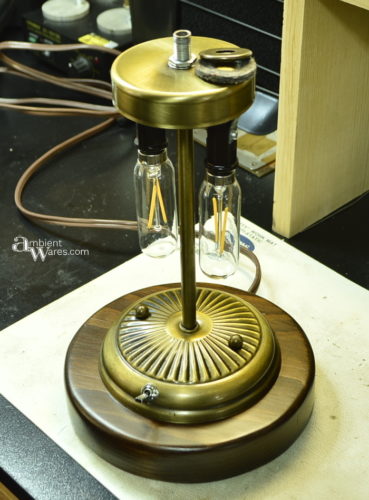
I screwed in the 2 LED Bulbs, put the glass on top, the brass washer next and lastly the decorative finial. Time to test. I plugged it in, flipped the switch, and…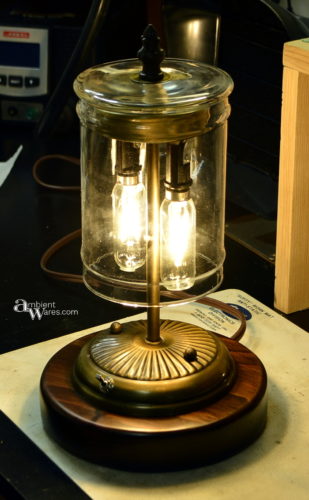
…Let there be light!
The two LED bulbs output a LOT of light. They each output about the same light as a 20W bulb but only consume around 2W each. How do we dim this down a bit?
Finishing Touches
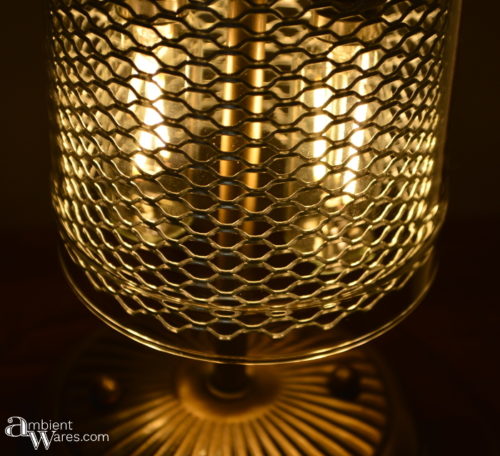
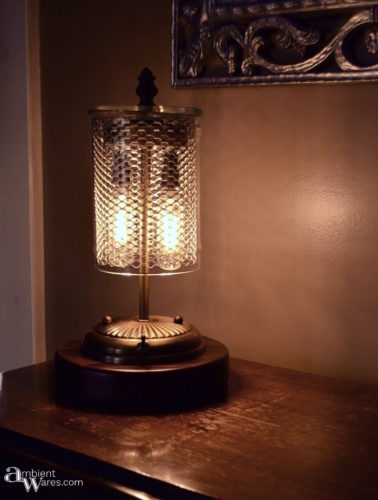
We went to the hardware store looking for some kind of screen or mesh material to use as a light dampener. After going down almost every aisle in the store we chose this galvanized gutter guard. I first cut a strip of paper and wrapped it around the inside of the glass cover to determine the length of mesh I would need and cut a piece of mesh with tin snips. This can be sharp so wear gloves. A large food can was used as a ‘form’ to help bend the mesh into a cylinder shape. Then, I used tin snips to cut the correct height.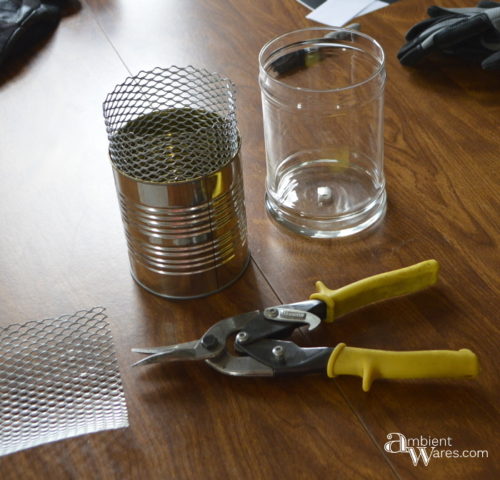
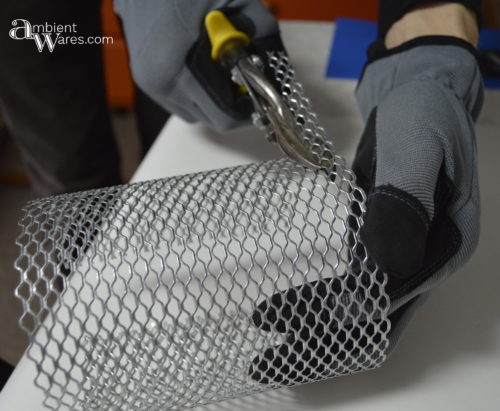
I used some galvanized wire to secure where the mesh end pieces met, forming a cylinder shape. The wire is fed through holes on both edges of the cylinder and twisted together. One twist on each end and one in the middle was enough. The metal mesh holds itself in place inside the glass without anything for support.
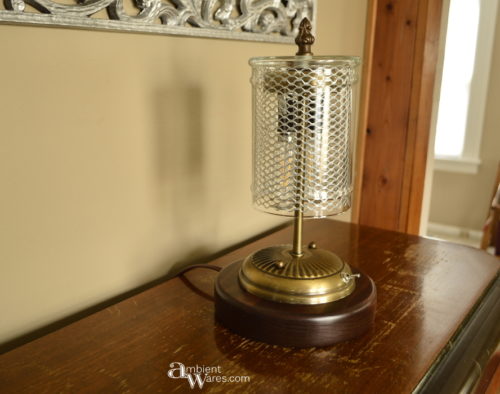
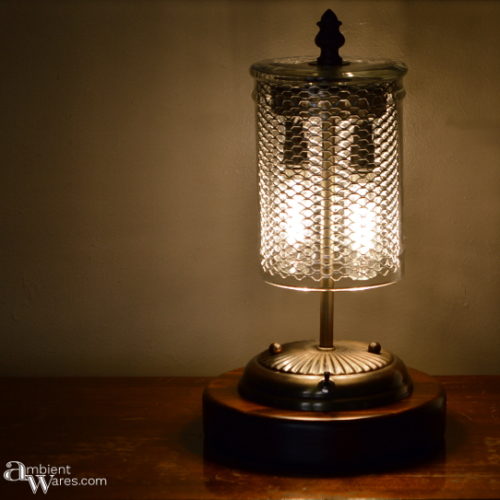
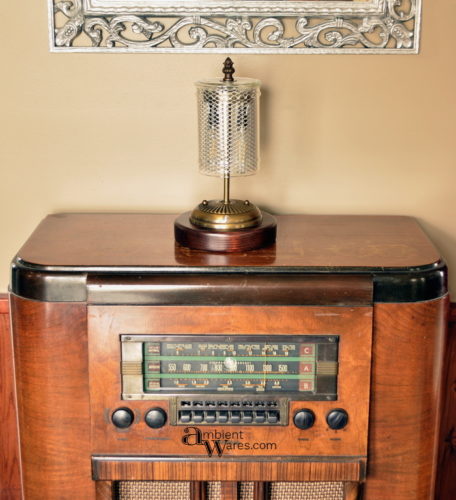
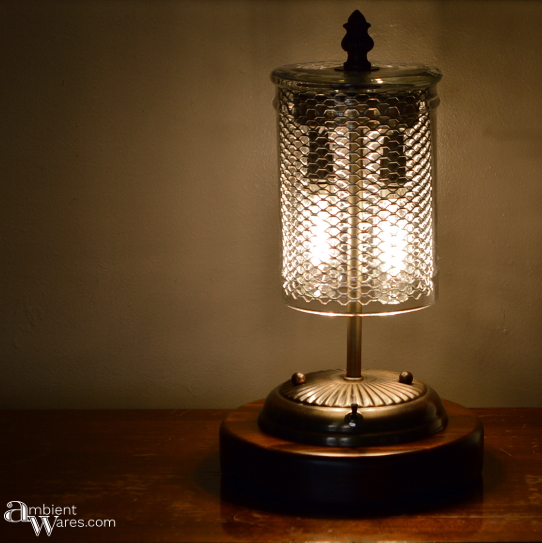
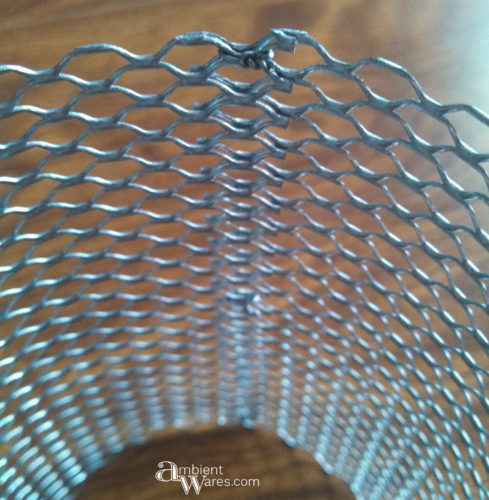 The addition of the metal mesh gives it a more industrial / steampunk look, don’t you think? We sold this in our Etsy store and hope the buyer enjoys the look just as much as we do!
My Amazon Picks
Click the Image Below to PIN!



That was certainly a scary project, from my point of view! 😀
Turned out really nice, though.K
Thank you so much, Katharine! It was a fun lamp to make ?
What a clever idea! And it’s so gorgeous.
Thank you, Sherry 🙂
Your light fixture makeover is fabulous! I love the new look. What a clever repurposing project! Thanks for sharing the tutorial with us at Snickerdoodle. I’ll be featuring this at today’s party. Hope to see you there!
Thank you Beverly!!
Steampunkesque and super cool Angie! You are one talented non-electrician. I love the metal mesh, it makes it all the more unique. Pinning for sure!
Thanks Mary! I’m not the one who made it though. Joe did 😀
Wow! This is really beautiful. The lamp looks very vintage and unique. Pinning to share! Thanks for linking up with us at Snickerdoodle!
Thank you Laurie for hosting!
Yay, a fellow Steampunk fan. I love it Angie!!!! What a super makeover and you explained every thing so beautifully too. PIineed to my Steampunk Dreams board
Thanks Michelle! It’s just such a unique style and I know this one is nowhere near as crazy as steampunk can get 😀
I just read Part 1 and am totally amazed. You really did a great job on this makeover. I love the vintage vibe yet the industrial look to it.
Thank you so much Debra! Joe did all the work and he’s so talented 🙂 I’m so happy you think it gives off the vintage and industrial vibes! We were certainly going for that!
What a fabulous transformation Angie! You are so clever! Absolutely love how you added the metal mesh!!
Thank you so much for sharing your fabulous project with us over at Waste Not Wednesday! Pinning to share 🙂
Thanks Sam, I greatly appreciate it 😀