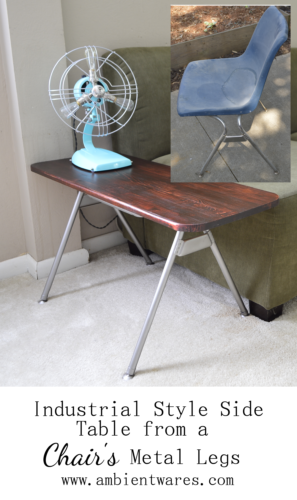
I’m really excited about today’s post! This unique DIY end table couldn’t be any easier to make. The best part is, depending on how you want your table to look, you could complete it with only the use of a drill, paint or stain. Nice, right?
Easy Mid Century Styled Side Table
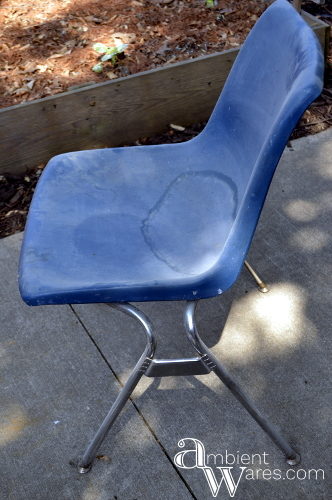
I found this old, beat up, screws missing, plastic bucket chair at a garage sale last year or so. I’d asked the lady how much she wanted for it and I really don’t even know why. It was scratched up and plastic that’s scratched or scuffed is just ugly and I wouldn’t be able to fix it anyway. The lady, I think, realized this and said, “Just take it.” Alrighty then, so I thanked her and hauled it off to the car.
Please know some links in this post are affiliate links. If you click on a link and make a purchase, I receive a small commission with no extra cost to you. Thank you. Click here for my full disclosure.
I had the idea of turning it into a pastel beauty when one day (I’m guessing it was a bad day) I decided to paint it red. I seriously don’t even know why and I regretted it only after using an entire can on just one side of the chair.
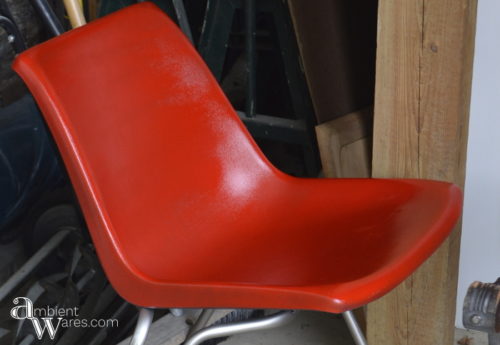
I also had spray painted the legs a stainless steel color after I’d sanded it to remove as much of the little bits of rust as possible. The legs looked awesome and I “sat” on it for a few days. I knew, for sure, I would not be putting that ugly red chair seat back on.
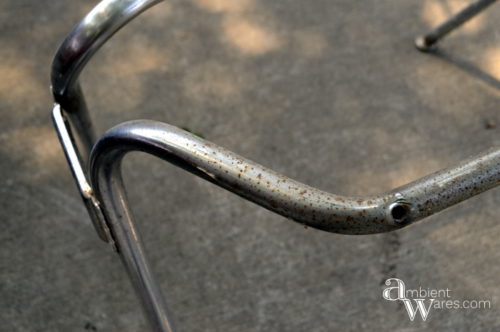
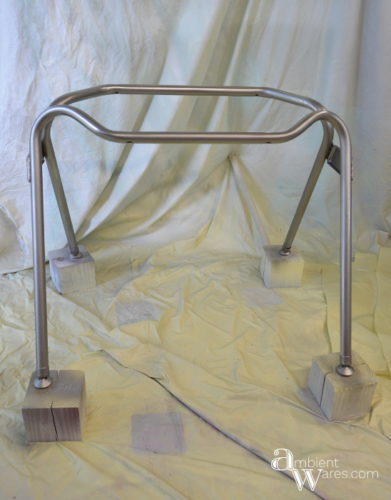
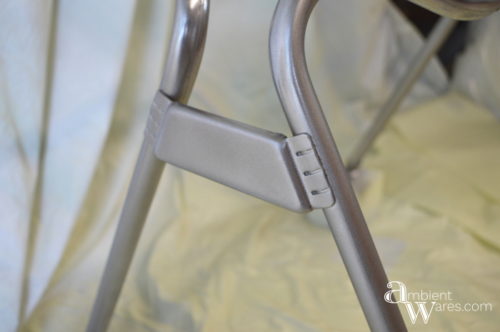
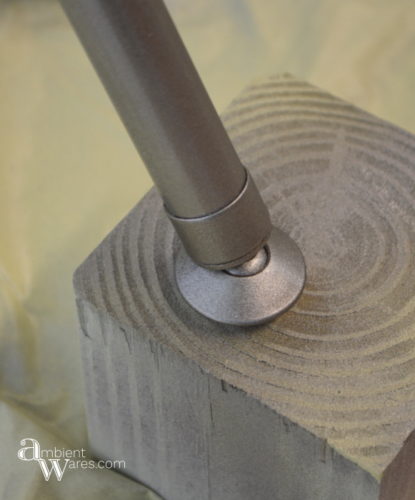
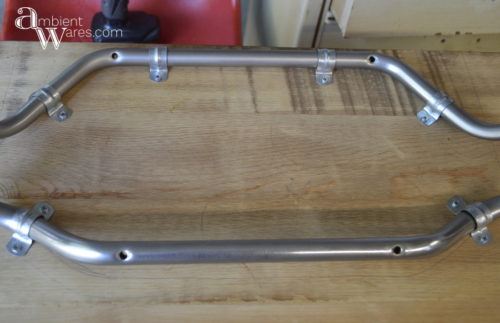
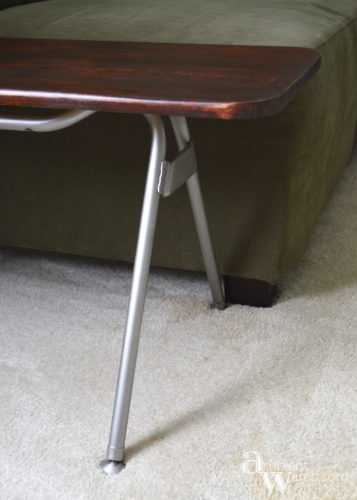
Then, it hit me. A table! Yes, mwwaahaa, a table. The part of the metal legs the chair was screwed to is level on both outer edges but one side, the right, sinks down a bit.
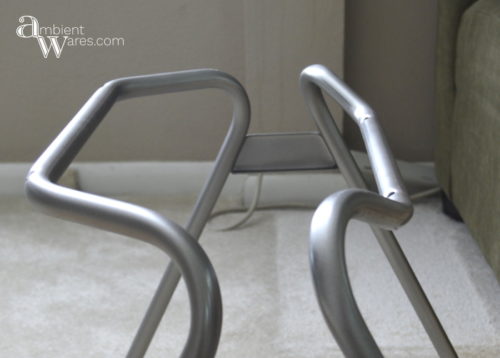
Maybe below you can tell better. The bar across the top is a good ways away from actually touching the wood. This is where I’d thought I could wedge something in, then put a screw through it. To which I thought, screw it.
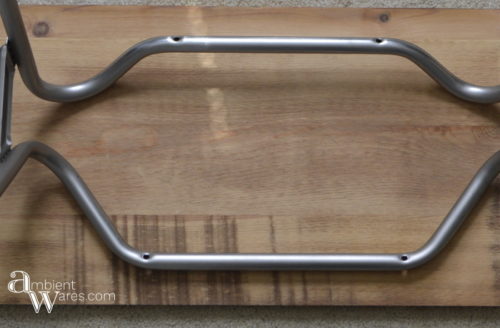
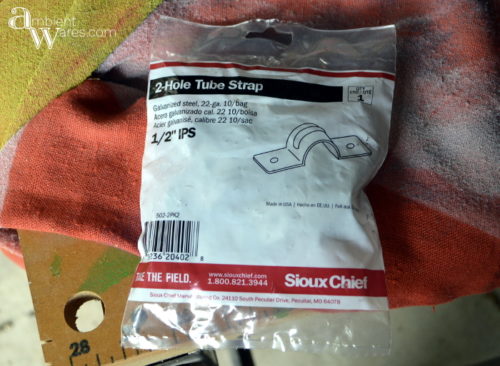
Instead, I purchased pipe clamps similar to these.
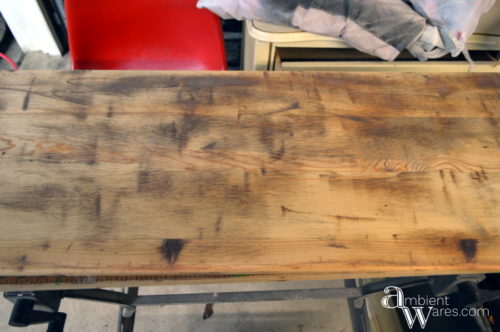
Meanwhile, I’d found a scrap piece of wood from a storage bench I bought for $25 (more money then I spend on anything) I’ve always kicked myself for buying it because it was in awful shape. Joe told me not to buy it and I told him to shut it. Of course I realized how bad it was…after I paid for it and brought it home. Dare I say I should have listened to him.
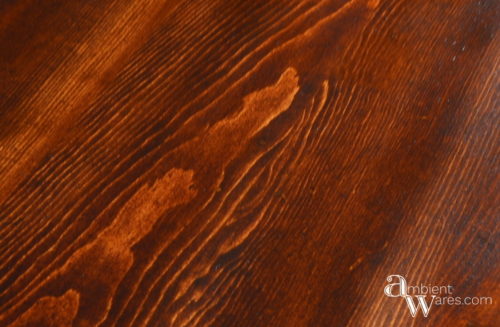
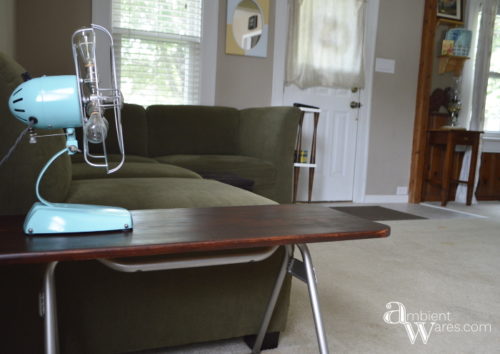
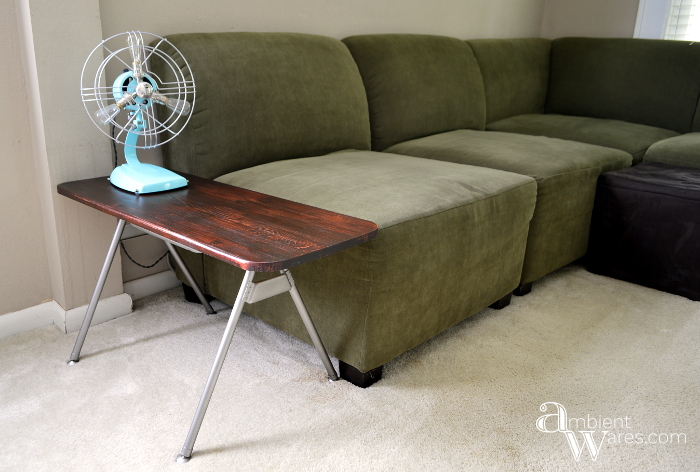
I took the seat of the bench, which is slightly warped down the middle by the way and it fit so perfectly next to the couch I wanted to scream. It was already stained but, before I would re-stain it, I laid it on the floor upside down placing the legs on it. I traced the outline of it centering it as much as possible. However, there were other things I need to take into consideration when centering.
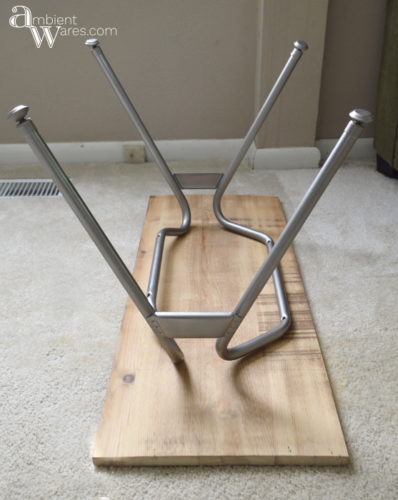
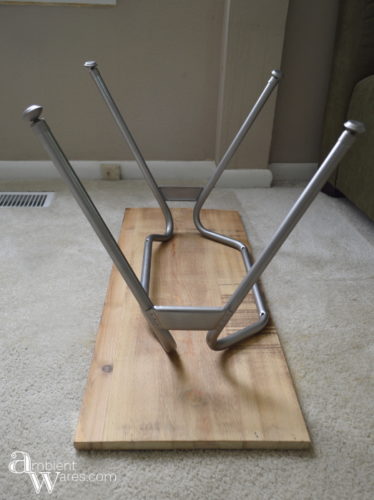
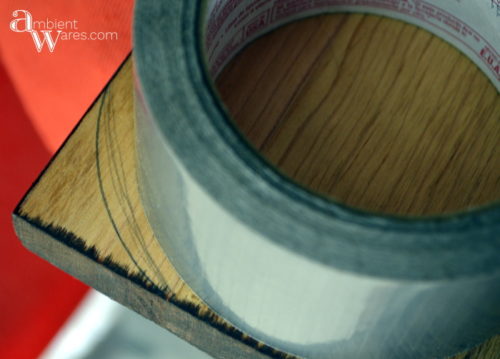
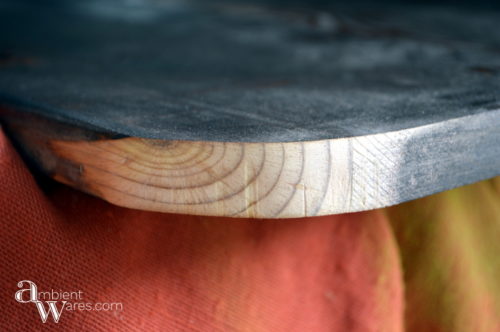
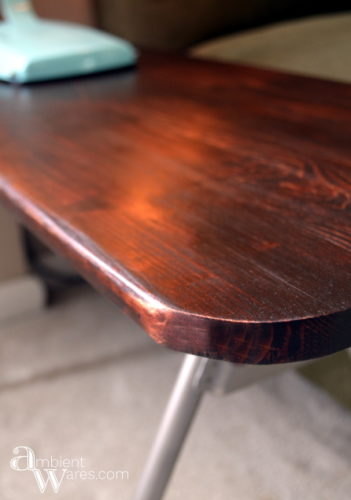
Once the outlining was done, I sanded and stained the top. When it was dry, I decided I wanted rounded corners to kind off match the table Joe made for the other side of the couch. I eyeballed the rounded edges with a pencil until I grabbed a roll of duct tape which gave me a much cleaner line. I cut them using our bandsaw. I wish I would have thought about cutting them off prior to staining the top but, all it meant was I had to wait longer. I then polyed the entire thing.
Like I said, I bought tube straps, the kind that secure plumbing pipes, thinking it would be so easy to attach them, not having to worry about the one side’s awkward gap. I wedged them onto the metal base and marked with a pencil where I’d need to drill. I used a drill bit, slightly more narrow than the screws I used, and taped it off so I didn’t go too far into the wood. I then drilled the pilot holes.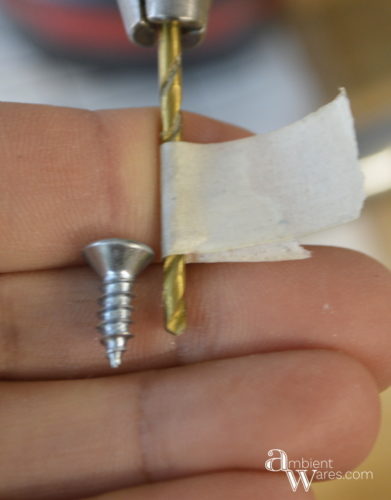
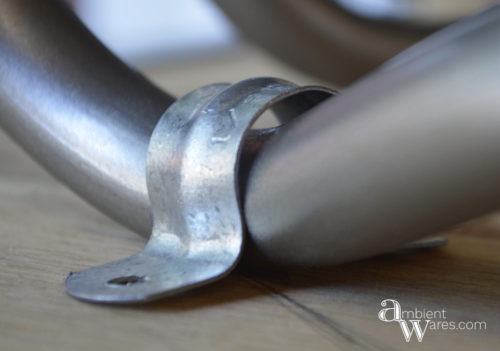
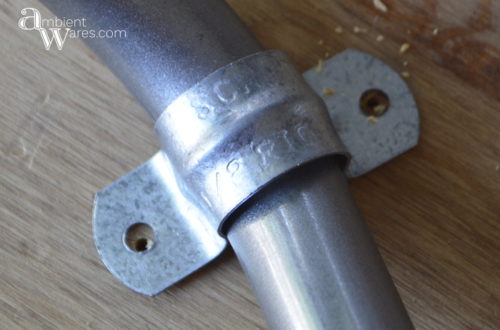 I was a bit concerned that my tube strap idea was going to be a dud because once I’d snapped them over the metal legs, there seemed to be a decent sized gap. It looked like, even though I hadn’t screwed them on yet, that the legs would just wobble. Luckily, that was not the case.
This really is such an easy DIY table and a unique project as well. If you’re curious about what was in this spot before, you can see a tiny bit of it here. Do you think you’d make a table like this? What would you do differently?
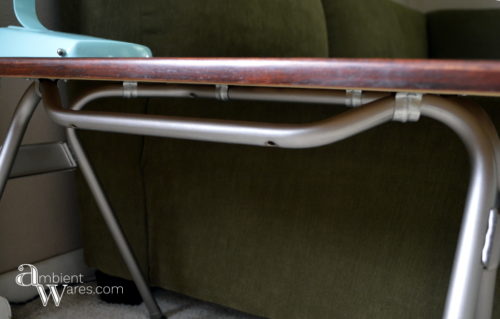
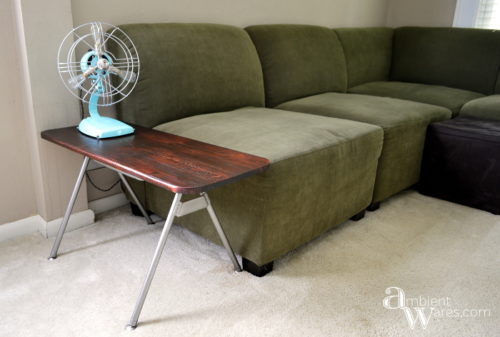
Heck, maybe I could hang something over the metal bar here. Or would that just be weird?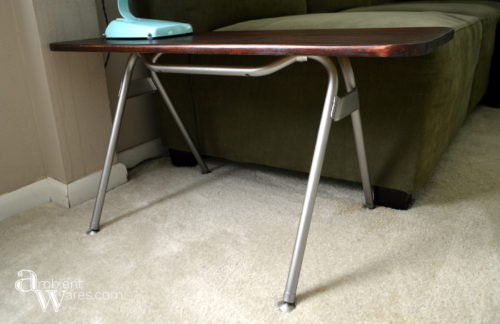
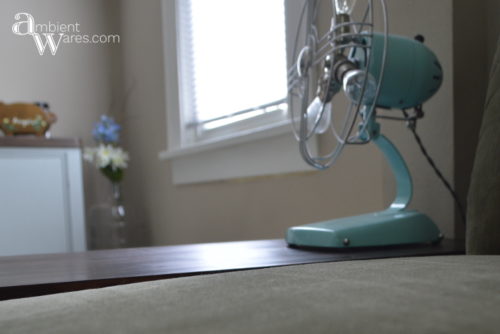
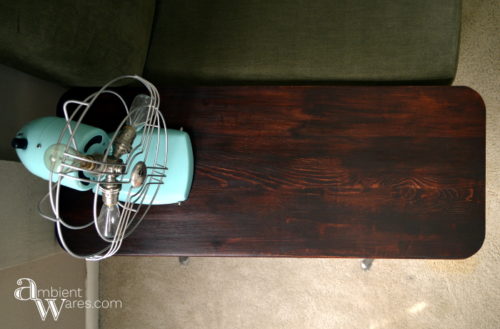
If your wondering about our beautiful lamp from an old fan, we wrote a bit about it here. Although we hope to do a much more in depth tutorial one day.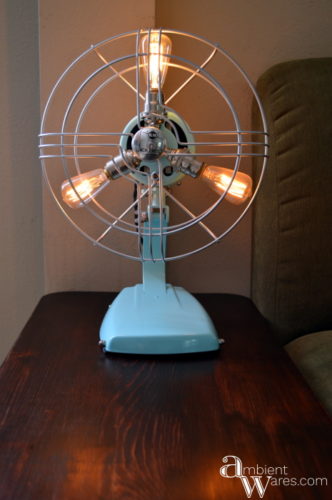




What a FUN project and love that fan!!
And thanks for linking to Waste not Wednesday!
You are so clever. Chairs are the best thing to reuse. The table is so modern looking and one of a kind. It looks great.
Thank you SO much, Debra! It means a lot
🙂 We’re loving it!
what a neat idea!
b
Thank you so much!
Okay first off, I would never have thought of doing something like this, but whoever said that a chair couldn’t become a table? And it’s the right height next to the couch so it’s a win. Secondly, I am SOOOOOOOO happy I can come visit again Angie. I have no idea why I couldn’t get into your blog. But you’re back yeehaaa!!!!
Yeah! I wish I knew why you couldn’t see it! Thank you friend & I’m so happy how easy it was and how it turned out 🙂