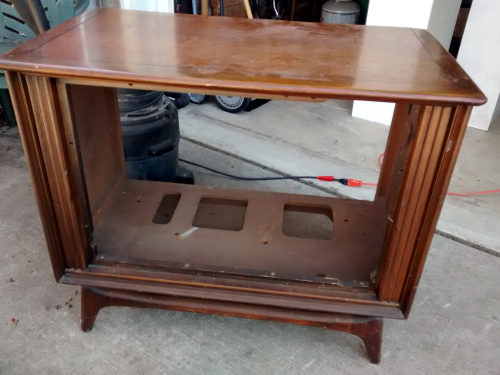
I have a few repurposing ideas in my head for these old tube TV shells. Problem is, I’ve only found this one in all the years I’ve been garage sale-ing, thrift store-ing, and garbage drive by-ing. I was stunned when I came across it at an estate sale without the TV. For $3, I couldn’t pass it up. I have no idea how you dispose of an old TV but, I’m glad this one was gone.
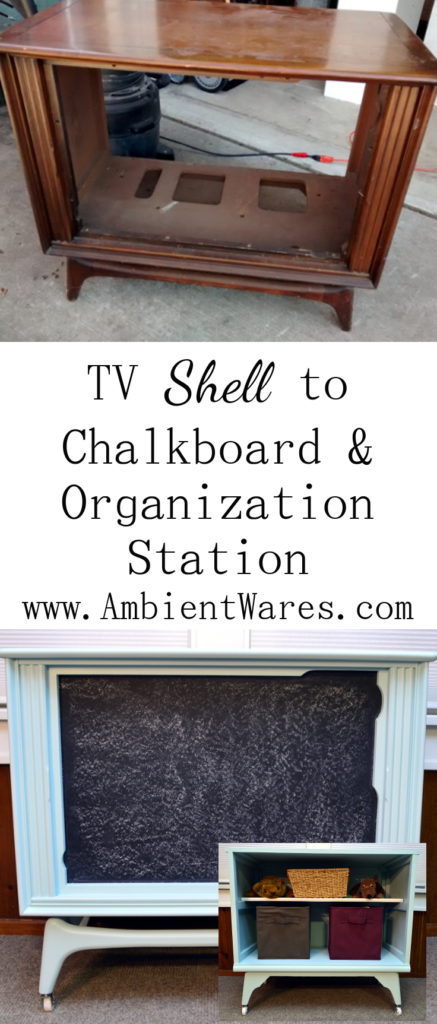
The first thing I was asked when I went to pay for my things was, “What on earth are you going to do with it?” I love that question because to me, how can you not see something? Like how I looked at a sewing table and saw this. Or how I saw an old refrigerator shelf and saw this. The very first thing I thought was adding a chalkboard to the front were the TV was and putting a shelf in the back.
This old wooden TV shell is like pure gold to me. See, all I need for Christmas are $3.00 pieces of “junk” and I’ll be completely happy for the rest of my life.
Repurposed Tube TV Shell to Chalkboard Organization Station
Please know some links in this post are affiliate links. If you click on a link and make a purchase, I receive a small commission with no extra cost to you. Thank you. Click here for my full disclosure.
Cleaning and Clearing it Out
I would wash this TV shell about 50 times before all is said and done. It was so dirty. Steel wool along with vinegar and water were my best friends.
As far as getting rid of unnecessary items, I first tipped the case on it’s side so I could remove all the staples from the bottom holding the mesh on. It wasn’t really necessary but, the mesh was dirty and I felt better getting rid of it.
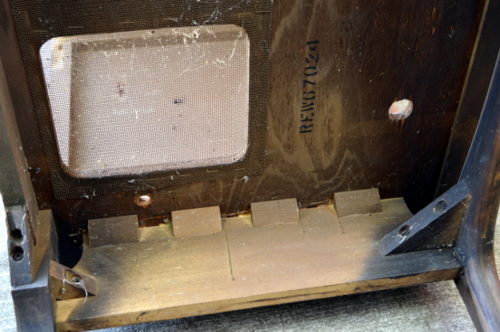
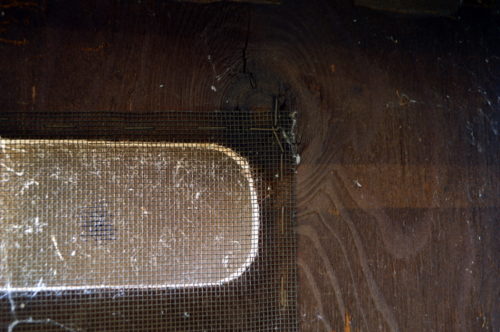
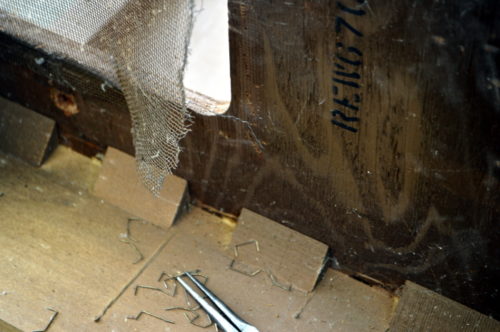
There were a couple of other little piddly things I removed too. What they were, I don’t know.
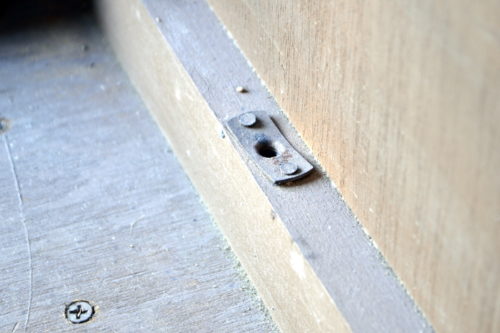
Installing the Shelf
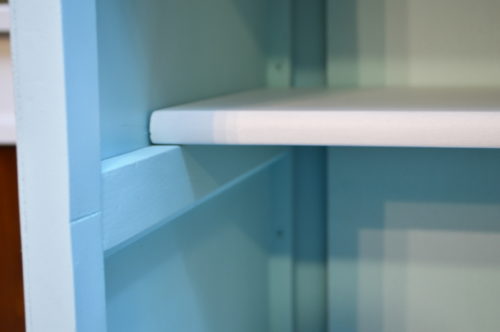
I definitely wanted a shelf and in looking for the side supports, ended up using the leftover pieces shaved off of the wainscoting for the dry erase organizer.
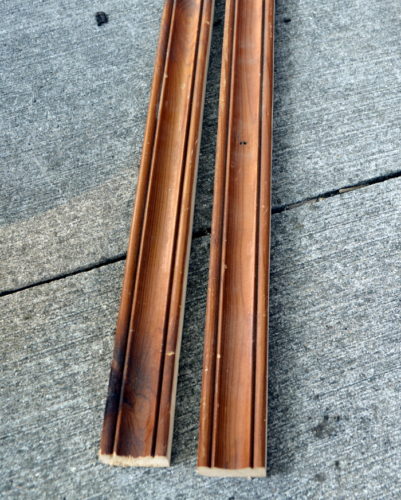
They were cut down length-wise and as a test were wedged in up against the TV shell.
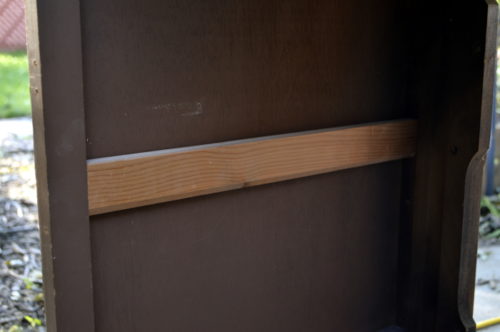
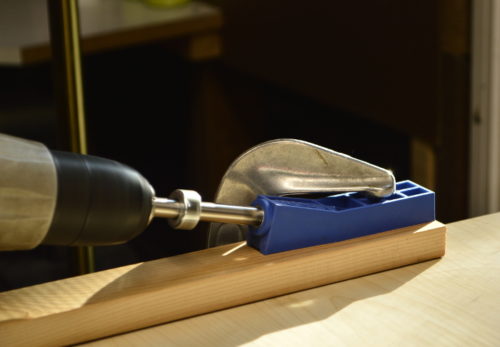
Once we knew they fit, we used the Kreg Mini to make holes for the screws; 1 at each end of the supports. You can also use regular ol’ wood screws. They don’t have to be Kreg Jig screws.
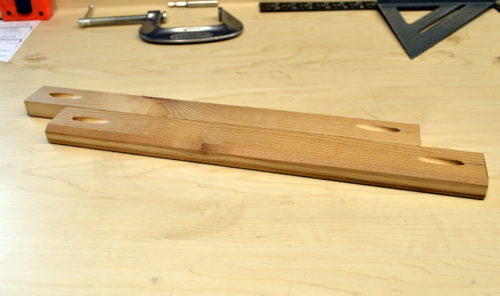
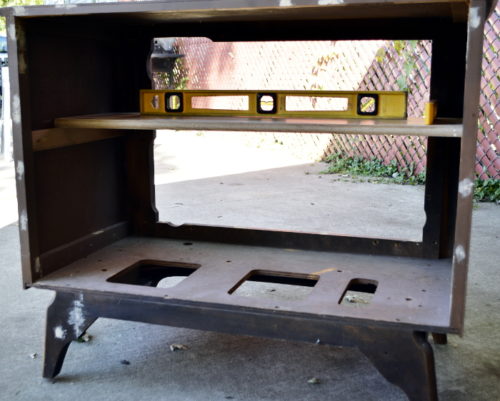
We made sure the height for each support were the same and that each were level from front to back. We put the screws in, tightened them a bit, checked the level and did this until the screws were tightened all the way down.
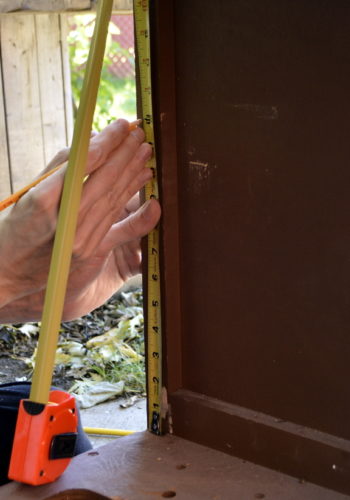
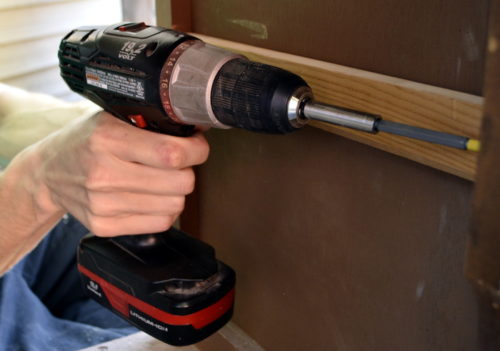
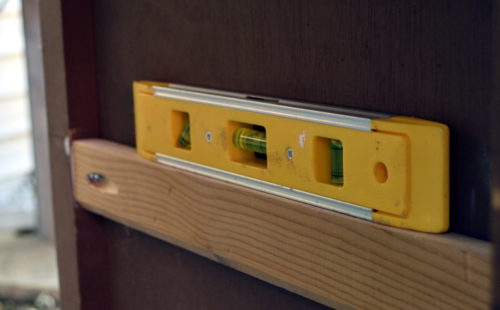
For the actual shelf, we used a piece of MDF that used to be in our kitchen years ago before we remodeled it.
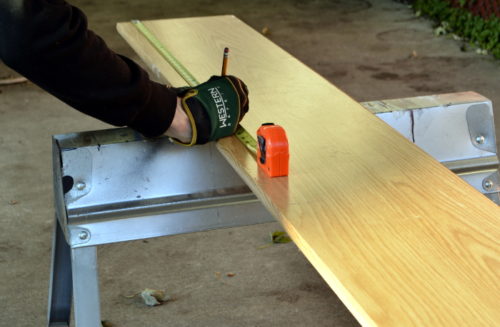
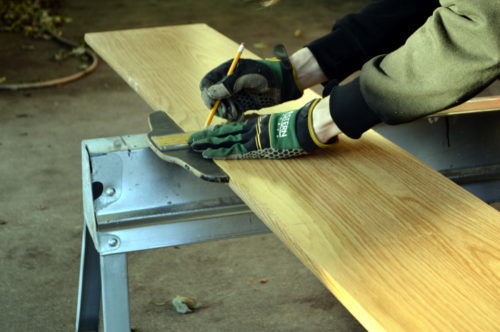
Once it was cut to size, we made sure it was level. We ended up making it a removable shelf.
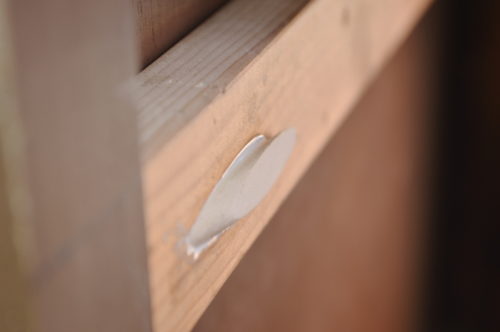
We filled the 2 “front” pocket holes with plugs. We used some wood glue first, wedged the plugs in and let it dry. The plugs weren’t hard to use but, I did find them a little annoying. They’re too large so once the glue is dry, you have to shave them off flush with the surface. I’ve since seen where dowels can be used instead of spending the money on these.
I have a little hacksaw but, it didn’t work too well and then I have a large saw which was way too big for the little space but, after some finagling, I got it pretty flush. You’ll still need to fill the edges around the plug with wood filler.
Bottom Shelf
The bottom shelf was made from 3/16″ plywood we had gotten forever ago at Lowe’s. I also used it for this cute little Christmas scroll. It was bowed but, we had enough of it. 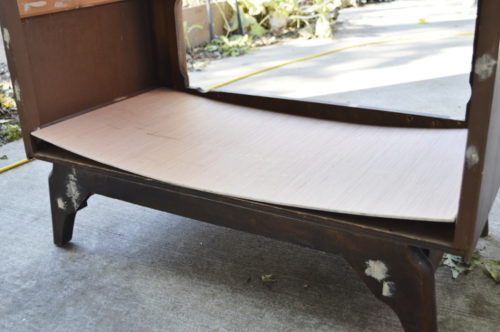 Pretty bowed, huh?
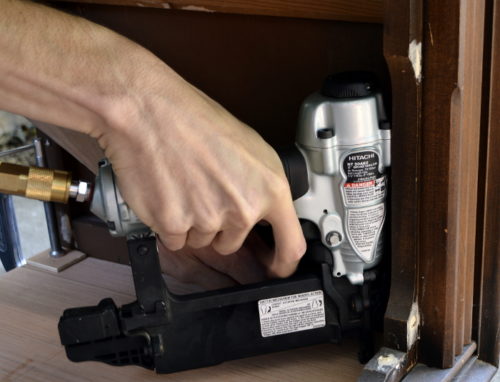
Before we could attach the shelf using glue and the brad nailer, we had to mark where the original screws were so we didn’t hit them. They were holding the entire base on so we couldn’t remove them. Actually, I could have removed them just to drill those same screws back down into the new shelf and back into the base but, I simply didn’t want to.
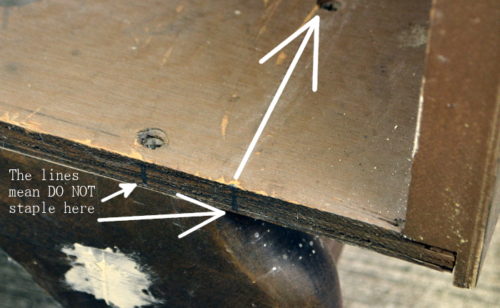
Once we put the shelf in and before securing, we transfered those lines to the shelf.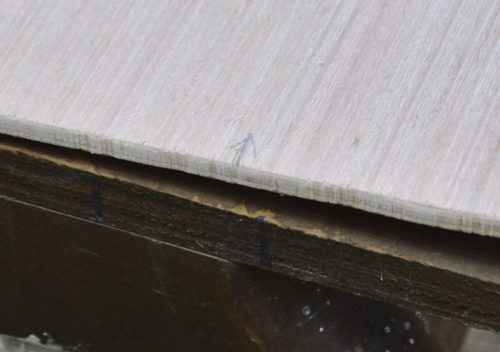
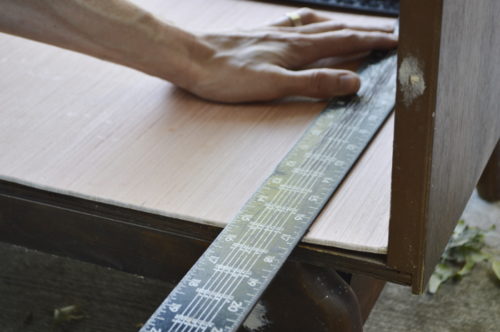
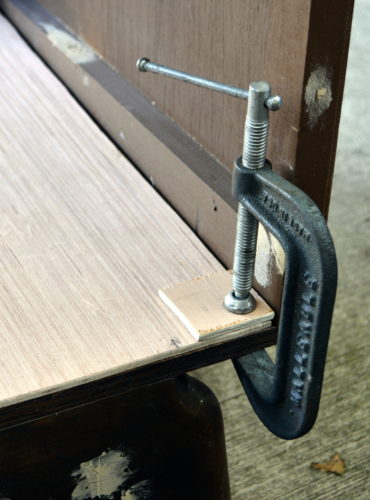
Then we glued, clamped, and nailed like crazy.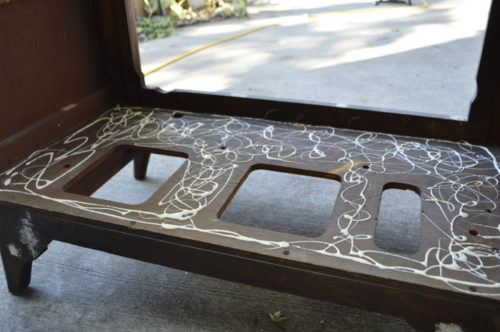
Casters
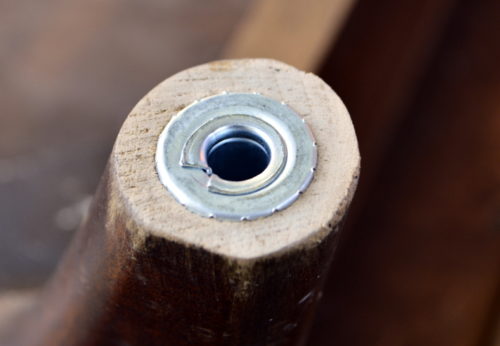
Both sides of this chalkboard, entertainment center, play area, organization station thingy would need to be reached and wheels were a must. We removed the original tack like feet from the bottom and installed the sockets only for the caster based on the instructions.
Unfortunately we found out at the very, very end like painted, sealed end that we didn’t drill down far enough. Nothing horrendous but, a tad frustrating. These were only $4.97 at Home Depot which isn’t bad, right?
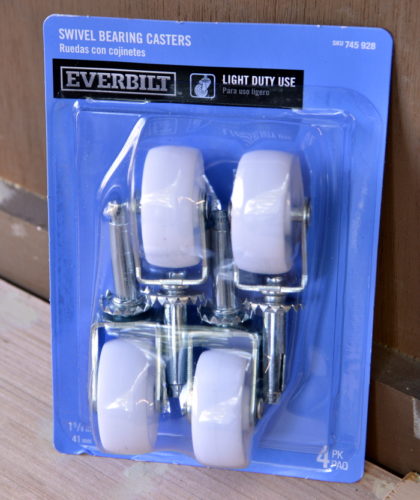
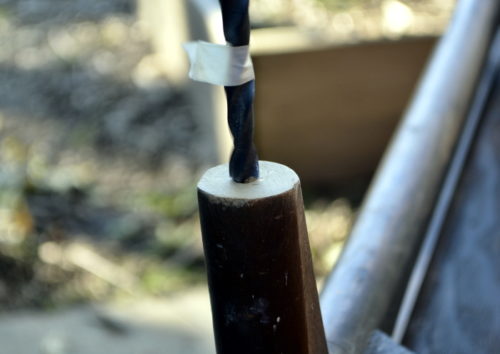
Once the hole was drilled, the sockets were inserted and had to be tapped down with a hammer.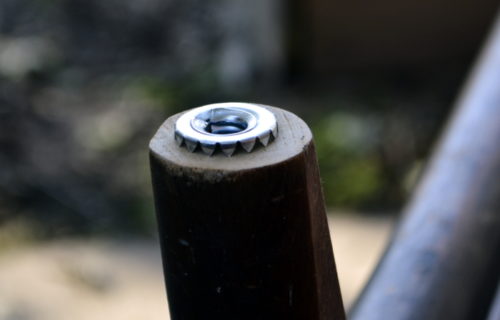
Adding Trim
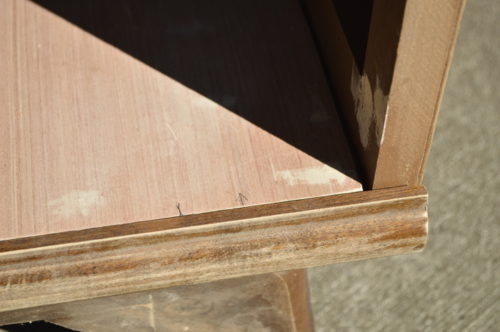
On the side with the shelves showing, I wanted to add a piece of trim because it looked a little rough. I used a piece from a dresser I’d remodeled for my Joe.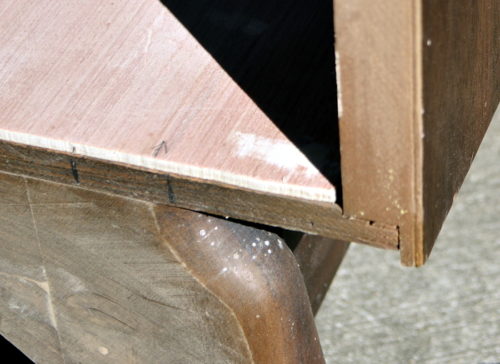
I cut off the curved, thicker piece with the band saw and just used the inch or so leftover.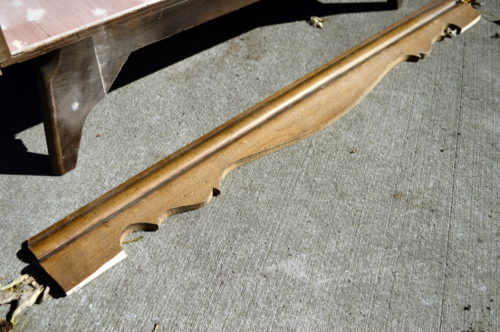
Painting
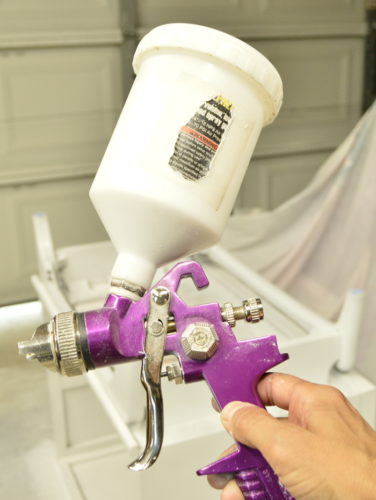
I had been filling holes throughout the entire process along with sanding. This was a pretty big job so I mainly filled as I came across them. There are still some imperfections but, I’m happy with those darn imperfections. I did have to be careful when it came to sanding because the top and sides are the thinnest veneer ever.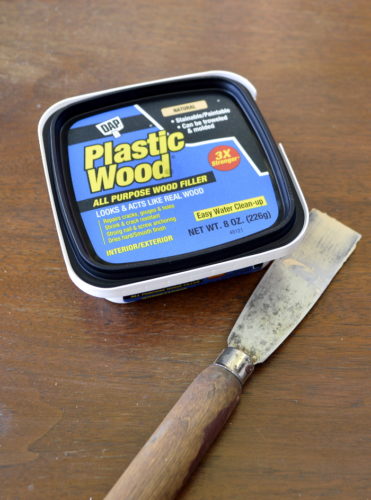 I broke out my heck of a deal paint sprayer, filled it with primer and did 3 coats while the TV shell was upside down. The bottom didn’t need to be great but, I didn’t want anything to stand out as not being painted.
I flipped it upright and painted the top with primer.
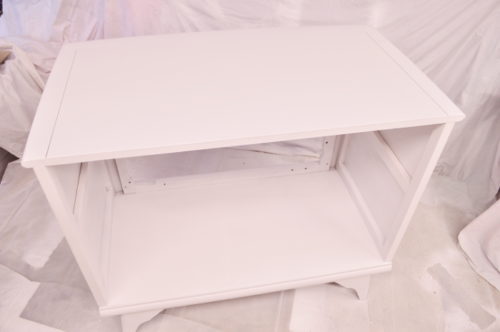
Once the white had dried, I flipped it back over for blue.
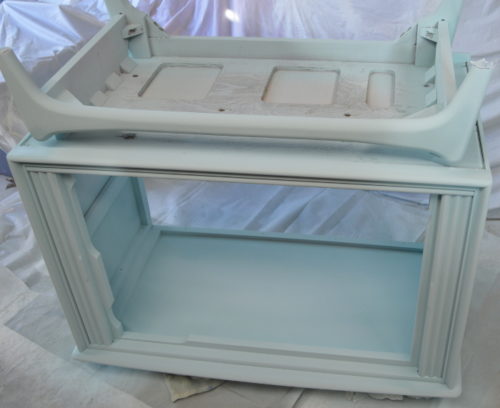
Once I flipped it for the last time to paint the top blue, I had one dang spot that bled through and I kind of cheated my way out of seeing it, which you’ll see later, after realizing 500 coats of primer plus paint weren’t solving my problem. I learned after the fact about using shellac at the suggestion of Salvaged Inspirations. I’ll have to try that out sometime.
It’s so tiny but, it was right on the top and my eyes were constantly drawn to it.
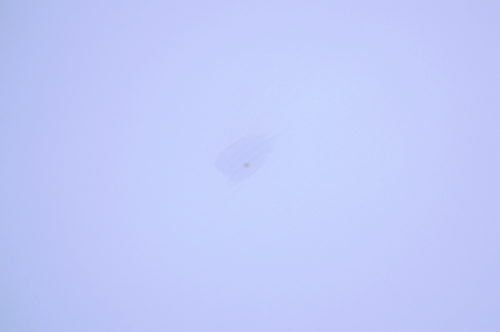
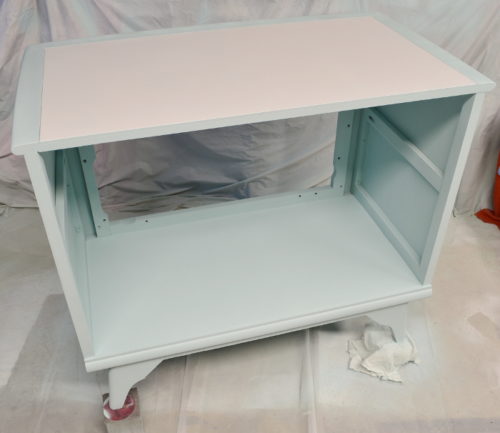
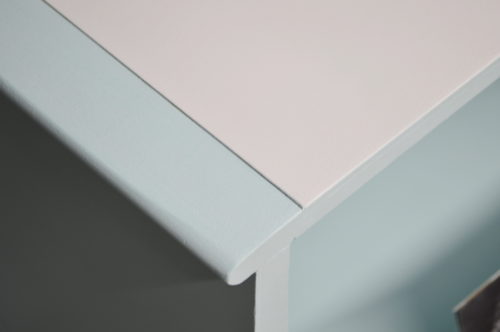
To totally cheat, I ended up taping off the edges of the top and spray painted with one coat of primer followed by white in semi-gloss. The entire thing was then given 2 coats of polyurethane. I cannot describe how much I loved it immediately after I pulled the tape away! The spray paint actually worked and covered up the spot that had continually bled through.
Chalkboard Installation
Early on, I had painted a piece of hard board with chalkboard paint on the smooth side and the back side with the blue of the shell. When it came time to install the chalkboard, there were already some holes that we wanted to avoid drilling into on the TV mainly because they were some pretty large holes.
With me holding the chalkboard in place, Joe went around the front and traced onto the chalkboard, the shape of the frame. That way we knew at least from the chalkboard’s perspective, where we could drill. So, we measured the best we could and drilled.
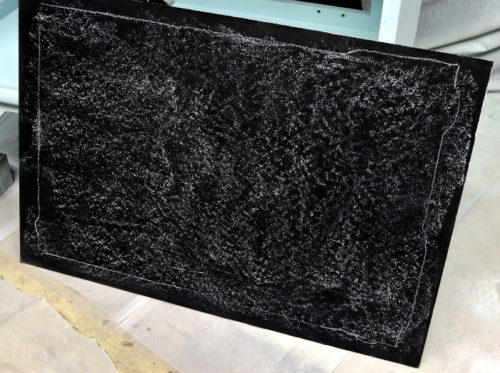
This is the back side of the chalkboard.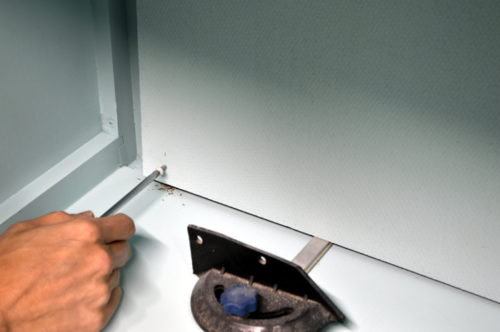
All that was left was putting in the shelf, which was painted white, and added the casters.
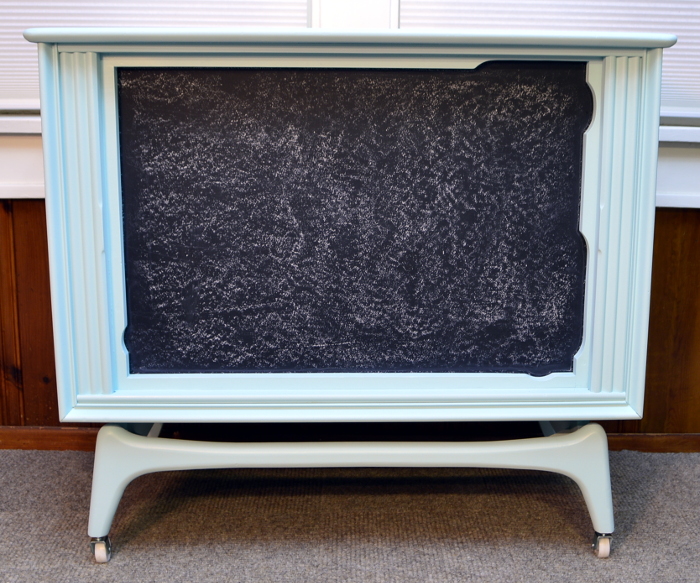
Look! The TV has horrible reception! #badjoke
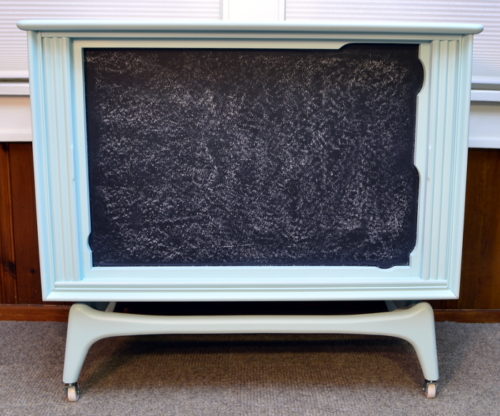
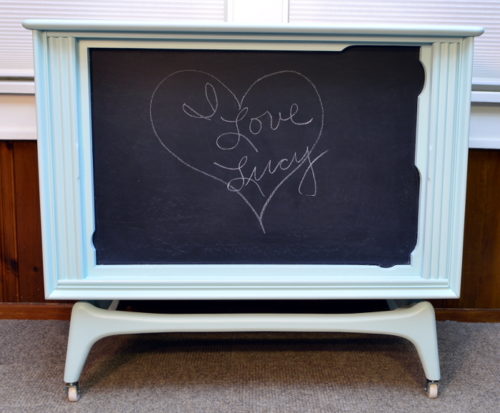
I’m fully aware this TV is from the 1970’s because when I bought it, it still had a card taped to the inside. Aaaand, I know I Love Lucy aired in the 50’s but, I just couldn’t help but draw it! Even if it’s a bad job
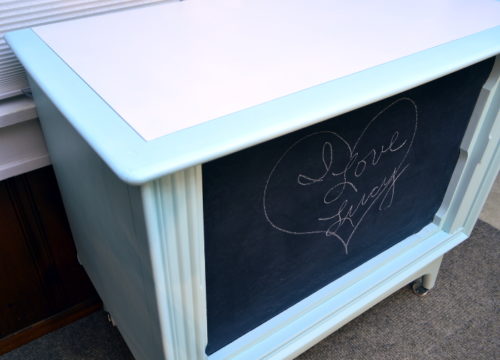
How could I forget the other side…
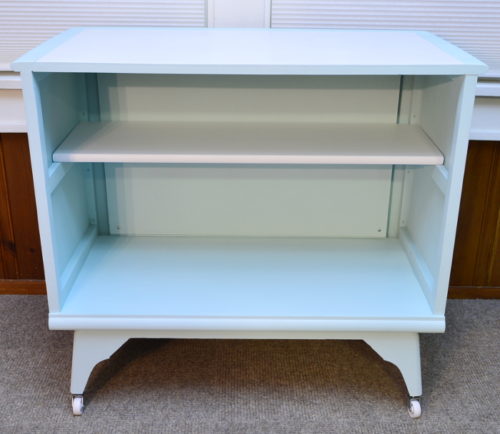
Yes, we’re a couple of years away from 40 and those are our stuffed animals from childhood. Disgustingly cute isn’t it? Also, I’m also aware that nothing matches.
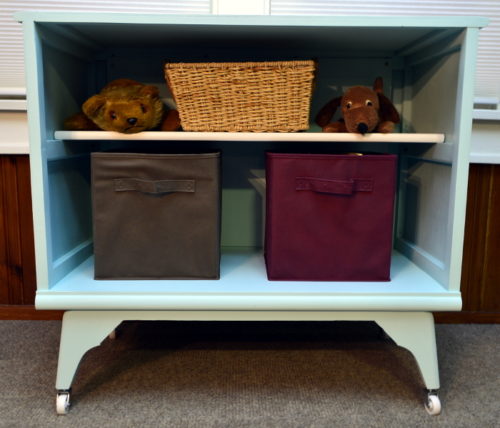
What do you think about my chalkboard, storage, entertainment, organization station for children and adults alike? Hopefully my nieces and nephews are enjoying it.



Angie, this is SO COOL! I am slapping my forehead girl, cannot believe that you thought of this. Pure genius.
Hehe 🙂 thanks Kimm!
What a thorough tutorial! And I love the paint color you picked for this cute and practical project.
Thank you Audra! I love practically any shade of blue 😉
Can’t believe you found this for $3! Love the paint color and chalkboard- awesome job!
Thanks Heidi! Seriously, things don’t have to be expensive or new to make me a happy gal 😉
Wow, what a creative idea, and I love the color too! I’m sure we had a model like this as a kid, with rabbit ears and a house antenna ?
Thank you Toni! I can’t seem to escape the blues…in a good way 😀
Angie, you did an amazing job with this TV shell!! Love how it looks and the smooth finish of the paint, plus now you have two in one! I wish I could dominate Kreg Jig so well, still fighting with it
Thank you Pili! We got our Kreg Jig not too long ago so we’re still learning but, I love it!