The best thing is when you go to a garage sale and the person sitting at the TV tray inside the garage says, “There’s more inside.”
It’s even better when you go inside, head down to the basement, and there’s no organization of any kind with hardly any price tags. This may drive some insane but, I felt at home.
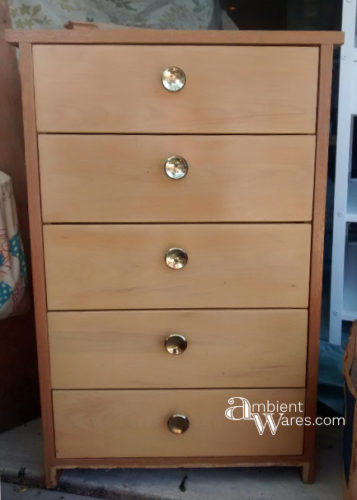
I walked through the dark basement 3 times wanting to make sure I saw everything. On the third pass, I saw this outdated dresser under a huge pile of clothes, asked if it was for sale and was told, “If it isn’t nailed down, it’s for sale.” They said $5. I said SOLD.
Small 5 Drawer Dresser Makeover
It’s a mix of real wood and plywood and it seems to be completely hand made. It isn’t anything fancy, at least in it’s original state 😉 but, it’s extremely sturdy.
Please know this post includes some affiliate links. If you click on a link and make a purchase, I receive a small commission with no extra cost to you. Thank you. Click here for my full disclosure.
When I say sturdy, what I mean to say is heavy. When I got it home, I pulled it out of the truck, placed it safely on the ground, and prepared myself. I opened the gate, picked it up, took two steps, set it down, closed the gate so the dog wouldn’t run away, picked it up, took a few more steps when…
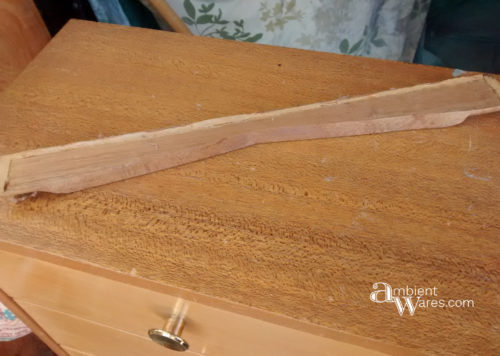
This piece was the bottom front trim. I’d picked the bottom front up with my right hand as my left arm cuddled the top. Oddly enough, the dresser landed on its feet and all I had in my hand was the trim.
Turns out the entire bottom was a mess anyway. I hadn’t noticed how all of the “feet” had split (I don’t think my drop did ALL that damage) and were pretty disintegrated.
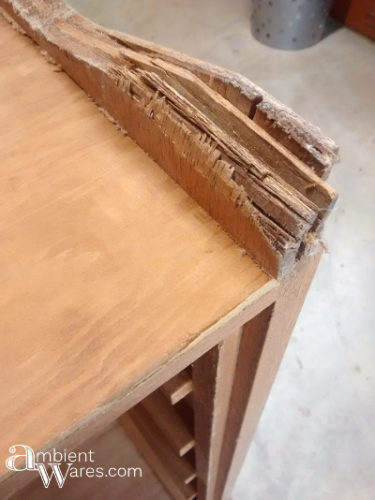
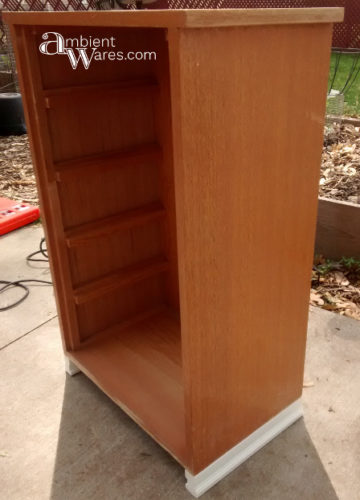
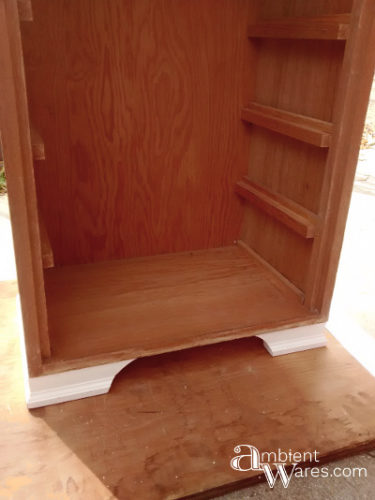
First, we shaved the feet off to make the bottom flush.
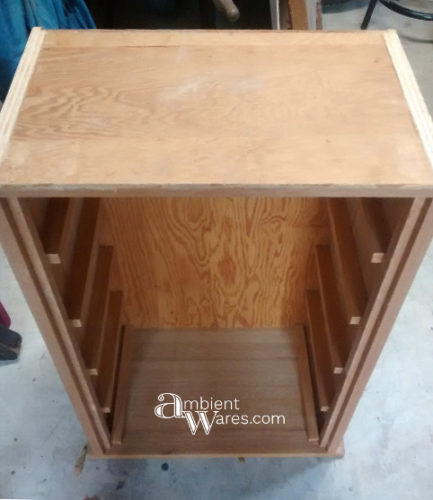
However, it definitely needed a base of some sort. It looked heavy sitting flat on the ground and I wanted it to look lighter.
Turns out we had 4 white trim pieces in our stash of extras and I’m not quite sure of the material. They aren’t wood and remind me of the material our IKEA shelves are made of. We only needed 3 of the 4.
We cut down 2 for the sides (front to back) and the 3rd piece was cut in half then curved using the jigsaw to create what you see in the front. In the picture below we’d already attached the side pieces, then realized if we wanted to add the halves to the front, we’d need to cut all pieces at 45° angles.
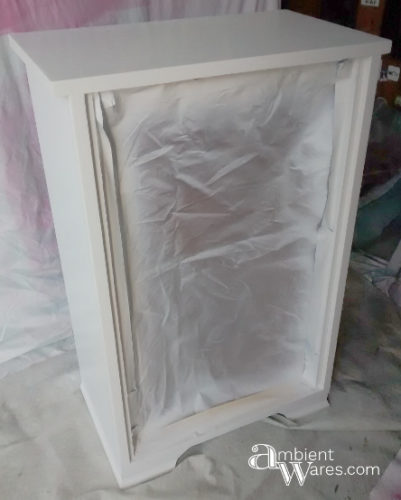
I sanded down everything and the base got a few coats of a white latex paint we had leftover while the drawer fronts (real wood) received a few coats of my fave Minwax Red Mahogany stain. You’ll see it on this refurbished wooden cart as well as on my cane back barrel chair makeover. I followed with Minwax Polyurethane in a satin finish.
Note: According to the fine print on the back of Minwax’s Red Mahogany stain, it says you need to use Polyurethane as opposed to Polycrilic. Polycrilic will remove the red color and make it brown. I did find out the hard way when I first used the Red Mahogany and sealed with Polycrilic.
The knobs I replaced with brand new, to me, handles I’d received from my father-in-law. They definitely aren’t new but, they were still in their original packaging. They’re like mini door knockers which also have a heart shaped backing to it and I did have to drill the holes slightly larger.
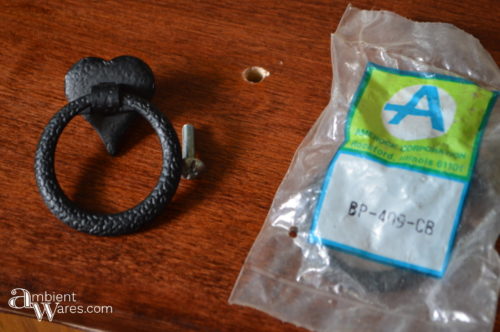
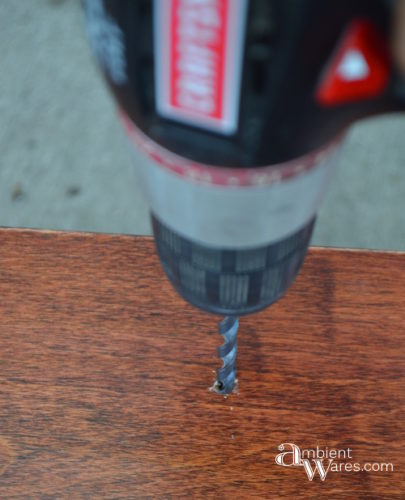
Then it was just a matter of screwing the new handles on and there she is.
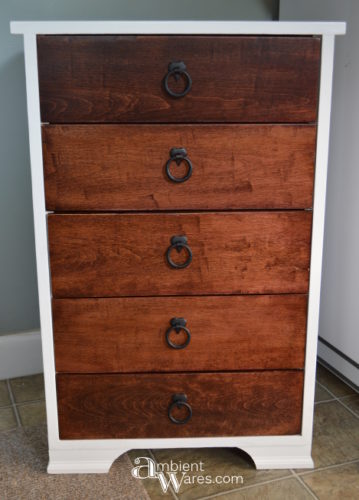
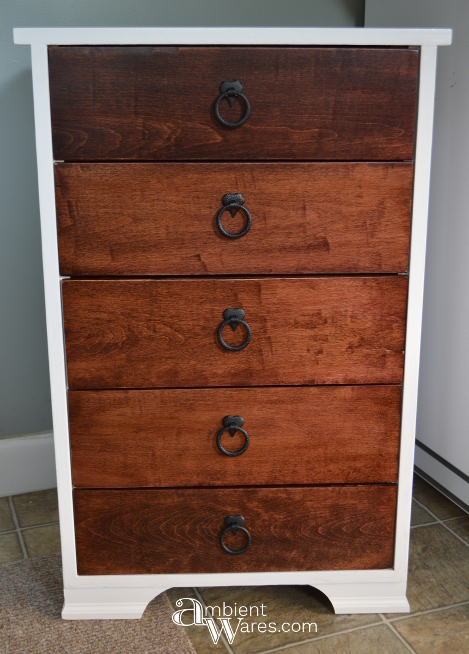


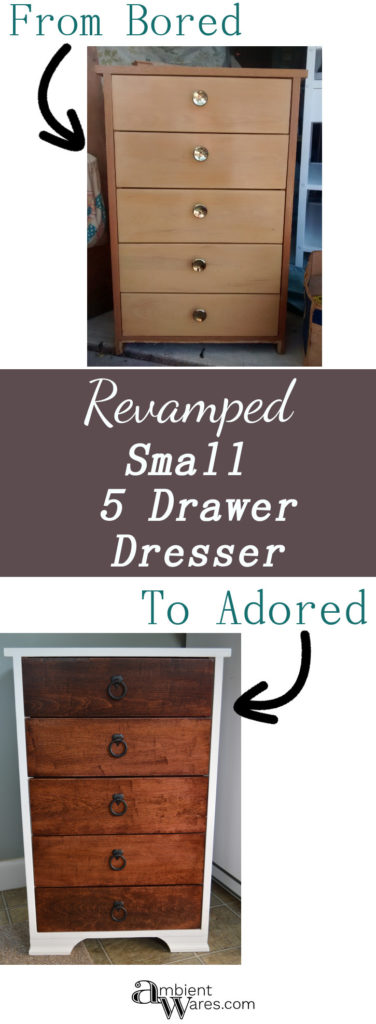
I love the new look of the dresser. What a great makeover. Thanks for sharing at Snickerdoodle. Pinning.
Thank you so much, Beverly! I appreciate it 🙂
I love your blog! Thanks for the project ideas!
Thank you Danielle! That means a lot 😉
Beautiful translation of the ugly duckling to a gorgeous swan
Ivory! I know this is a ridiculously late response but, I do appreciate it! Thank you 🙂
What a transformation! I love the new look. So glad it didn’t get damaged. Thank you for linking up at Funtastic Friday!
Thank you Lacie for commenting and hosting the party! I’m sure it’s a ton of work 😀
I was so surprised when I saw the sad little before. You really moved mountains with this makeover. Love the white with the stain. It is so fresh and crisp. Great job! Thanks for linking to Friday’s Furniture Fix.. 🙂
Thanks again Susie! I am very happy with how it turned out 🙂 Thanks for the party!
Those are good garage sales!! What a unique little piece, don’t you wish you knew it’s origin story? Anyway, love how you brought it back to life. The white and wood contrast looks fantastic. Thanks so much for linking up to Friday’s Furniture Fix!
Hi Melanie! Thank you for hosting the party and for stopping by. Those types of sales seriously can’t be beat 🙂
This is absolutely gorgeous, love the white paint and stain combo!
Many thanks Tarah!