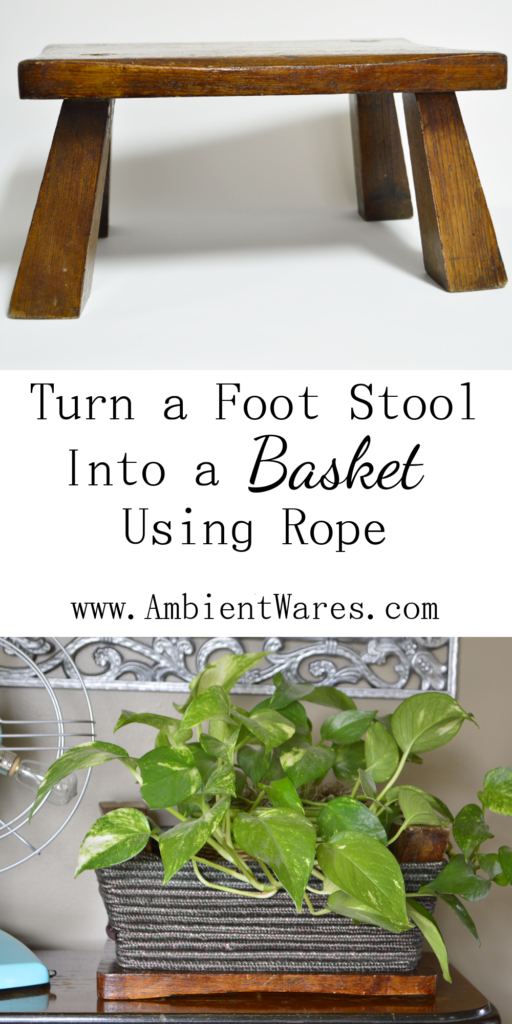
This project is the easiest project ever! Such an easy project, you don’t need a tutorial. However, there are little bits of info outside of a how-to I hope you find helpful. What I love about this besides being simple is it achieves an entirely different look and function. All I did was take this old foot stool made by my grandpa, flipped it upside down and wrapped it with some rope. Now it functions as a sturdy basket to hold any variety of little home decor items, papers, books, etc.
I looked at it one day and as I do with most of my DIYs, I spun it around, flipped it upside down and wondered if I could make it a basket. I knew I could and I guess the real question was, how can I make it a basket without permanency since I didn’t want to alter it, at least not drastically. It’s not in great shape, it needs some fixes since one of the legs is wobbly but, I don’t mind and I don’t know I’d do it justice.
I thought of different ways I could achieve this without physically effecting the stool.
DIY Basket From A Foot Stool
- Wrap rope around it. Obviously, this was what I ended up doing
- Sew something up that has loops with Velcro that would wrap around the legs. Early on I didn’t think I wanted to hide the legs. I did attempt to do this but, quit because I kinda got frustrated. I blame the tapered legs.
- Use chicken wire and where the ends met, wrap thin wire to keep it tight.
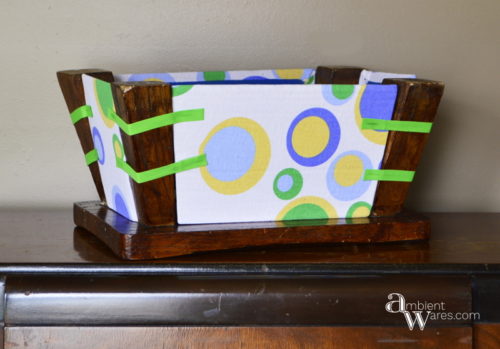
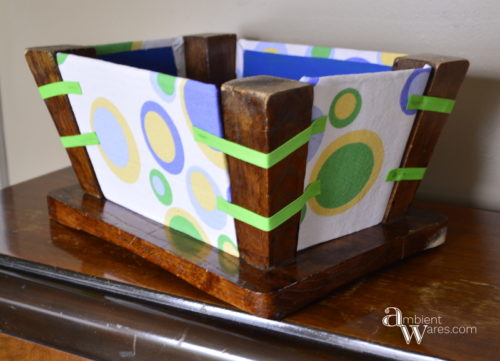
- I did try cardboard covered in fabric and secured it with seam binding going around the legs. It was cute but, ended up being pretty weak.
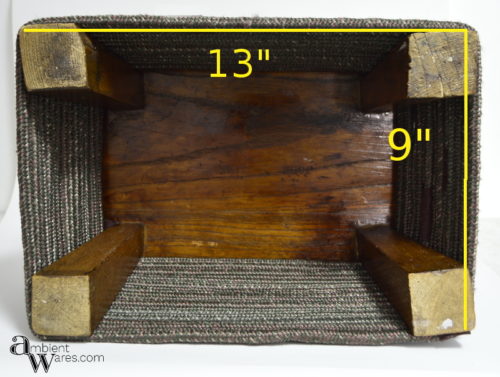
I did a rough measurement and figured I used approximately 40-45 feet worth of rope. The rope is around 1/2″ thick, maybe a little less than that. It’s a sturdy rope and not stretchy. If it were, I can only guess more would be used. I’m sure we got it from Lowe’s or Home Depot and I know there are multiple sizes to choose from. I definitely wanted thick so I wasn’t wrapping for days. Here are the measurements of my foot stool just to give you an idea.
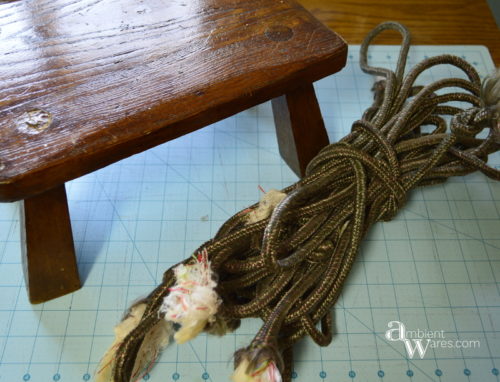
I also started out with rope that we’ve already used for other things. A big no no. It was cut into multiple pieces and was very frayed. I tried joining the pieces together which did not work well when trying to tightly wrap it. Let’s just say, one of the “joints” popped when I was staging it so I highly suggest using an intact piece of rope 😉 No brainer, right?
The end pieces will fray pretty easily once you cut a clean end. At least with the rope I used so you’ll need to cover them to prevent it. I wrapped each clean cut end with seam binding and hot glued it. Take a look at this cheat sheet explaining types of glues to use when trying to adhere different materials to each other permanently.
The next part goes against exactly what the cheat sheet says but, again, I didn’t want anything permanent. I started by putting a bit of hot glue at the bottom of one of the legs and holding it tight, began to wrap around and around. You’ll have to hold the glued starting point for at least a couple of rounds of wrapping until the pressure of pulling tight lessens. If using wood glue, you’d just need to wait for it dry the recommended amount of time.
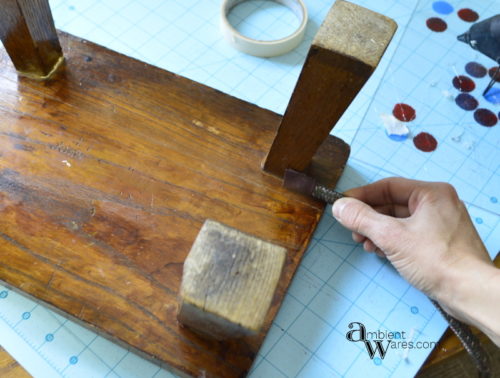
The image below is before I lost 2 layers worth of rope due to the break. I used hot glue to finish off the end piece. Remember, according to the cheatsheet, that isn’t the best way to ensure the rope won’t pop off in the future.
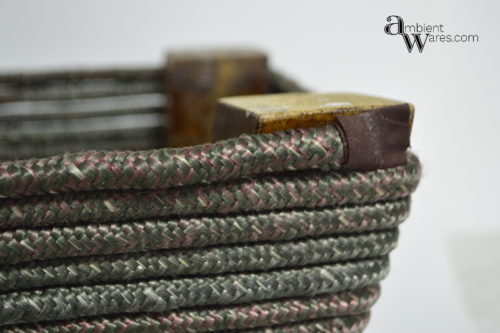
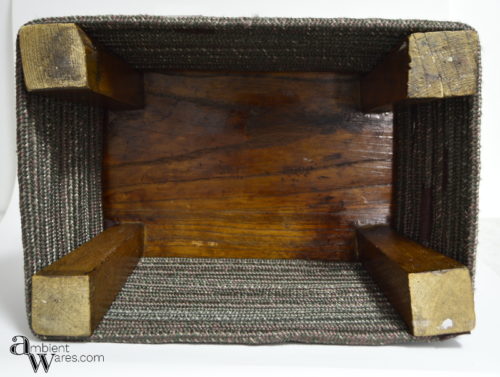
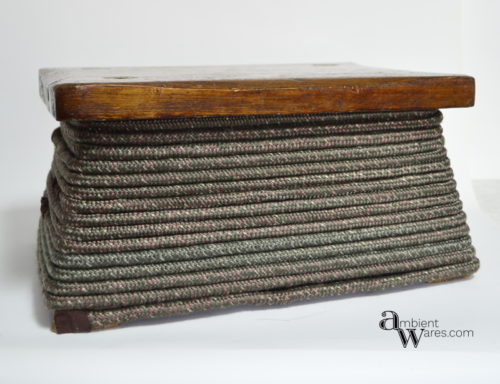
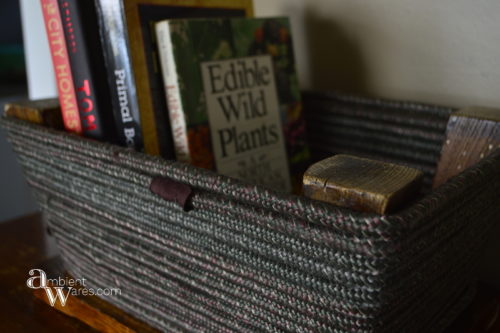
While the rope I used provides very sturdy sides, these books are actually resting on the legs themselves. This was also before the meeting point split apart.
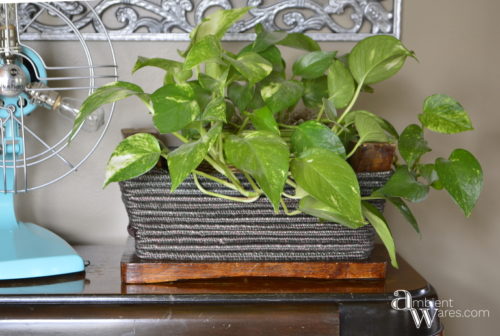
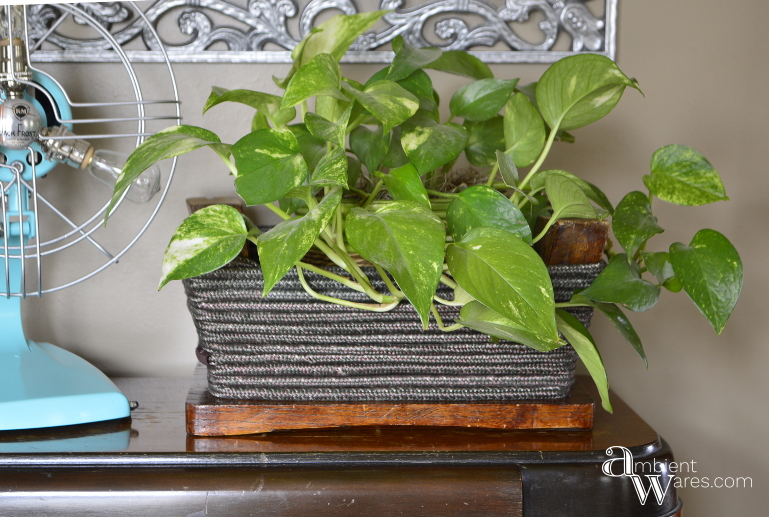
It can hold a potted plant. Especially if the container isn’t the prettiest.
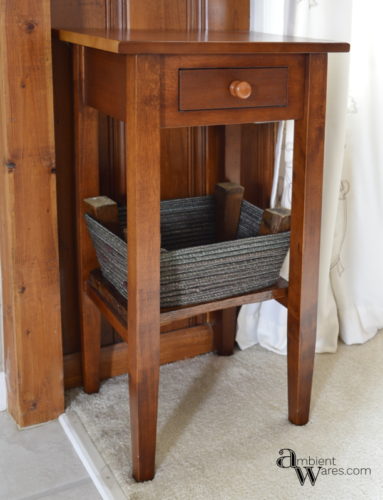
I found that it also happened to fit perfectly on our little telephone table’s crossbars. Love how versatile it is.
So, would you do this to a foot stool?


This is so clever. I recently bought a little stool to paint but now you have me rethinking the plan. The basket is very high end looking for a fraction of the cost, great idea!
Thank you, Debra! I love hearing it has a high end look 😉 Can’t beat practically free projects!
Very creative! Thank you for sharing with us at the Merry Monday party! We always look forward to your creativity.
Thank you so much, Shirley!
wow! who would’ve thought?? Love this, it looks fantastic!
Thank you, Kate!
Very clever, and oh-so cute!
Hi Terry! Thank you so much 🙂 I’m loving it!
A very cool repurpose Angie! I would never have thought to turn it upside down and make it into such a unique basket!
Thank you Mary! I flip EVERYTHING including furniture 😉
This basket looks really good. It remind me of something from Pottery Barn that I would have to auction a body part to afford lol.
Love it. Thank you for the inspiration.
LOL! No need to auction off body parts, Leanna! Although the stores don’t seem to mind if we do 😉
This is amazing! You are one talented lady, Angie! what a great share at Funtastic Friday!
Thank you Donna 😉
I love this type of creativity! Like you said, you can turn something around and upside down to think of what new thing it can become. Great job! Thanks for the tutorial and ideas about how you did this. Also — the little stool all by itself looks like a gem worth keeping.
Thank you Carol! I definitely love the stool on it’s own but, it’s nice how I can change it up a bit. I’m sure it will be used as a shelf again in the future when my tastes change because I know they will 😉
Such a clever idea. Thanks for sharing it with us at the Waste Not Wednesday link party. Hope to see you again this week.
Thanks Denise! I’ll be there for sure 😉
This is such a clever repurpose Angie! You have really thought outside the box!
Thank you so much for sharing your fabulous project with us over at Waste Not Wednesday! 🙂
Hi, Sam! Thank you for stopping by and for hosting a great party!
Love this idea and it looks fantastic. I just need an old stool!
Thank you, Carol! I’ll definitely be keeping my out for foot stools when thrifting 😉
Great idea Angie. I’m not sure I would ever have thought of flipping it over to make a basket, but it’s brilliant. You’ve preserved something so special and made it functional too.
I’m so happy I gave it a different purpose, Michelle. Thank you!
Wow, what an easy, creative way to make a basket while repurposing furniture! Love this! It looks great and perfectly blends in with your style :)thanks for the inspiration!
Thank you, Briana! It’s funny…I don’t think I have any style 😉 I just make what I like!
What a clever idea! Love it. The feet sticking out over the rope add that “designer” touch. Great vision! Visiting from Talk of the Town party.
Thank you, Victoria!
Your footstool made a really nice basket – and I would cover anything including a foot stool if I could get a thrifty storage basket out of it. The nice ones can get pricey.
Yes! Gotta love baskets especially the cheap DIY kind, Vanessa 😀