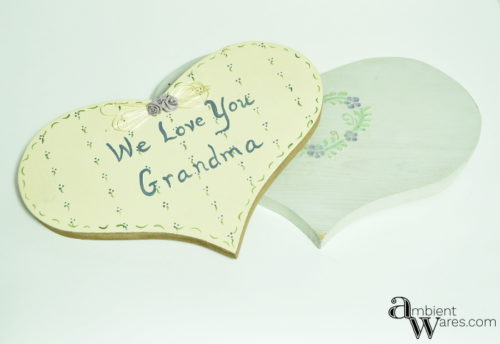
I wasn’t originally going to stain or use string art for these thrift store wooden heart shaped pieces. Instead, I was going to paint them bright colors, writing phrases you find on little candy hearts. I love you. Be mine. I mean it’ll be Valentine’s Day soon so that would have been perfect, right?
At some point, I had the urge to be an adult which is a rarity. I wanted warmth. I wanted to show love. To show what I feel when I think of my husband. Sure, we’re not perfect but, I definitely wouldn’t be imperfect with anyone else. Not that there is a single thing wrong with bright colored wooden hearts. I mean, I was gonna go that route but, I just wasn’t feeling it.

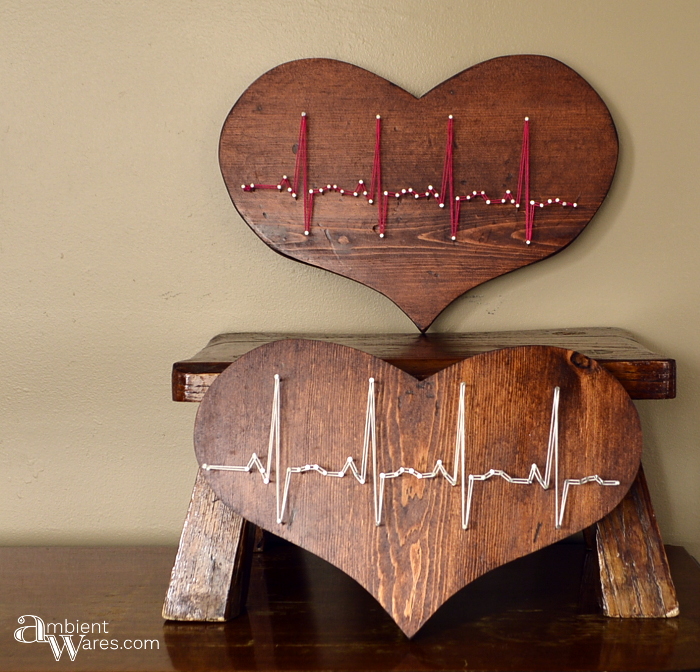
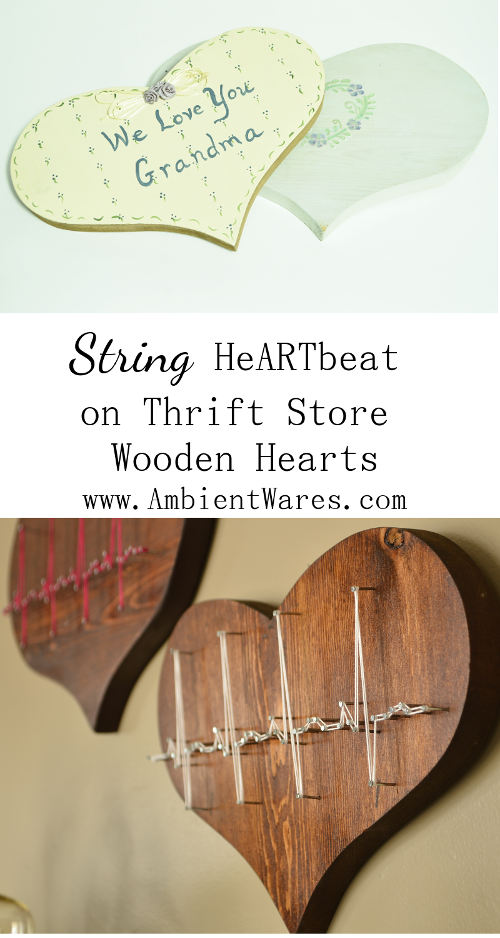
String Art Heartbeat on Wooden Hearts
This is when I say I have never done a string art project before and I really thought the simple heartbeat would be an easy beginner craft. I just knew this was going to be fun.
Please know some links in this post are affiliate links. If you click on a link and make a purchase, I receive a small commission with no extra cost to you. Thank you. Click here for my full disclosure.
Materials I used
- Wooden Hearts
- Palm Sander (I use this)
- Sand Paper
- Gloves
- Lint Free Cloths (I use cut up t-shirts)
- Wood Conditioner
- Stain
- Paintbrush (you may not need)
- Chalk Paint (you may not need)
- Wipe On Poly
- Clip Art Heartbeat
- Printer
- Copy Paper
- Tape
- Scissors/Paper Cutter
- Picture Hangers
- Small Hammer
- Nails
- Embroidery Floss
Sanding
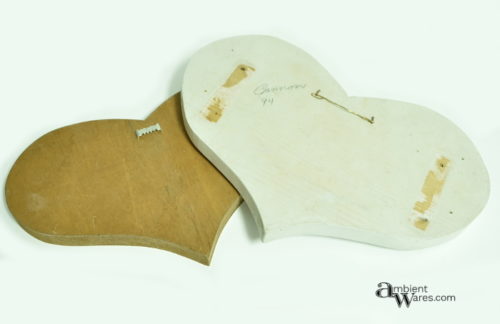
I removed the original hanging hardware and sanded everything down with 80 grit paper.

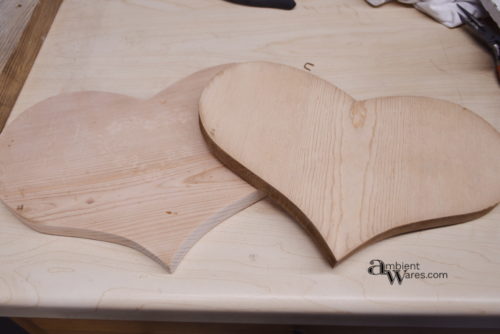
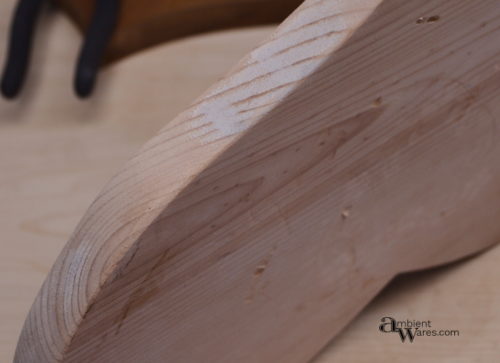
One of the wooden heart’s edges had paint that wouldn’t come off and I didn’t want to keep sanding because I was beginning to change the shape of the heart itself, yet the paint wasn’t going anywhere. I meant to try removing it with a stiff bristle brush or steel wool but, forgot. I dealt with it later with paint.
Filling Holes
I didn’t mind the divots in the wood but, some were deeper than others. I used wood filler across just one time and didn’t worry if they were still noticeable later which they were.
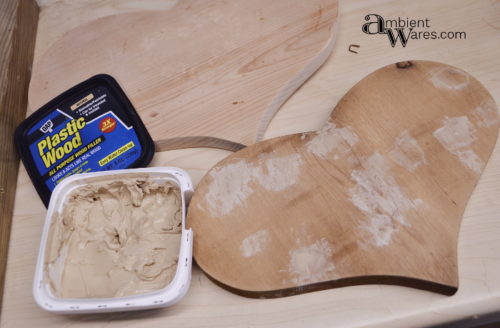
I will tell you no matter what the wood filler container says, at least the ones I’ve tried, about taking stain hasn’t always been the case. If staining, the patches are sometimes still noticeable with some more than others.
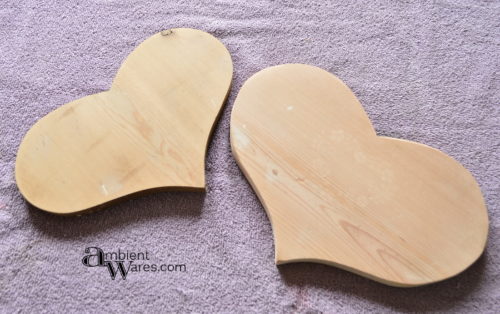
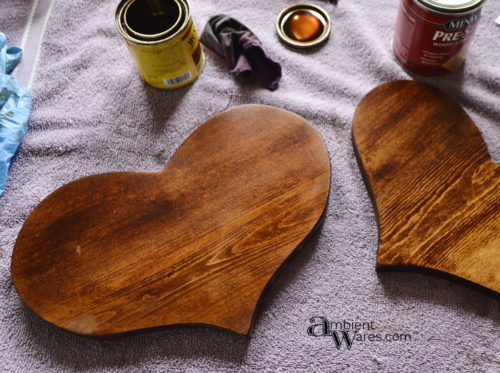
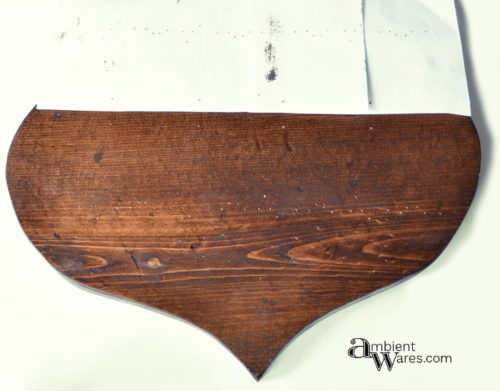
I don’t know if you can tell in the image below but, the one on the right still has remnants of the painted floral image on it. Almost like sun tan lines. I wasn’t sure if the stain would cover it but, it did.
Staining, Painting, and Poly
Before staining, I used wood conditioner. I’d also used it on this old refrigerator shelf turned dry erase board. More than anything it’s because I have it and I use what I have although, I’ve yet to run into a very noticeable problem when I haven’t used it.
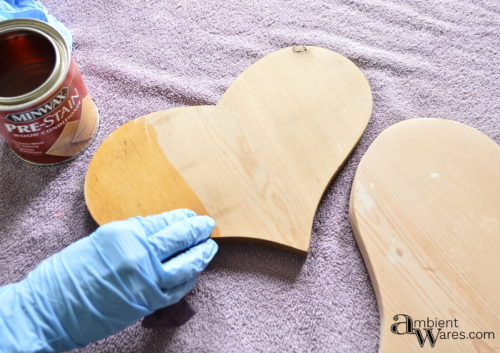
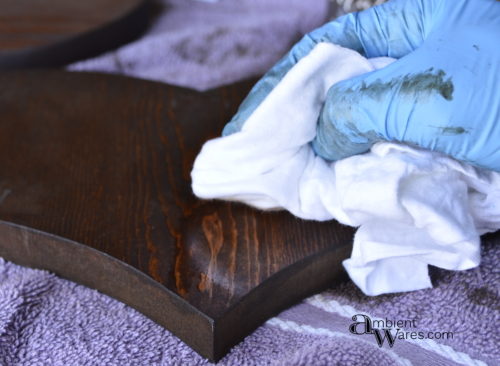
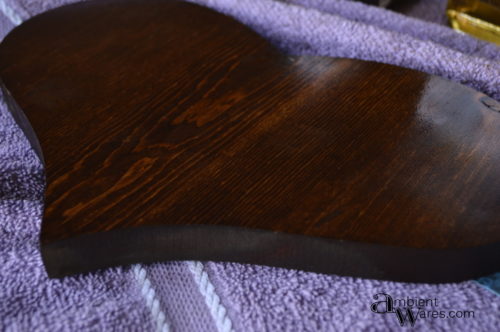
This is after 1 coat of Red Oak stain. I did two total on both sides.
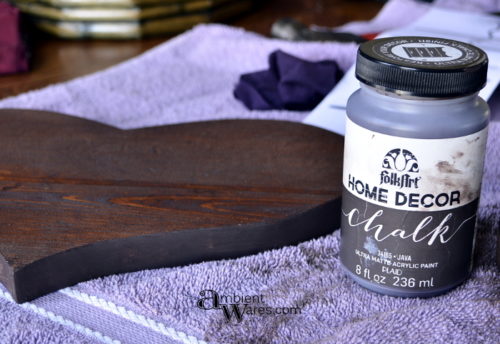
I did not get a picture of what that edge looked like after I stained it. The edge I showed before where the paint was? Well, it didn’t take the stain so I grabbed my chalk paint in “Java” and painted the edge. I also painted the entire back side of this wooden heart because it had the most noticeable spots that didn’t take stain either.
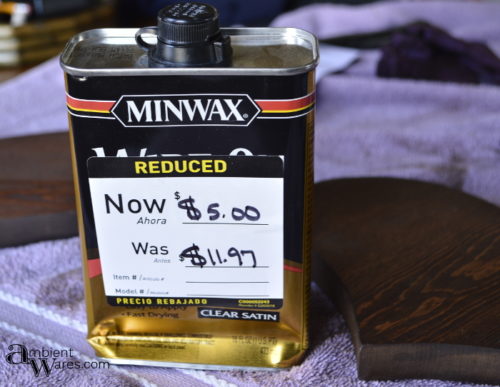
Something else I’ve never tried before is wipe on poly which I got at Home Depot for only $5.00. Sure it’s dented and won’t stand up straight and I have to make sure to close the lid thoroughly before I just assume it will stand like a regular can but, c’mon $5.
Creating the heartbeat pattern
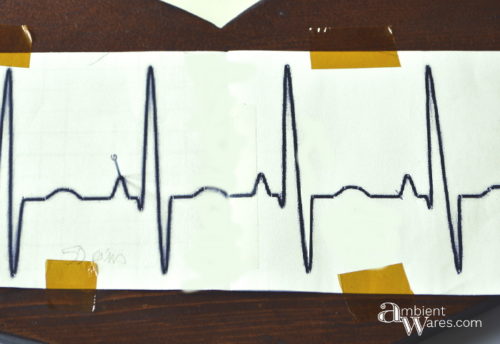
I printed off a normal heartbeat image and had to print two because the heartbeat wasn’t long enough to fill the front on both wood hearts. I taped the two pieces of paper together in the middle and used the one sheet as a template for both hearts. Here’s what I used if you’re curious.
Actually I had printed off this exact same image but, it had a black background and I tweaked it in my photo editing program. I found the one linked with the white background after the fact. Although, if you search for clip art heartbeat, a ton of options come up.

I’m so ready to do this.

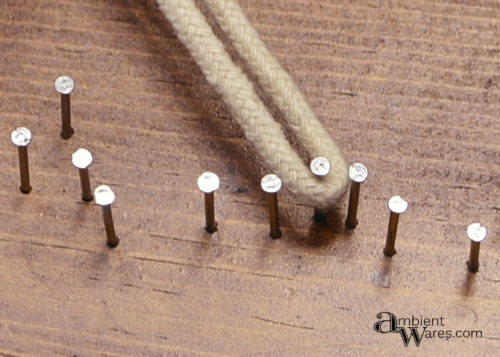
I taped the image down using capton tape. It’s one of my go to “tools”. You will have to cut it. It doesn’t tear like masking tape. At each point, I tapped in a nail to make an indent in the wood. I’ve read where people just nail them all in over the stencil and then tear the paper out afterwards but, something told me that would not go well for me.
When done I pulled the paper back just to make sure I could see them all.
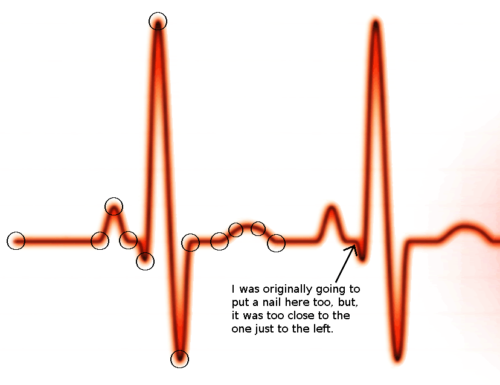
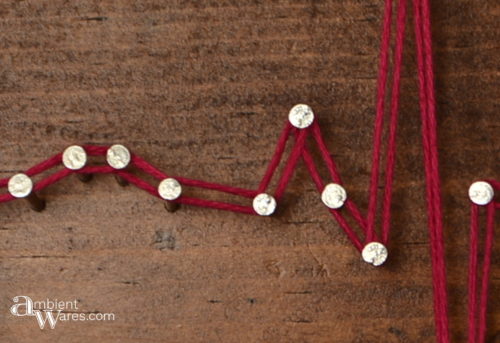
I tapped each nail in and doesn’t it look like a chaotic mess without any thread?
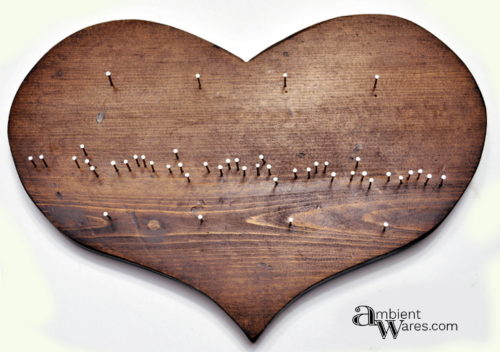
This image marks where I put the nails. I left one point empty since the heads would’ve been too close together. I used 46 pins on one wooden piece and for some odd reason did 47 on the other.
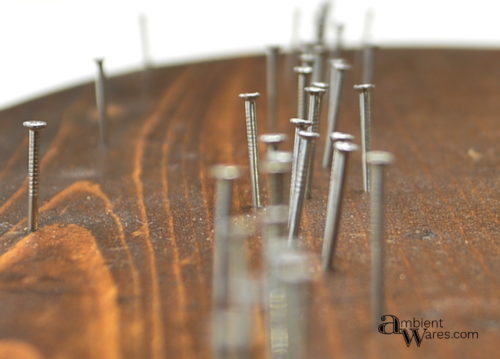
 Some of my nails were damn near sideways too. I tried to take a thick piece of rope to bend the nails to a straighter position which did help a teeny bit.
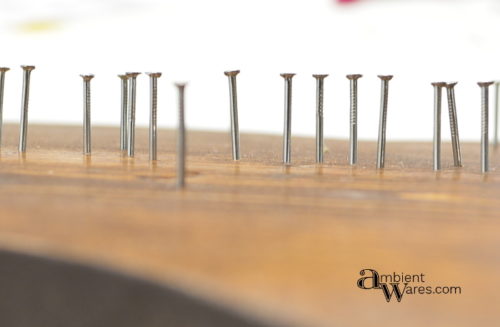
This really just makes me laugh when I see how crooked they are. I think the thing to remember is that this will be viewed straight on, no?
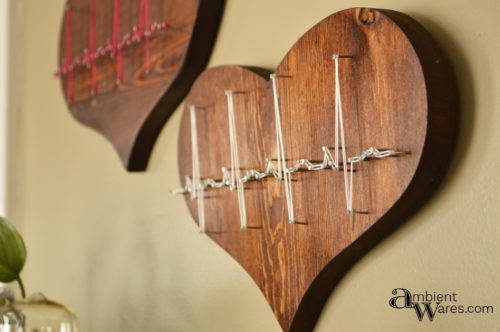
I started at the end nail and tied a knot. I would wrap around each nail head one full rotation and continued to the other end. Then I went back the other way weaving the opposite direction of what I had just done creating the double threaded look.
The white string I used was just a large roll I had on hand and was able to double back over the nails without ever cutting it until I got back to the beginning. The pink embroidery floss was not long enough to go around twice because I had cut it in half but, it did make a full rotation from one side to the other. So that one was created with two separate pieces of floss.

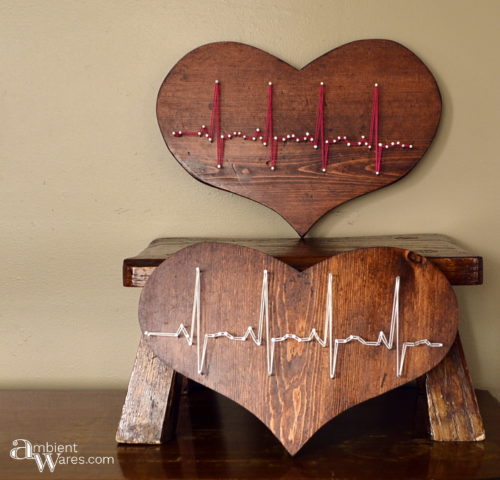
Here they are in all their glory and I’m in love with them. Pun intended. It could be a great gift at anytime too. Not just Valentine’s Day. Do you know someone in the medical field? This might just be the unique gift idea you need!
If you haven’t tried string art yet, I highly recommend it. It’s much easier than I thought and it’s one of those projects where you kind of get lost in the monotony of it all which isn’t always a bad thing. I got into a groove and I couldn’t stop.
Some extra bits I learned along the way.
- Installing the hangers before the nails may make it feel awkward. I’m blaming that for my crooked nails but, it wouldn’t have worked if I’d done the nails first since I had to hammer the hangers in.
- The embroidery floss would split on nail heads at times but, as long as I was paying attention I was easily able to unwind it from that nail and redo it. You could also just flick the string back under the nail head no problem.
- Keep the floss or thread tight at all times as you’re winding. If it loosens, all of your previous work may just unravel.
Love-love-love this string art project! Awesome job taking a couple of thrift store finds and updating them into something great.
{BIG hugs}
~ Ashley
Hi Ashley! Thank you 🙂 They make me smile every day!
This is a great project. I love the stained wood and the dainty string. Pinned to my Valentine’s Day Craft board.
Thanks, Sherry!
This is a very different valentine. Under no circumstances would I have the patience to tap in all those little nails. Its a labour of love for sure and I really like that it has a more masculine “feel” to it.
This is mature and fun both. Nicely done!
Lol! Thanks Leanna 😀 Honestly, it didn’t feel like it took long at all but, again, I got lost in doing it and thoroughly enjoyed my time spent making it. Although, this pattern is probably one of the simpler things I could’ve started with. Thanks again!
I love how you did the heartbeat it looks fabulous and I really love the idea behind it Angie
Thank you Amber 🙂
I’ve seen these hearts featured at linky parties and I must say, this is a brilliant re-purpose! Well done, so unique!
Haha! Thanks, Jas! It was definitely a fun project 🙂
Love this Angie!! The idea of the heartbeat is just genius!! Great job!
Thanks Anika 🙂
This is such a refreshing, unique twist to a wooden heart. LOVE THIS!
I’ve featured you this weekend on DIY Salvaged Junk Projects 364. Thanks for linking up! 🙂
Thank you so much Donna! 😀
Hope to see you at Family Joy Blog Link Up Party again. You are being featured on Sunday. Yay!
Thank you Charlene!
Wow Angie, this made my heart go pitipipat, pitipipat. So unique and such a different take on string art. Beautifully done. I really love it!!
Many thanks Michelle!
Very cool! Have never tried string art but it looks easy enough for a total novice like I am. Visiting from Tada Thursdays party.
Thanks Victoria! I think it’s a great starter string art project!
I totally LOVE this… what a creative idea! Thanks for partying with us at Family Joy Blog Linky party 🙂
Thank you Crystal! Glad to have linked up and thank you for hosting!
What a perfect find to do a heartbeat string art. I love it.
Thanks, Erlene! Gotta love those ideas that evolve into something else entirely 😉
Angie this was a lot of work. But so, so worth it. The wood grain look is stunning. And your adult take on Valentine’s Day is superb. And no one will see all those crooked nails but it was fun to see them that way.
Thank you, Mary. The heartbeat was a great starter project, I think and you can’t even tell those nails aren’t straight 😉
This is great! I love string art and recently made my first string art project. This is great for valentines or as a gift for a loved one at any time. Pinned it!
Lianne | Makes, Bakes and Decor
Thank you so much Lianne! I definitely want to make more string art 😉
I’m an old ICU nurse, who worked mostly with patients having heart problems… I need to make this for myself!!
Hi Bobbie! I love hearing why you want to make one and I hope you do! I’d love to see your take on it 😀
Your heartbeat string art is fabulous! I love it. Thanks for sharing your tutorial at Snickerdoodle! Pinning.
Thank you Beverly! I appreciate it 🙂
Stopping back by to let you know that your String Art Heartbeat is our Snickerdoodle Special Feature at tomorrow’s party! Hope to see you there!
Thank you, thank you, Beverly!
Oh my goodness! Saw your project posted by Sadie Seasongoods on facebook. I’ve never been tempted by string art (child of the 60s, what can I say?) but I would love to try to replicate this for a sweet mama who lost her first son to CHD. Thank you for the inspiration!
I believe it would be a wonderful gesture, Melody and I’m happy to have been a part of inspiring you. I don’t know what to say really other than I wish mom all the best in the world and I can’t imagine. Thank you so much for letting me know. I’d love to see it, if you wouldn’t mind!
This is my favorite project of yours yet! It is SO fantastic! I’m cracking up that even though someone really loved Grandma, she didn’t love them enough to save her special painted heart – hahahaha! Well, her loss, your gain!
I know! I felt bad as I was sanding it all off but, I got over it pretty quickly 😉 It’s funny how I was so ready to make candy hearts and went an entirely different way. I appreciate you stopping by and I’m so happy you like them! Thanks, Bre!