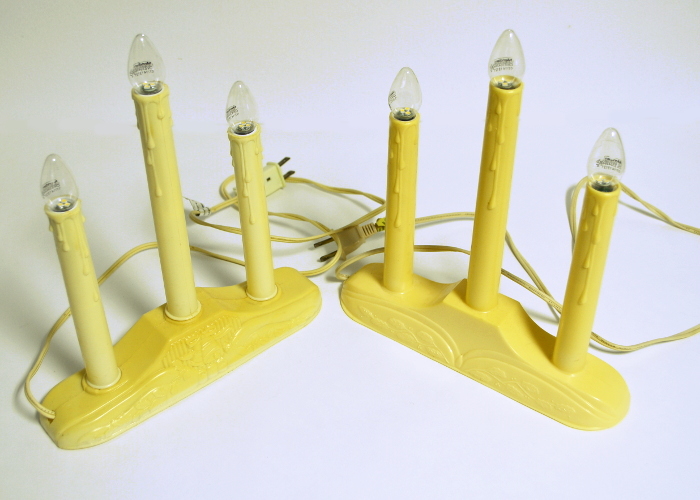
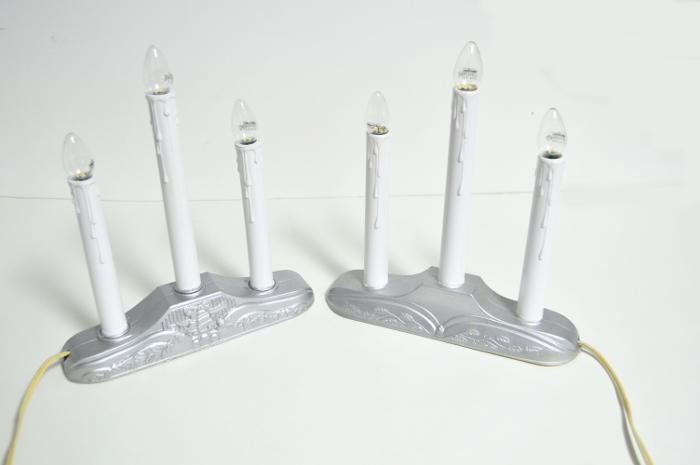
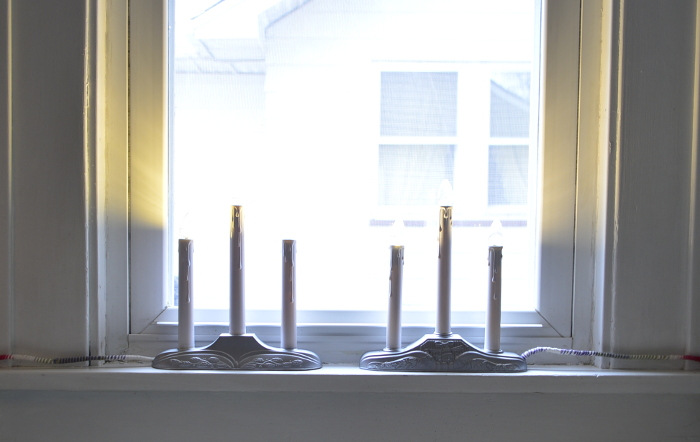
I adore these old dingy vintage plastic candelabra lights. I only have two and they used to belong to Joe’s grandma. I don’t know what it is about them but, I especially love the look from outside when pulling in the driveway.
I love them even though they are pretty much the ugliest things. When I unpacked the Christmas stuff this year, reality sank in as to how urine like they were. Sorry, I couldn’t get it out my head either.

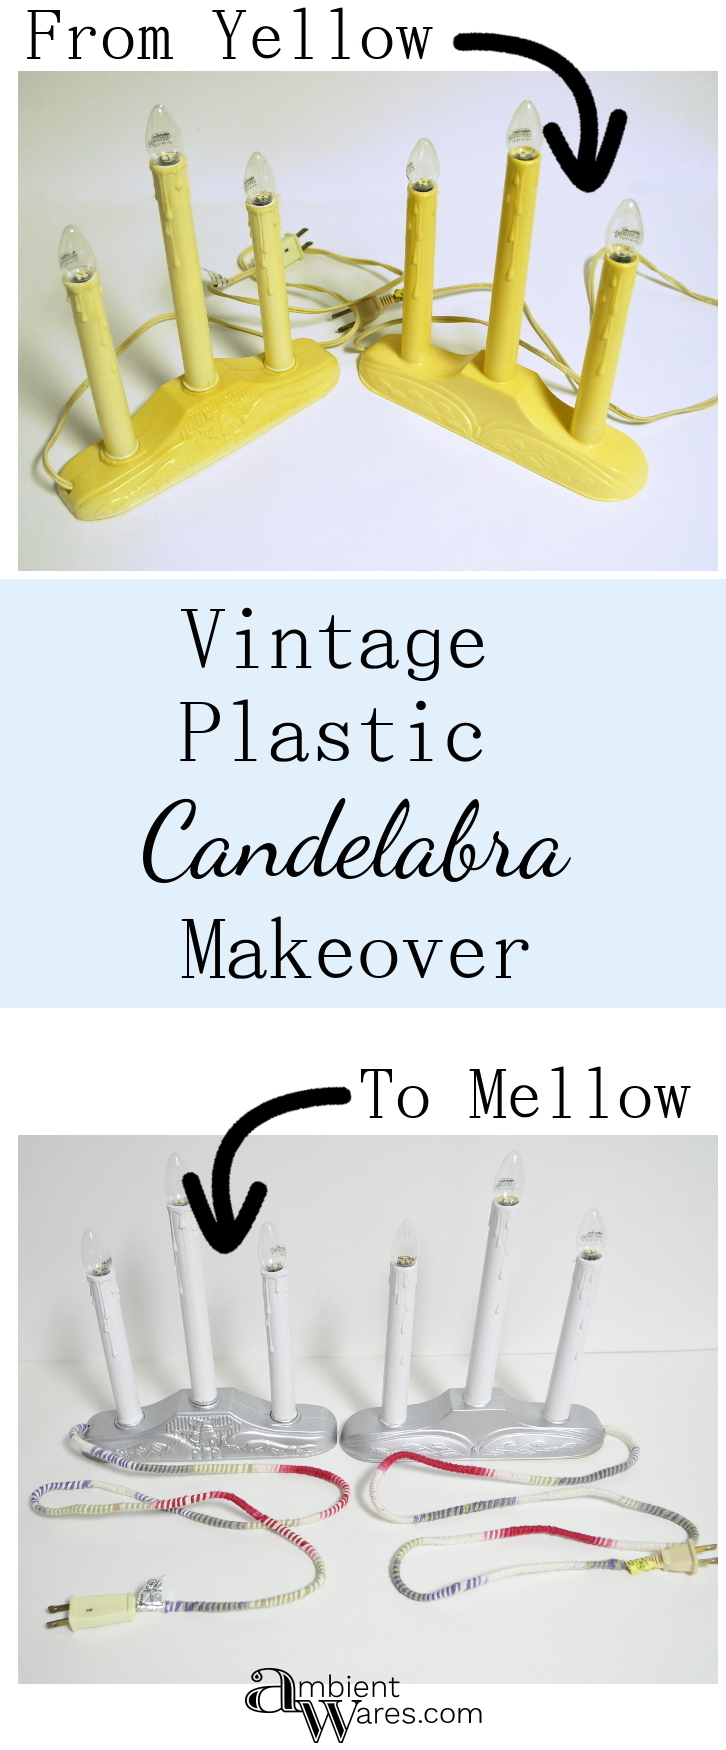
I decided to paint them and of course I didn’t want it all one color. White for the candles. Silver for the base. Aaaand, I didn’t want to paint them by hand, I wanted to spray paint them which posed some issues but, I got it done.
 A BIG first though….I forgot to clean them. Can you believe it?! So yeah, you might want to wash yours first. I feel like I must also add there was never any actual urine involved. Just in case you were wondering.
Please know some links in this post are affiliate links. If you click on a link and make a purchase, I receive a small commission with no extra cost to you. Thank you. Click here for my full disclosure
Materials I used:
- Vintage Plastic Candelabras
- Silver Spray Paint (what I use)
- White Spray Paint (what I use)
- Cardstock
- Something to trace (you’ll see why)
- Scissors
- Tape (what I use)
- Newspaper
- Furniture Plugs (similar to what I use)
- Yarn
- Hot Glue Gun
- Glue Pad
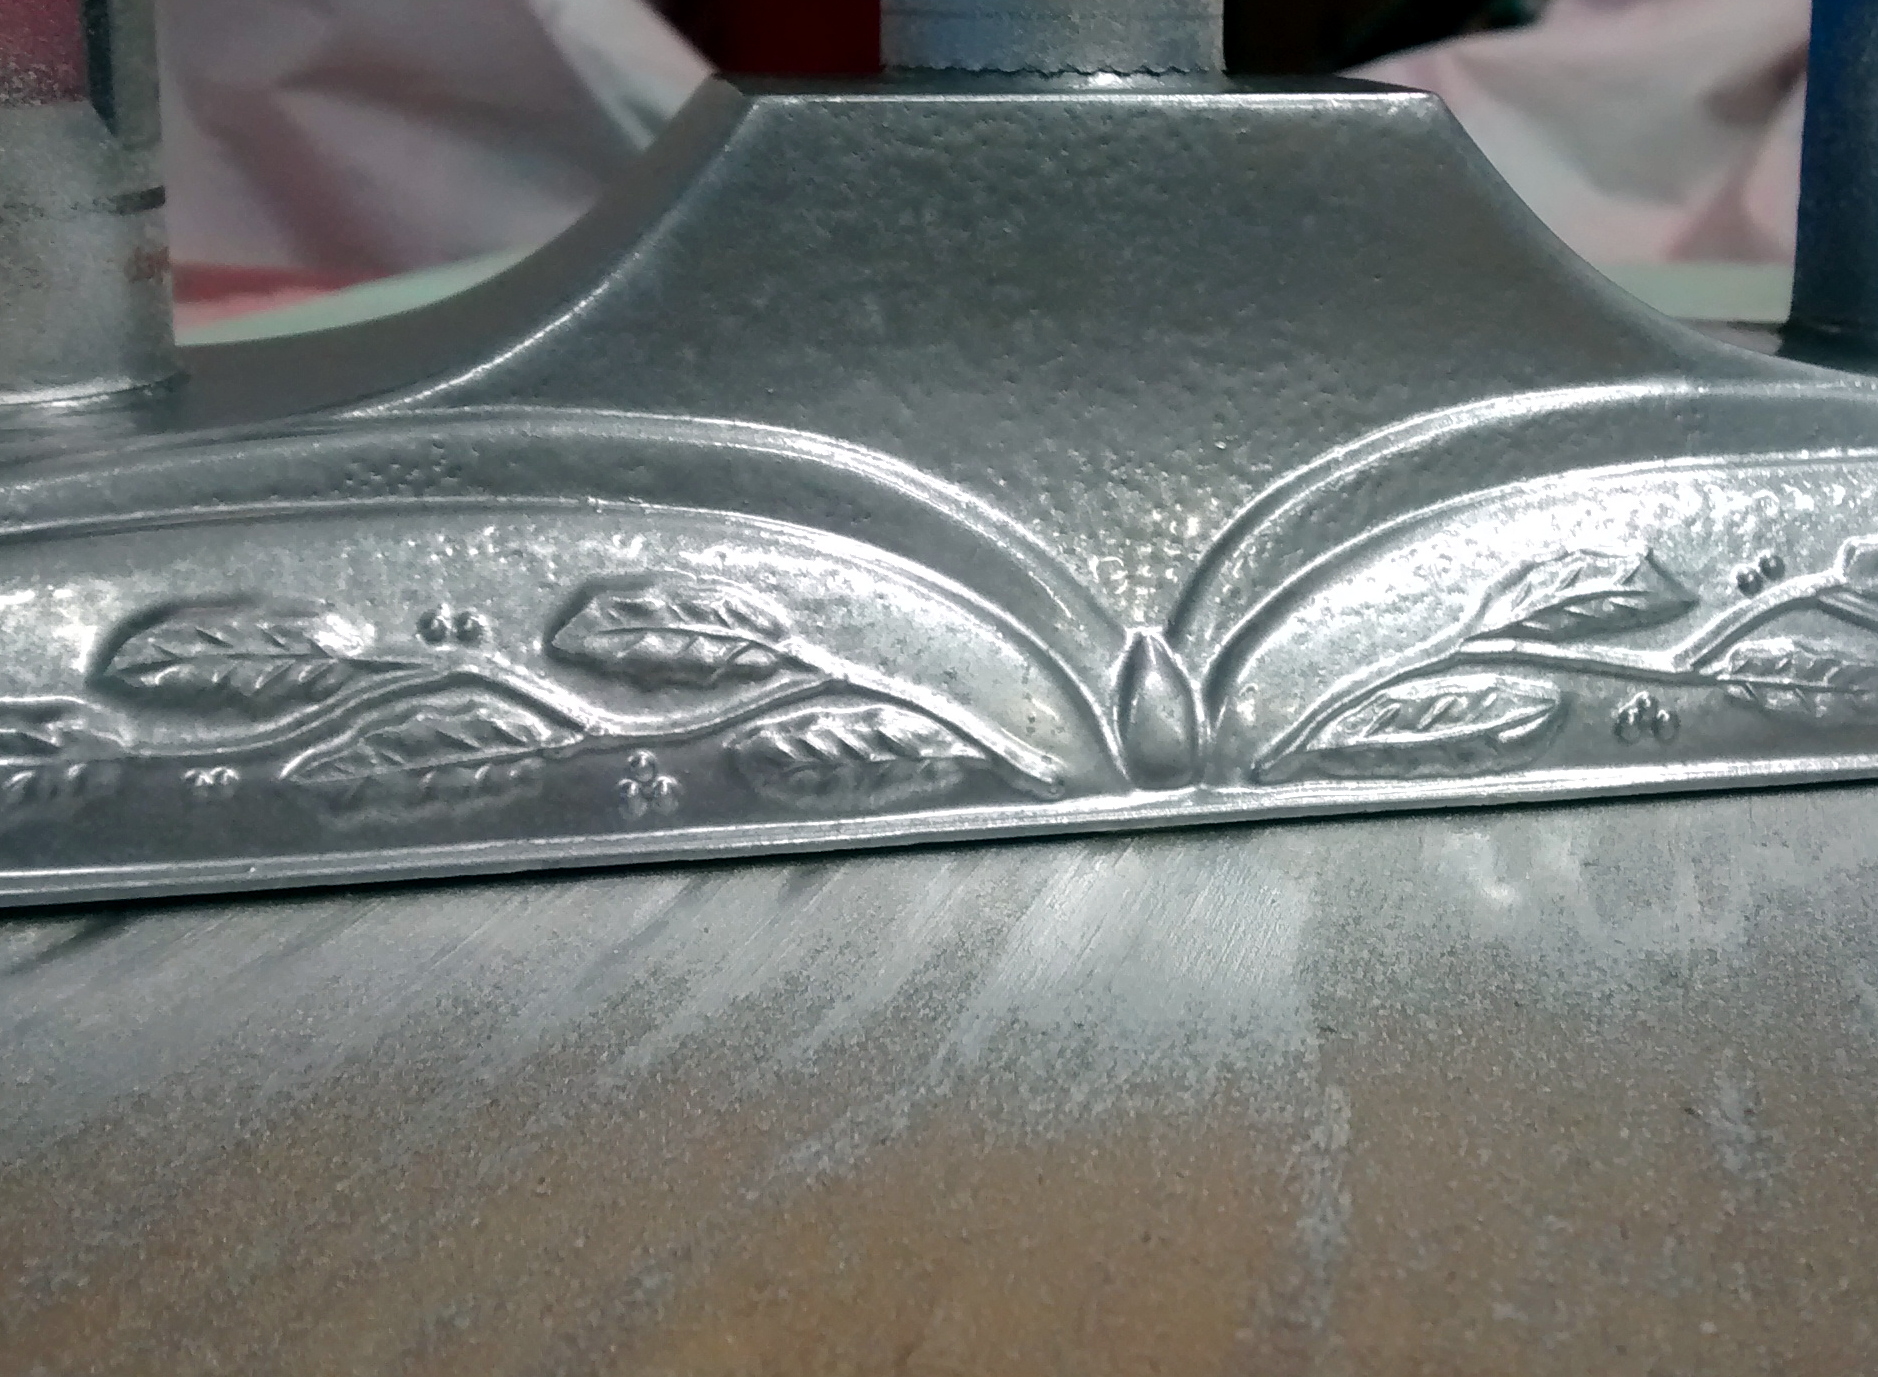
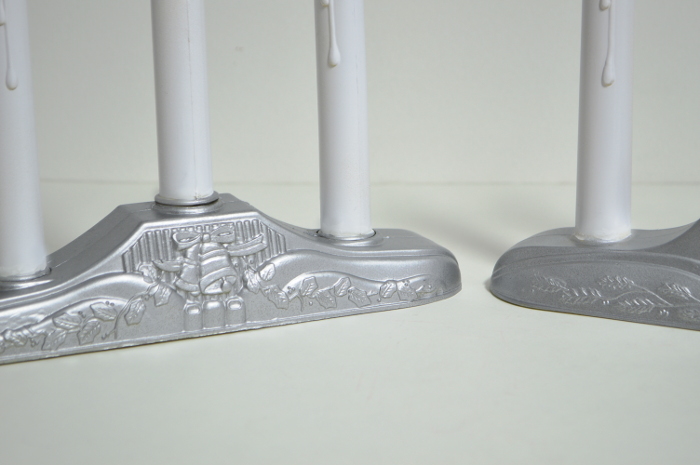
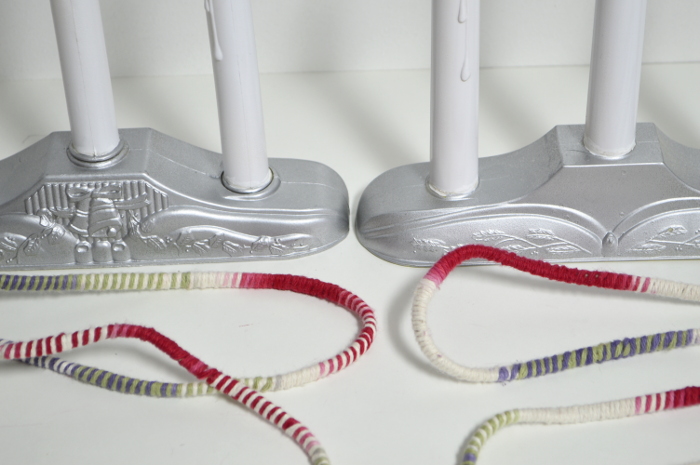
The fact I wanted two separate colors made me put my thinking cap on. Please don’t tell me there’s a better way of doing it outside of hand painting. I may just cry 😉 I decided to start with the base which is when I first realized the bases were different in design and structure. One had an open slot where the cord could be tucked underneath completely.

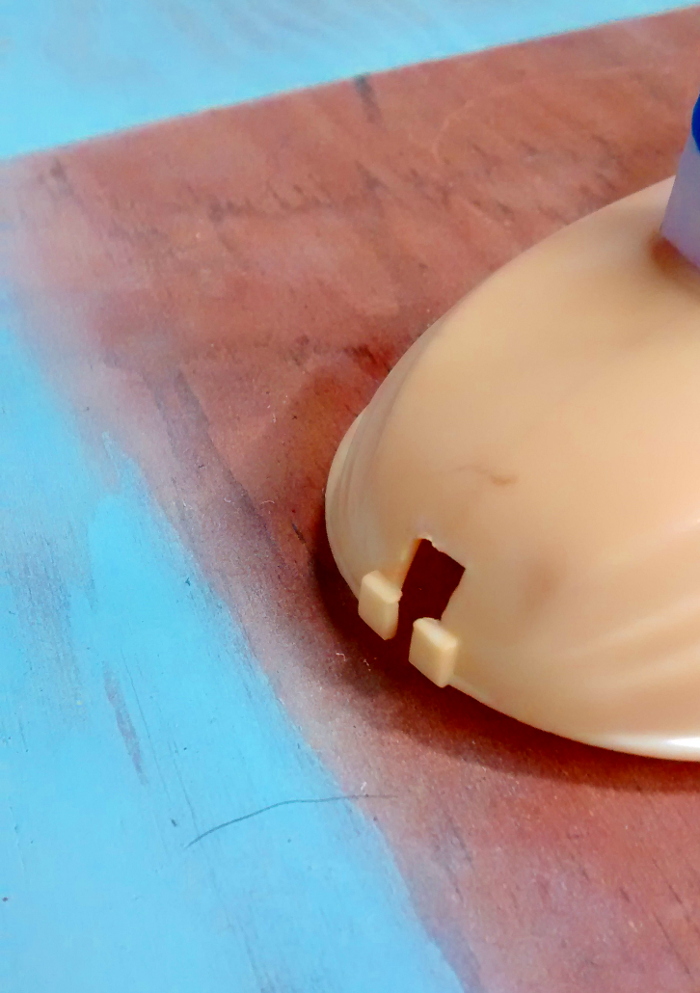 The other one only had a cutout. In order to allow the cord to be wound up underneath the base, I snipped it using my tin snips. That way, I could spray paint without getting the cord covered.

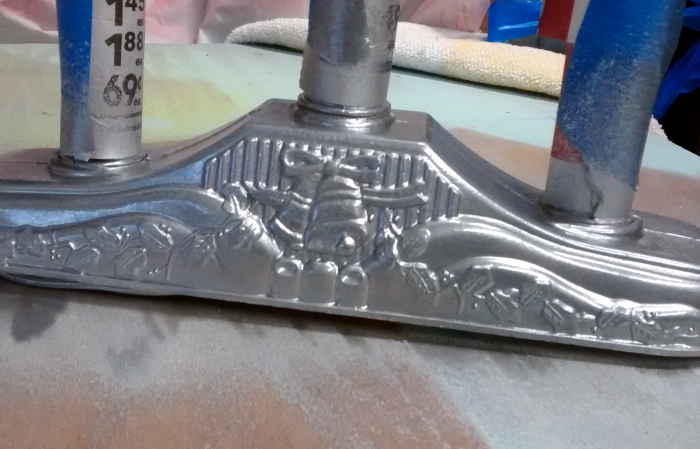
The base was easy to paint and the candelabras easy to cover. I just wrapped newspaper around them taping it in place.
 The candles were a bit more difficult but, once I figured it out, it went fine. Once the silver had dried to the touch, I began working. I could have taped it off but, I was lacking patience and didn’t want to wait. Something made me think either way, the tape would have pulled up the paint anyways. Especially since I’d forgotten to clean them.
The candelabras were at different heights, the two ends lower than the middle, and I couldn’t just slip a full piece of paper over it with 3 holes cut out; which I’d hoped to do until I realized the height difference.
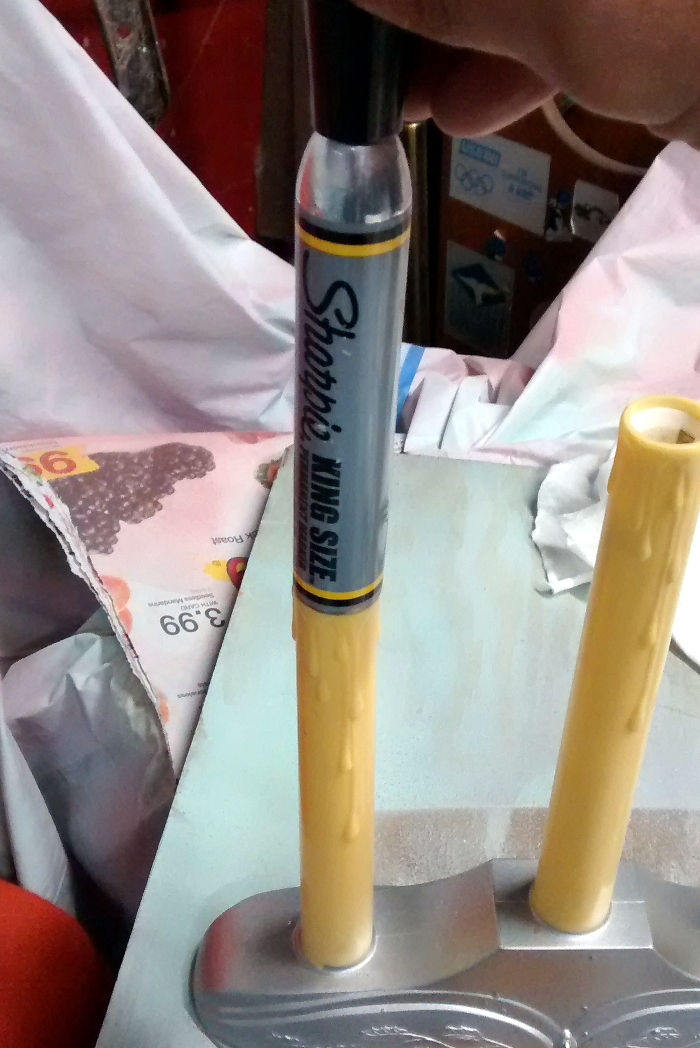
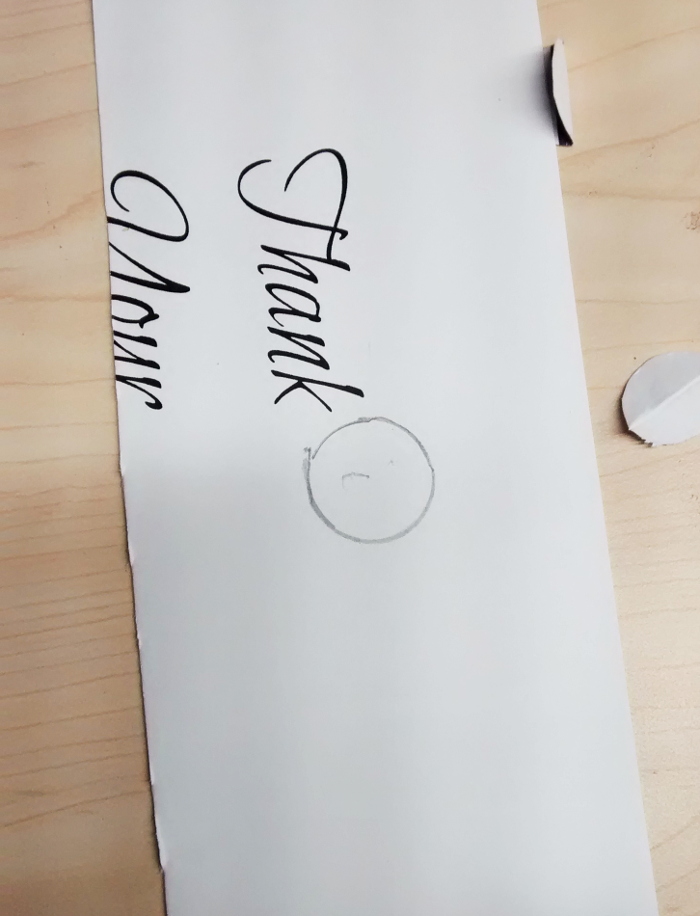
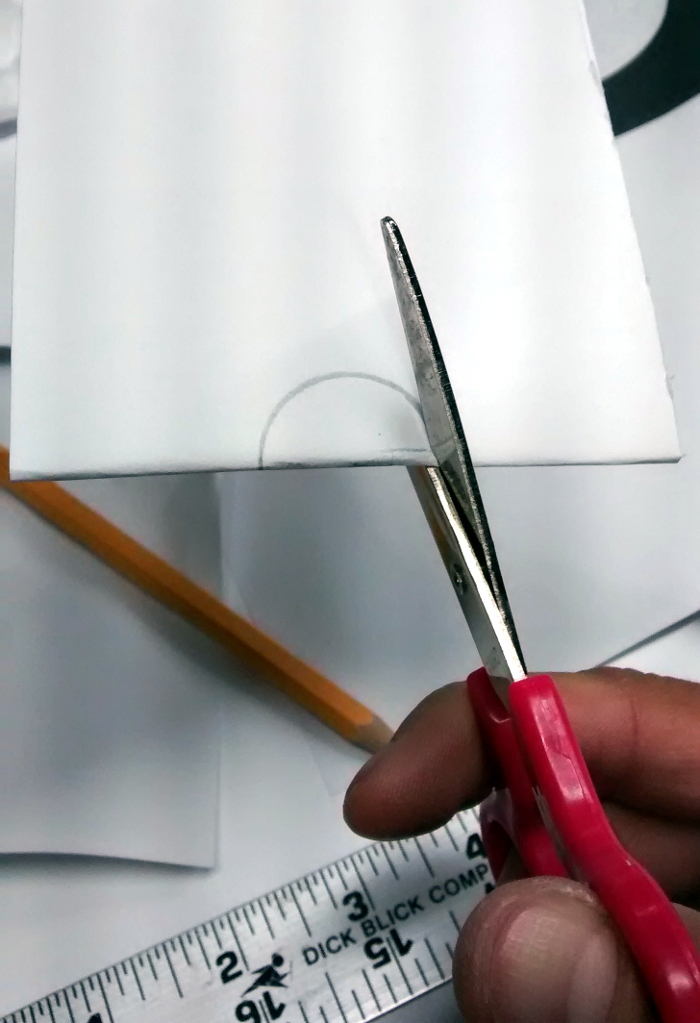
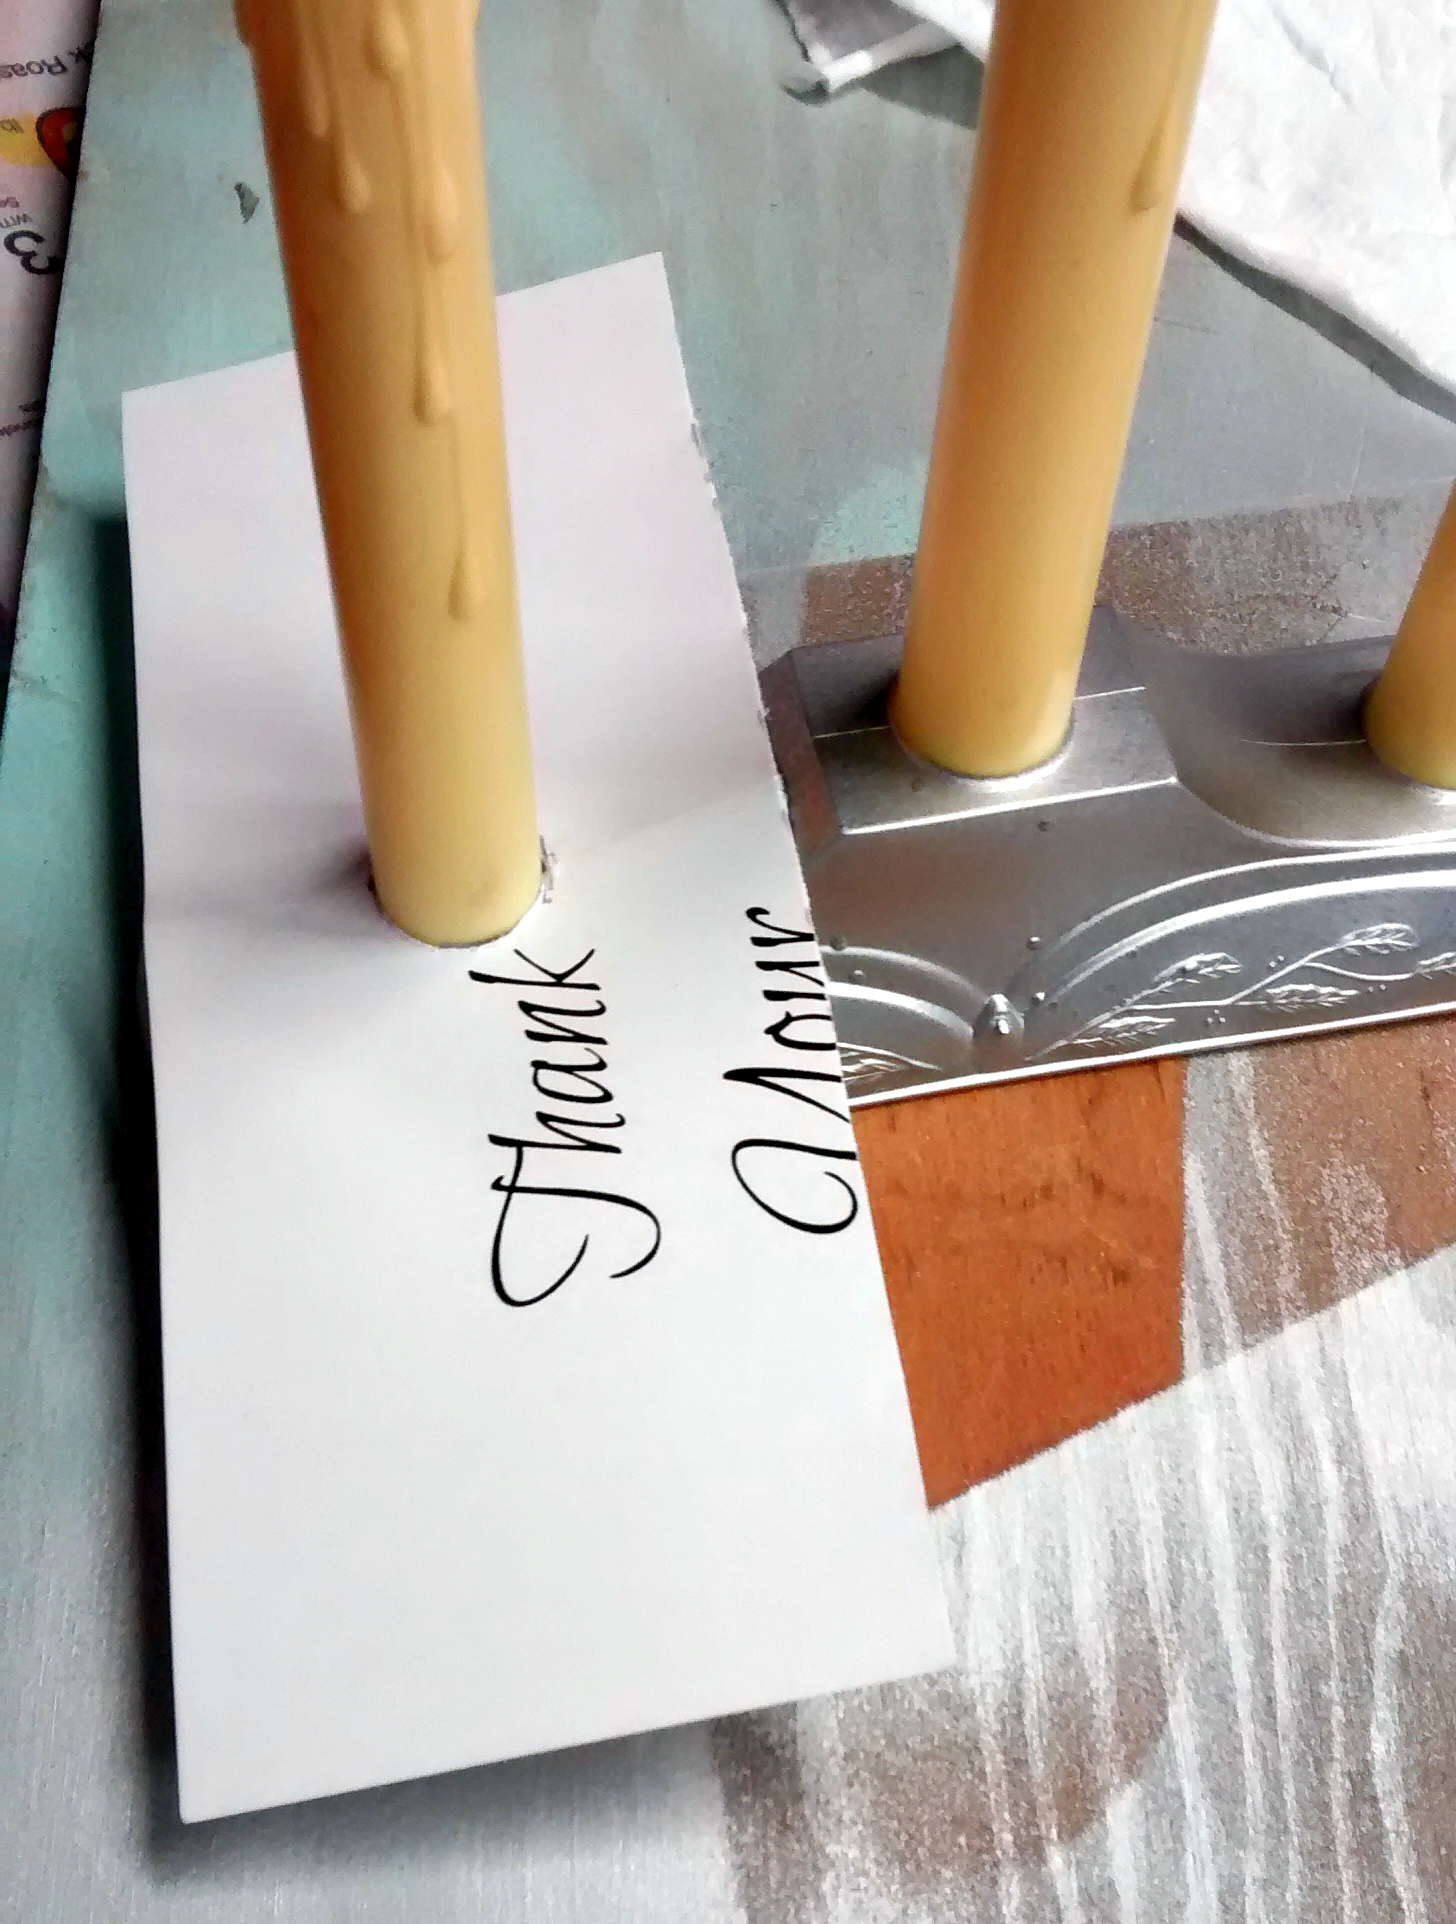
Instead, I cut 3 separate pieces of paper, cutting a circle out so I could slide each piece down over each candle, to the base. I found that a large marker was the perfect size so I traced it onto each of the 3 pieces.
 Another thing, since I took out the bulbs, I had to plug the socket holes and I found some furniture plugs that worked perfectly! So, even if your candles are a different size, don’t forget you’ll need to protect the socket.
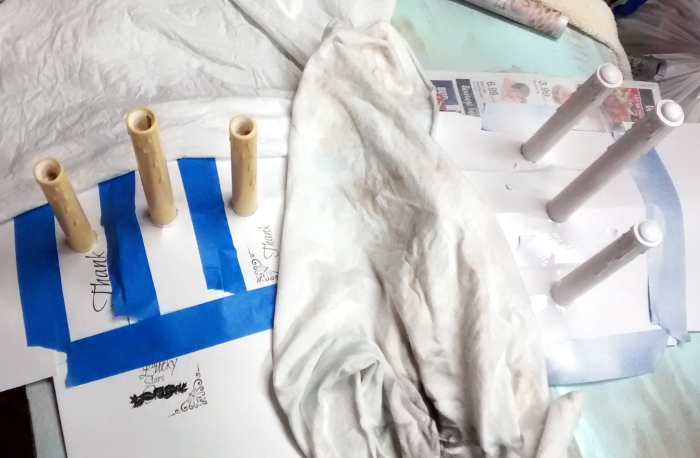
 Here, I hadn’t painted the left set so you can see how I taped it and covered surrounding areas. I even added some more paper to overhang better.
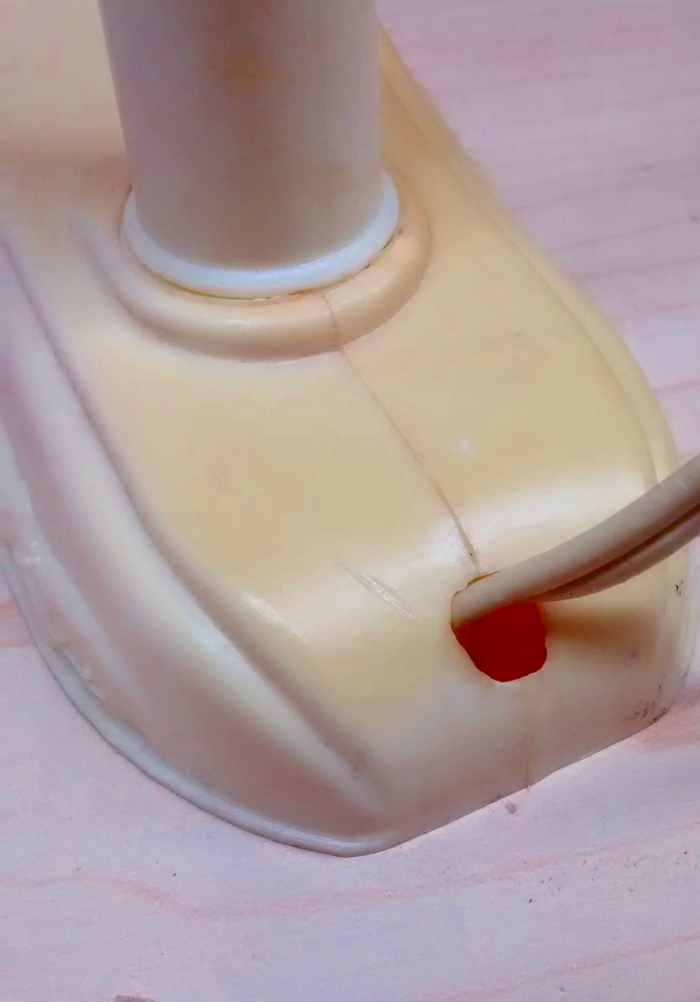
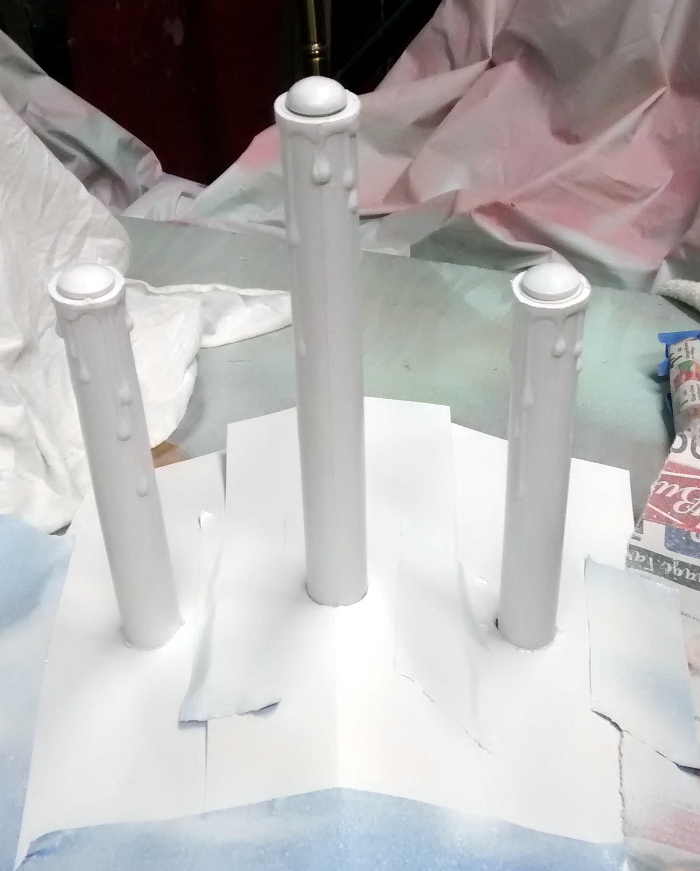
 I waited until everything was dry before I made touch ups. You can see the yellow parts towards the bottom of the candle.

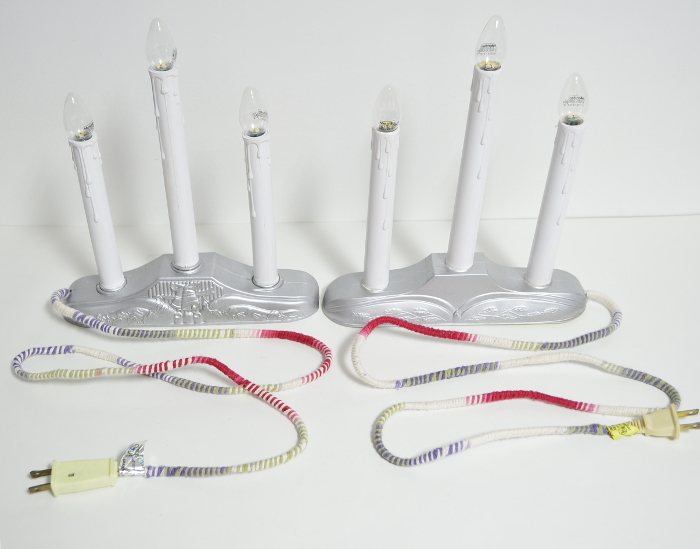
 I thought I was done until I saw the ugly yellow cord ruining my new, brighter feel. I grabbed some yarn, sat on the floor and started wrapping. My yarn was already doubled up from another project I’d tried and failed. It involved crocheting a scarf. I’d say it took about 45 minutes per cord and who knows how much yarn but, I also wasn’t in a rush and I’m soooo happy I did it!
I started the yarn underneath the base by tying a large knot so it wouldn’t slip out through the slot and when I got to the end, just before the plug, I dabbed some hot glue and wrapped it back onto itself. My yarn kept twisting and twisting and twisting. It didn’t stop me; just a heads up.

PINNY PLEASE!
This is a fantastic makeover Angie. I also remember these from my childhood. It is so great when you can take an old item and revive it. You hold onto some special memories and also have a functioning item. Pinning.
That’s what it’s all about Mary! Thank you so much for stopping by, taking the time to comment, and for sharing! Much appreciated 😀
We had these when I was a kid, and I inherited one from my husband’s beloved grandmother. It’s the same yellow. I’ve thought of painting it, yet other projects always seem to jump ahead during the holidays. I may have to dig it out of the box when I put the Christmas stuff away and do it for a January or February project that we can enjoy next Christmas! Thanks for the nudge!
I hope you do Julie! I just hit a point where I couldn’t look at that awful color anymore 😉
We had these growing up. My mom put them in every window of our home at Christmas time. And, I agree, they look awesome when pulling into the driveway at night. Do they even sell them anymore? I’d love to find some. Great makeover! Visiting from Funtastic Friday party.
Thanks Victoria. You know, I haven’t seen them new, in stores but, I’ve definitely seen them at thrift stores 😉 I hope you find some!