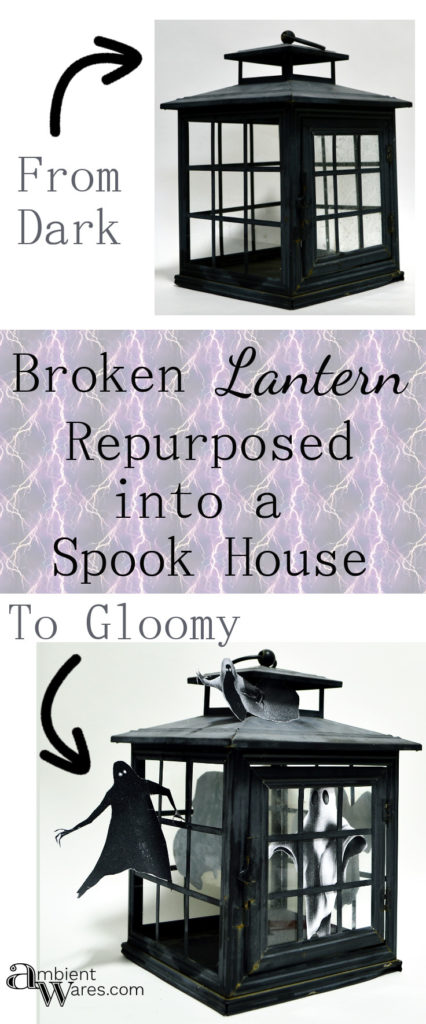
With Halloween just around the dark corner, here’s a super easy decor idea using an old lantern. I was given this rundown lantern by my dad because remember, he knows I’ll use stuff.
It’s in really bad shape. Rusty. Broken. Bent. Dirty. Anyone in their right mind would probably toss it.
How to Make a Spook House from a Broken Lantern
I tried to be organized in taking on this project which is almost the silliest thing I could try to do. As soon as I think I have it all together, something changes; I forget to record changes and then you get something like this…
Please know some links in this post are affiliate links. If you click on a link and make a purchase, I receive a small commission with no extra cost to you. Thank you. Click here for my full disclosure.
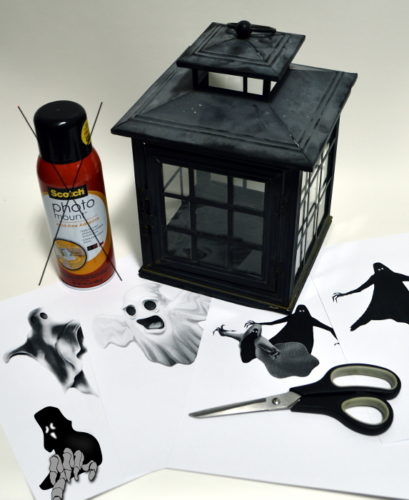
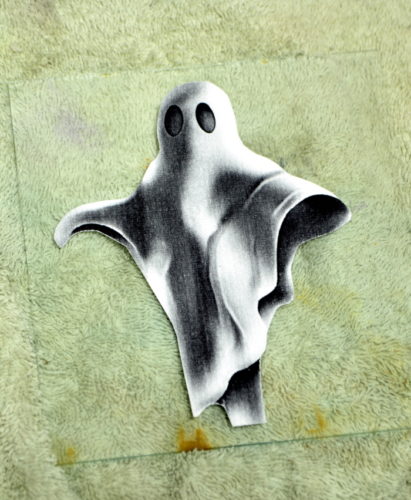
You see that big X through the photo mount spray? Yeah, don’t use it for small things. Although I love it because it would adhere water to a rock, it was too much power for what I needed. Instead I ended up switching it out for a simple all purpose glue.
Materials I used:
- Lantern
- Free clip art ~ you’ll need to resize as needed
- I found majority here
- I found 1 here
- Printer ~ black & white is what we have
- 110 lb. Cardstock (similar to this)
- Scissors
- Junk towel
- All purpose glue (this is what I use)
- Foam brush (similar to these)
REMOVING THE GLASS
I could have easily opened the door, put glue on the cutouts and slapped them on to the glass from the inside but, I wasn’t sure how the glue would look being on the ink side of the image and being pressed onto the glass. It may not have mattered but, this is how I went about it.
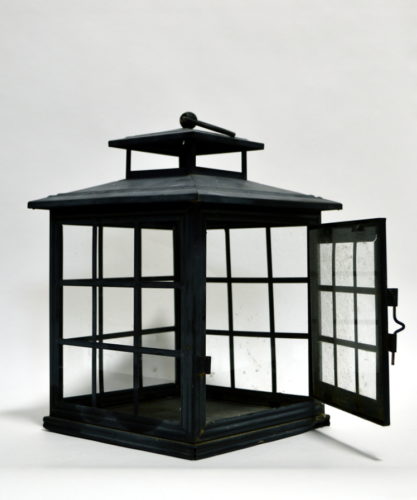
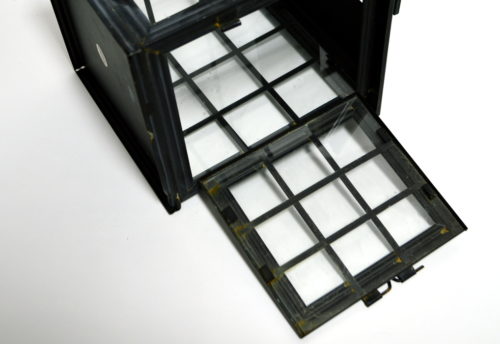
There was one piece of glass missing but the other sides of the lantern including the door, had tabs holding the panes in and all I had to do was bend them outwards slightly. It was easier to remove each glass, one at a time, glue the image and place it back in before removing the next pane. Proceed with caution when removing the glass.
 GLUING THE IMAGES
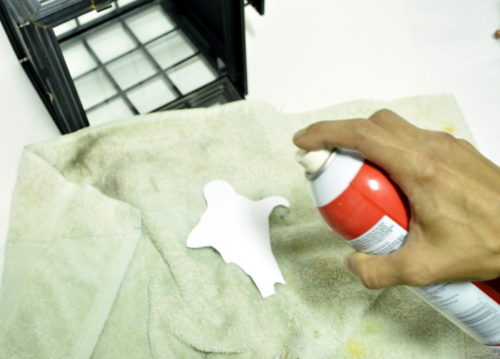
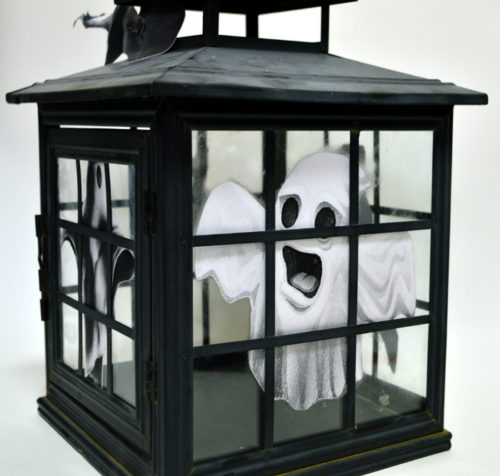
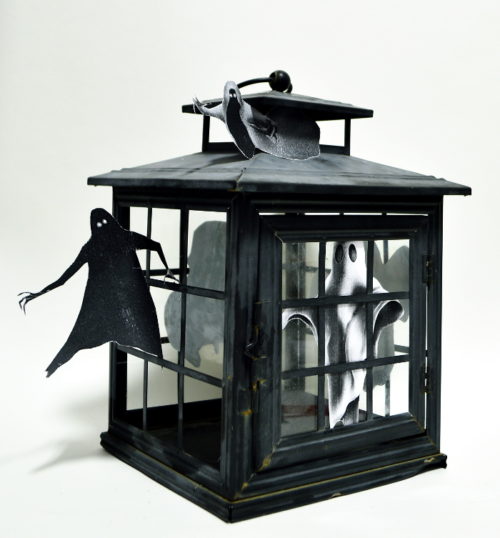
As I said, I wanted the images I used to be behind the bars but, in front of the glass really because I thought they’d stand out more. When I used the photo adhesive (bad choice), I sprayed the back of the ghost and immediately placed it onto the glass.
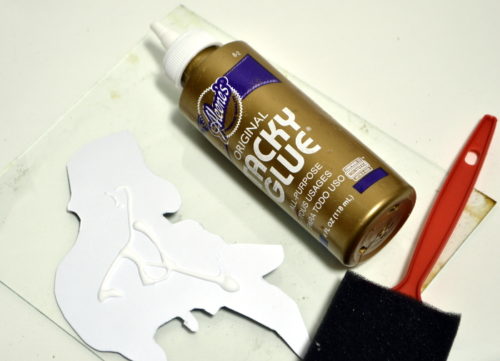
Then for the rest of the images, I used regular ol’ all purpose glue, smeared it around with a foam brush, and it was much easier working with the smaller pieces of paper.
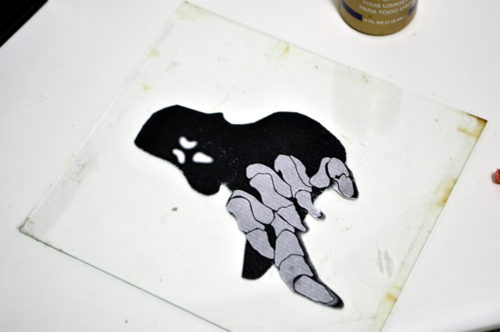
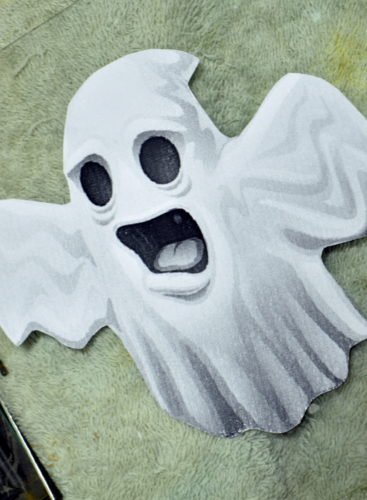
When I was looking for scary ghost images to use, I was trying to find something that would somehow work on the side that was missing the glass. The kinda scary dude I found worked well and all I did was glue his left upper arm to the bar and tucked his left arm and foot behind the bars.
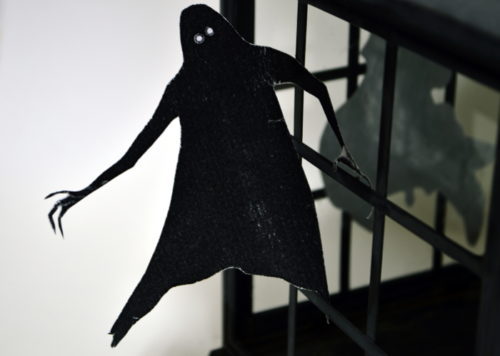
Then all that was left was the “steeple”. I had thought of something crawling out of the top and luckily this image was right where I found the majority of the rest and he fits perfectly. I glued him as well.
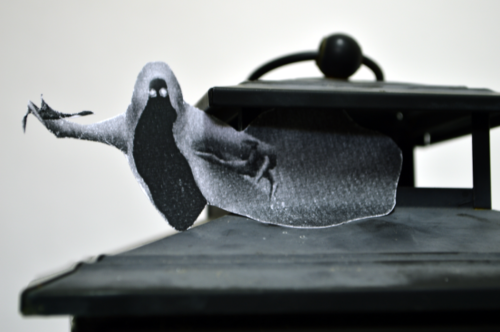
Aren’t these clip art images honest to goodness kinda scary or is it just me?
I also wonder if I should have painted the back of the images black since they’re just stark white. Although they look pretty neat and mysterious in the picture below.
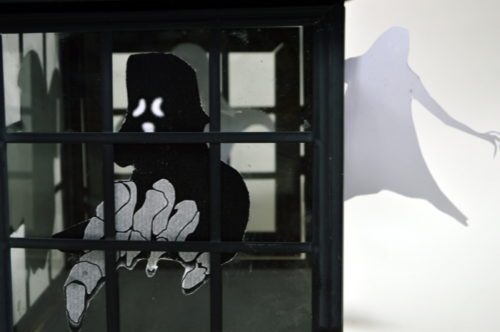
Now, I’m not sure the guys hanging out of the lantern are gonna make it being packed up until next year without tearing but, it’ll be so easy to print them out and glue again if need be.
I think I’ll pick up an LED candle next time I’m out and see how it looks.


Great save! I’ll be on the hunt for a suitable lantern.
Thank you so much, Sandra! This spook house is really fun and couldn’t be any easier 🙂
I love this. Thanks for sharing
Thank you Cheri!
What a clever transformation! Very spooky! Thank you for sharing this post at The Halloween Blog Hop and $100 Giveaway! -Marci @ Stone Cottage Adventures
Thank you for hosting Marci!
Thanks for linking up at Talk of the Town – I love your spooky Halloween lantern and pinned it on the Knick of Time party board!
Thanks Angie! I appreciate it 🙂
Very cool and fun idea. It really captures the spooky atmosphere.
Thanks for the kind words Mary!