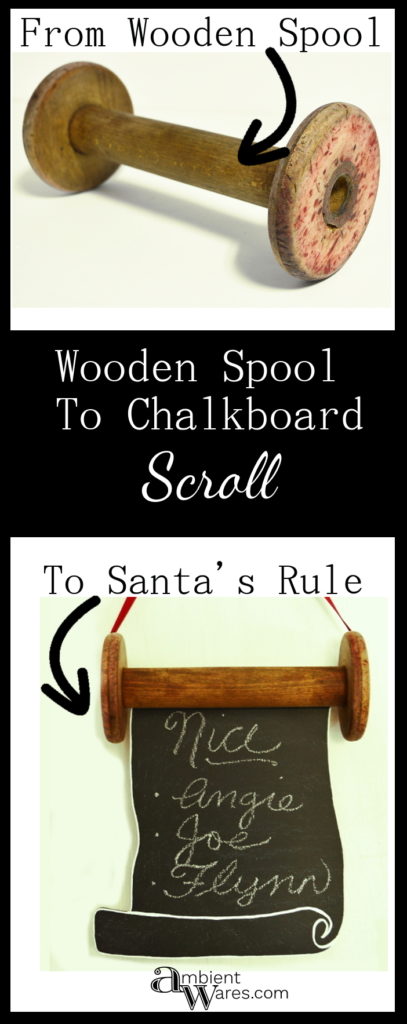
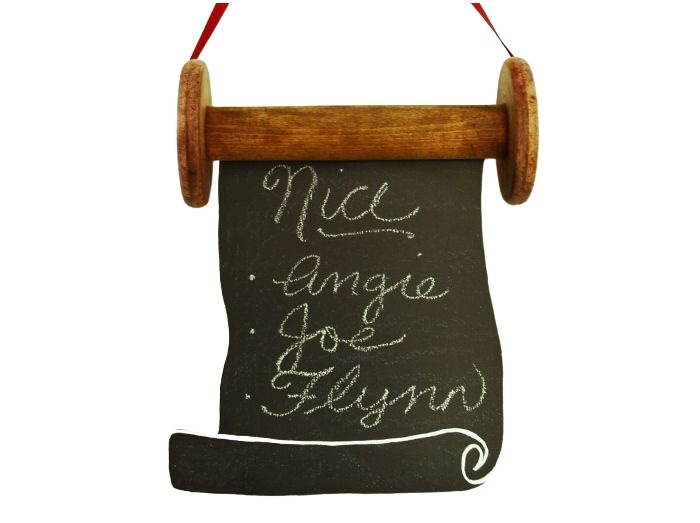
This is such a simple how-to on making a cute little chalkboard that looks like a scroll using an old wooden spool.
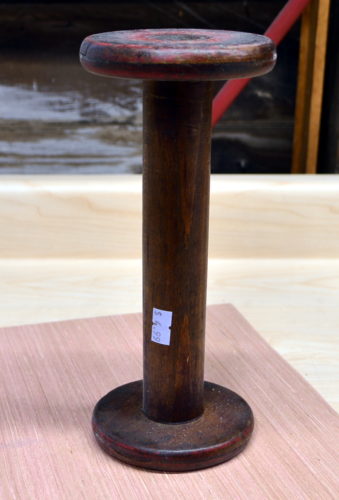
As usual, I found the old spool at a thrift store for a whopping 50¢. One of our thrift stores has weekly deals where Wed. thru. Saturday certain colored stickers are marked down to 50¢ and this was one of those. I’m the first to admit, I like a good deal and I have to tell myself just because it’s 2 quarters doesn’t mean I have to get it.
I’ll also admit I’ve gotten soooo many things for 50¢ I should be embarrassed to go back. If I were someone who cared about my DIY pride more than a good deal then maybe I would be but, I am not.
Christmas Scroll Using A Vintage Wooden Spool
Please know some links in this post are affiliate links. If you click on a link and make a purchase, I receive a small commission with no extra cost to you. Thank you. Click here for my full disclosure.
Materials I used:
- Wooden Spool
- Steel Wool (we’ve used this kind)
- TSP (we use this kind)
- Water
- Scrap from a 4 x 8 piece of 5mm (3/16″) Poplar Plywood we’ve had for awhile
- Paper
- Pencil
- Band Saw
- Chalkboard Paint (we use this kind)
- Paint Can Opener
- Paint Roller
- White Marker (we use this kind)
- Drill
- Drill Bit
- Wood Screws
- Dremel (if you do it right, you won’t need this 😉 )
- Ribbon – I used seam binding
Scroll Shape
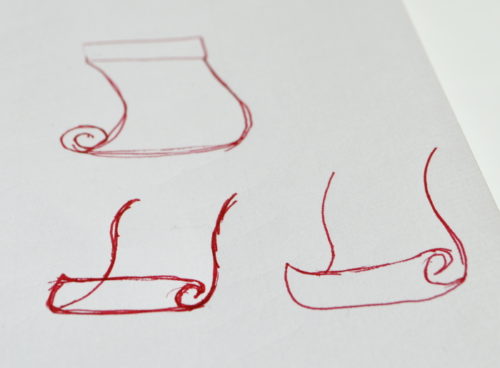
I had to draw out what a scroll looked like first just to see if I could. I don’t know what that first image is of.
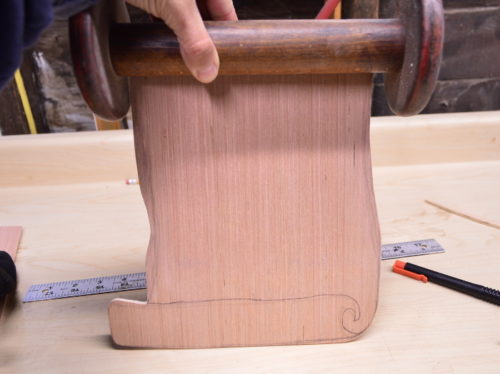
 I drew it out onto the same plywood I used on the tube TV shell makeover, marking approximately where it would fit in between the wooden spool’s end pieces.
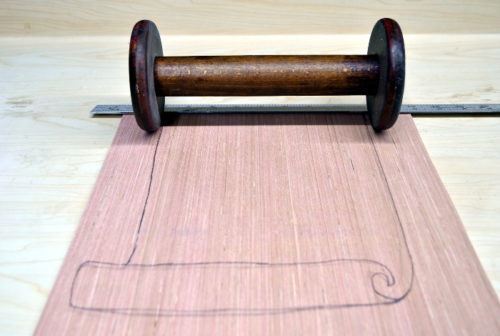
I brought it to the band saw and ended up with this. Then I realized it wasn’t curvy enough…or, at all.
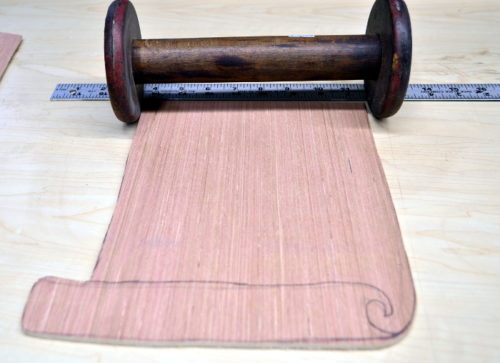
I scribbled some more lines and cut along them.
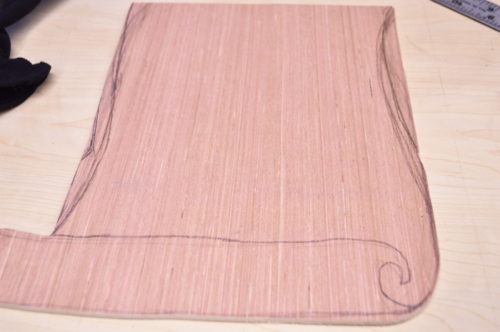
I’m still working on taking it slow and getting as close as possible to my lines with the band saw. 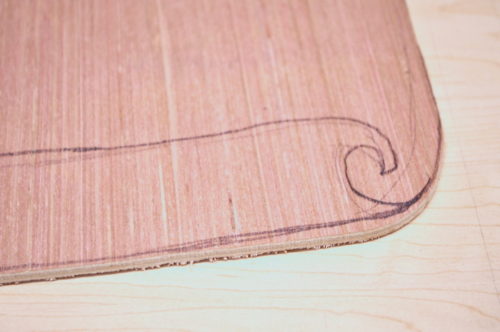
Hot dang, it kinda looks like a scroll!
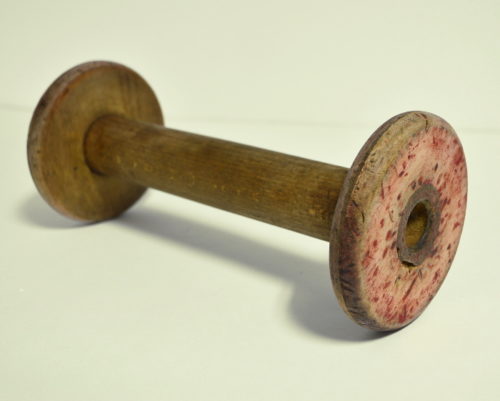
Unlike these old vintage Christmas lights, I actually remembered to clean the wooden spool. Although, the fact that it was not only filthy but sticky, made it very easy to remember cleaning it.
I mixed up some hot water with a bit of TSP and using a fine grit steel wool, cleaned it up. It was smooth like butter when I was done with it.
Painting & Drawing
I painted the plywood with 3 coats of chalkboard paint letting it dry the recommended time.
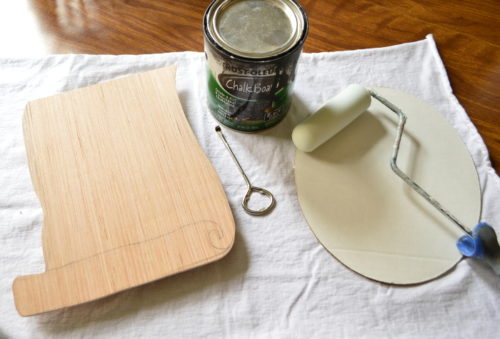
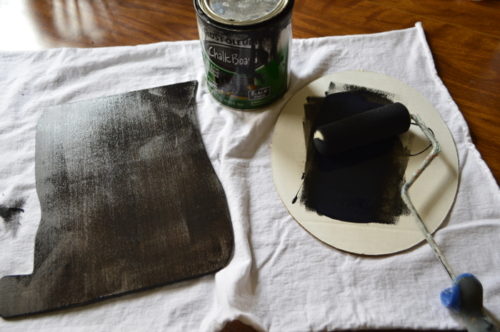
After the chalkboard paint was dry, I again, sketched the scroll design onto the wood in pencil. Then I prepared myself to be as steady handed as possible using the white marker.
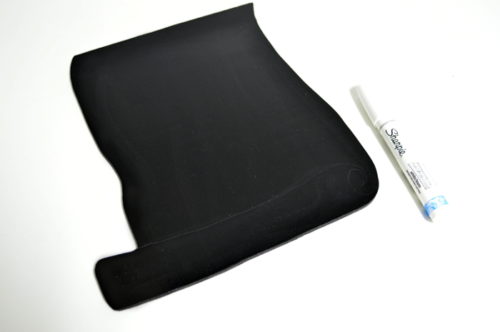
I went along the very edge all around then traced over the pencil line.
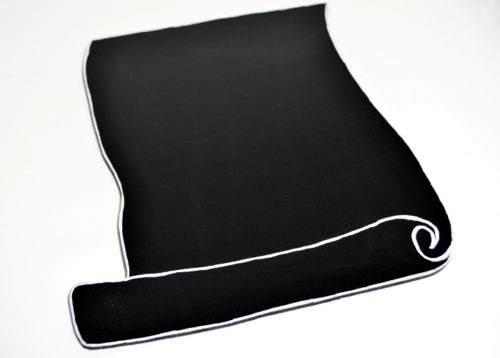
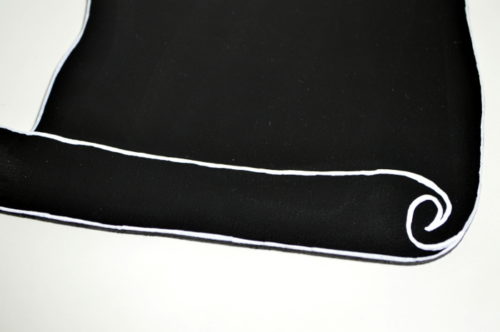
Attaching Spool to Scroll
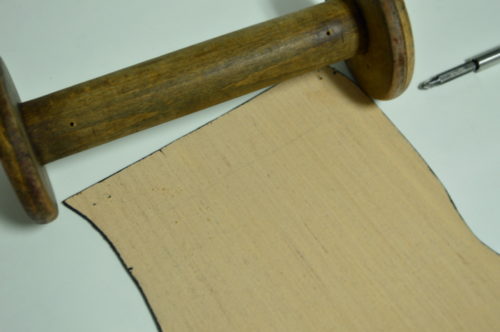
The screws I used were too long so I ended up cutting them down with our Dremel. I don’t recommend doing this for various reasons but, I didn’t have screws short enough. You can see how it’ll be attached; the scroll piece behind the spool.
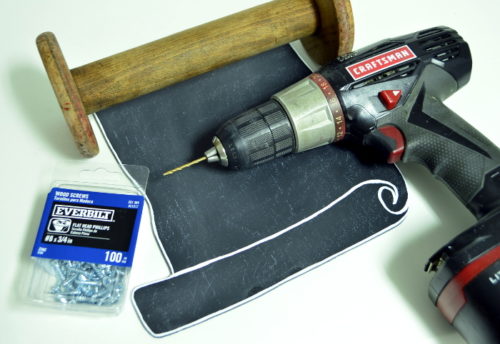
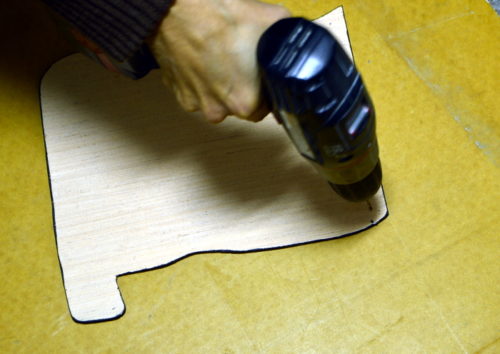
I drilled pilot holes in both the spool and the scroll then attached using my now shortened screws.
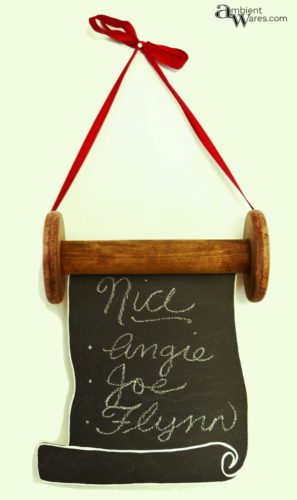
I fed a piece of red seam binding through it and called it a day. What do you think?


What a cute idea! Thanks for sharing it with us at the Funtastic Friday Blog Hop!
Thanks Debra! 😉
Happy holidays to you and your family.
Happy holidays to you and yours as well 🙂
I simply love, love, love this project.
Hi Ivory! Thank you so much for your supportive comments! I truly appreciate them!
This is just so cute! Great use of the wooden spool!
Many thanks Sondra!
This is such a cool idea Angie, I love love love it! I really miss those thrift store deals a lot! Here where I live, those are hard to find!
Thanks Katrin! I don’t know what I’d do without thrift stores. Really, I have no idea what I would do 😉
What a cool idea! I have a spool somewhere in the house so if I can remember where I put it I can give this a try. This is so cute.
Oh! Debra, I’d love to see it if you do make one 😀 Thanks!