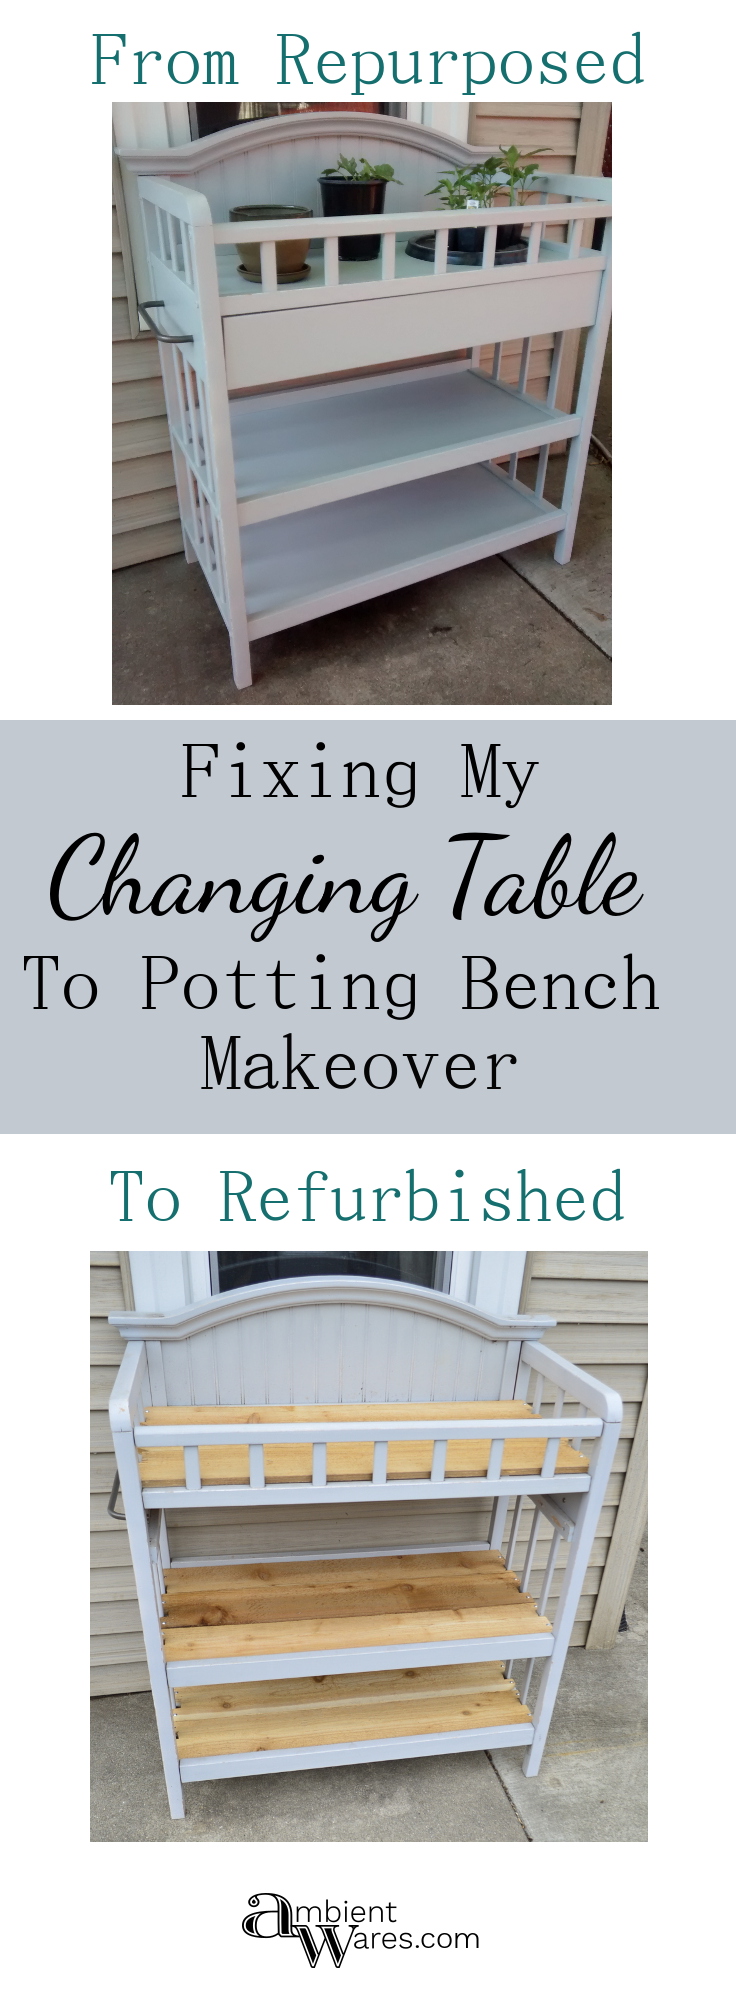
If you saw my DIY endeavor in making a potting bench out of an old changing table, I’m sorry. I’ve learned a lot since taking on what I thought was an awesome DIY project. Which it is! It was one of my first posts written and I’d seen them on Pinterest so when I was given a changing table, I jumped at the chance to make it a potting bench.
Now that my refurbish of a repurpose is done, I only wish I’d thought to just go this route the 1st time! If my admitting to my mistake helps you approach a project with a little more insight, I’m a happy gal.

Here’s what I added to the original post as an update.
UPDATE 8 months later: I decided to leave this potting bench outside so it’s been rained & snowed on. We don’t have enough room in the garage for it due to all of my unfinished projects. We also don’t have any overhang to protect it from the elements. I knew full well that no amount of protective sealer would hold off the eventual deterioration of the table and I was fine with that. I did think about buying a grill cover or something along those lines but, never did.
What I didn’t know was that the very slick shelves I mentioned were actually a paper like coating/material. So, while the piece itself (wood pieces/frame) have held up beautifully. The paper on the shelves, have not. I knew the shelves were strange when I was painting them but, I chalked it up to being a plastic coating of some sort. Lesson learned.
This spring I’ll be taking a look at it in more detail and until then, just a heads up if you have any strange, super slick looking surfaces on your changing table, be wary. I’m not even sure how I would have removed the paper had I known it was paper before starting the project.
Well, it isn’t Spring yet but, I took advantage of a beautiful day recently to tackle it. I’ll preface with the fact that I nearly lost my ever loving mind on this and wasn’t precise or careful in any way with “fixing” it. It got on my very last nerve.
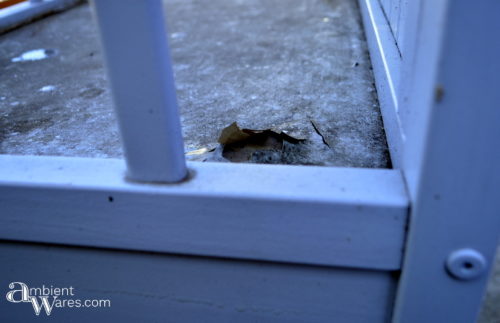
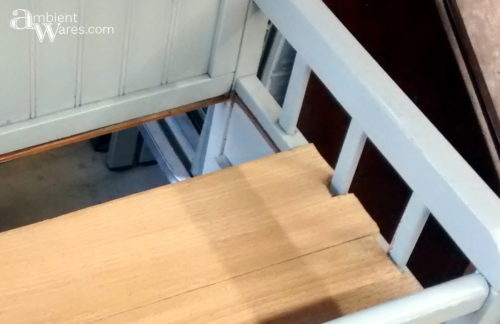
So, here’s what I’m talking about. Yikes! The water had no where to go. While I knew the table was being slowly ruined, I really didn’t know how to fix it. Honestly, I didn’t want to think about it. Granted, if I’d had it under a covering or if I had space in our 1 car garage that cannot possibly hold anything else, it would have been absolutely fine.

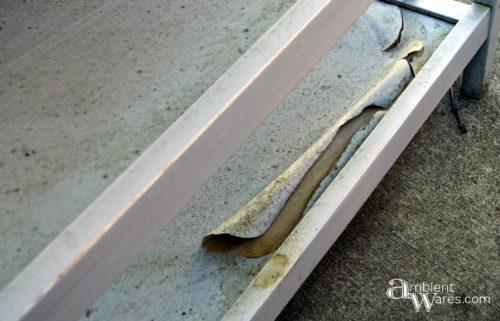
This is inside the drawer.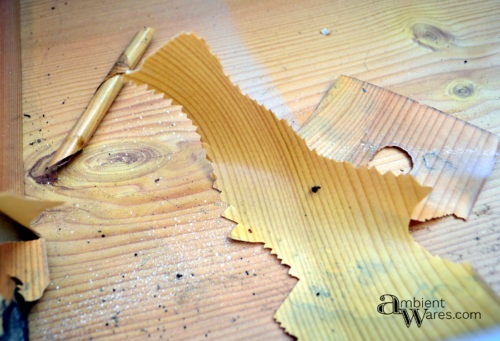
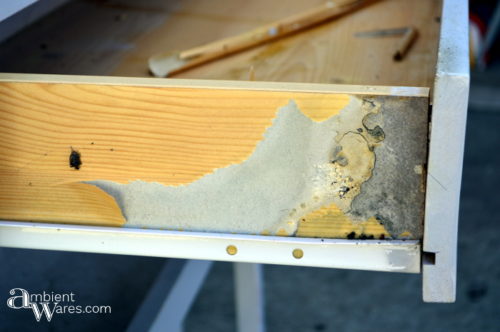 That’s some pretty shite, isn’t it? The first thing to go other than my sanity, was the drawer. I took it out and removed the drawer slides from the frame. On the positive side, I now have drawer slides in my pile of ‘some day stuff’.

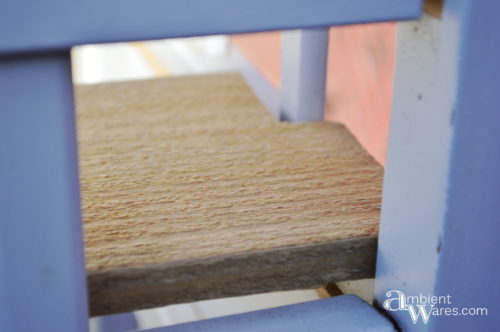
After the drawer, I took out a mallet and a hole saw tearing through the original shelves. No pictures because I was in ‘fight mode’ but, this is what was left after removing them.

WARNING: Don’t let this table define you
I never want to buy anything to complete a project. In keeping with that hope, I thought back to the time we had a friend repair a couple sections of our fencing. He did an OK job, definitely overcharged, and left us with about 10 bags of concrete along with enough panels to complete another section. What the?
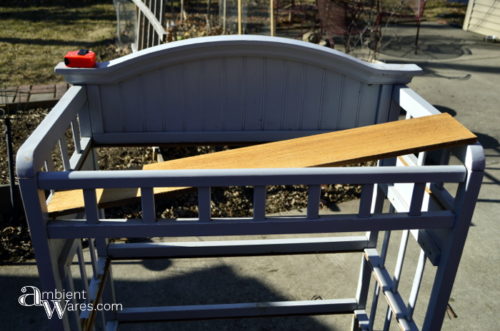
I shouldn’t complain because my dad ended up needing concrete and panels for an addition he was doing so I was glad to help him out. We ended up keeping 4 panels for future use and I’m glad because I used them to make the new shelves for the potting bench. 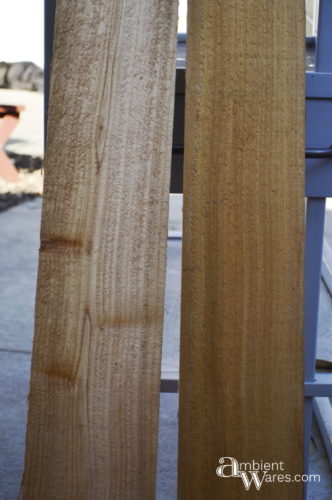 I measured from side to side and found I needed approximately 36″ which was perfect since that’s exactly half of a 6′ panel.
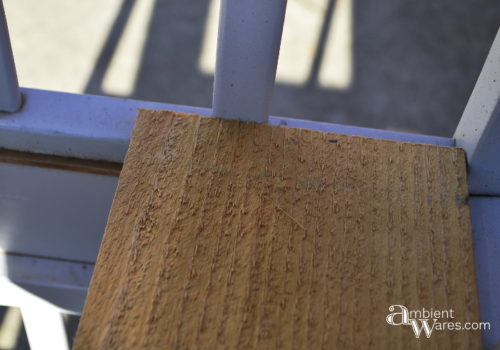
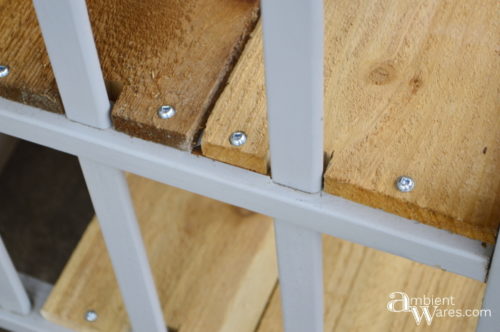
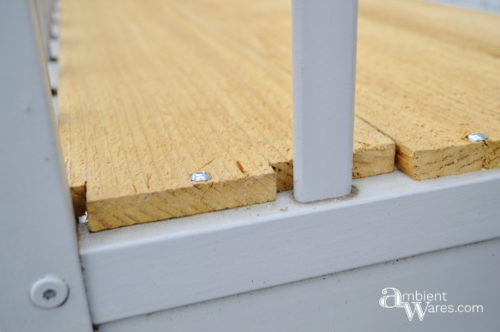
The cedar panels still needed small notches cut out so they’d fit around the vertical slats on the sides and sit flush.
With the piece angled like in the image above, I’d mark, in pencil, on either side of the vertical piece you see below. I did that exact same thing for each slat used. Again, I was not precise with cutting and I went back and forth between my jigsaw and band saw. It took a bit of finagling to get each slat to fit but, I got it.
I screwed in each shelf piece. Some with 1 screw, some with 2. It just depended. Also, I didn’t have enough outdoor screws so some of the screws I used are inappropriate for outdoors and I’m probably never going to switch them out. #honestyrules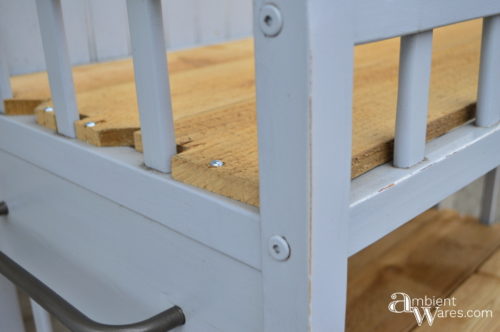
Oh yeah, I must also add 4 – 6′ fencing pieces weren’t enough. I needed just 1/2 of another piece! Maybe my dad has 1 leftover from his project?
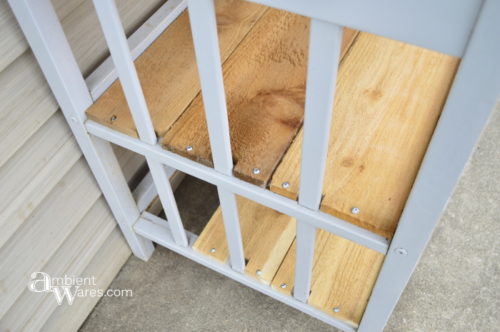
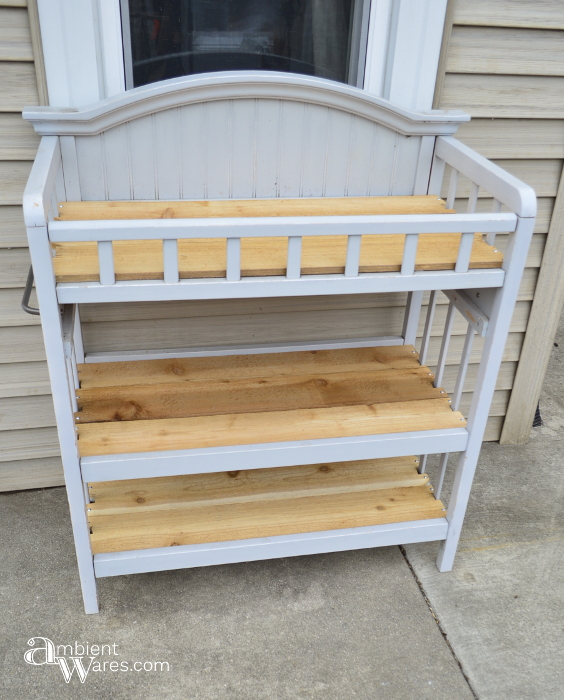
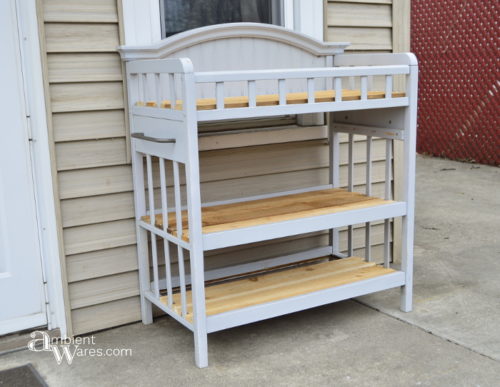
So there you have it. I fell in love with it again when I put the last screw in, took a step back, and let it sink in. As frustrated as I got, it didn’t take but a couple hours, I solved a problem by using what I had, and it’s beautiful and useful again.
I’ll still leave it outside with no protection and I’m not worried about a thing. Over time, the cedar planks will age and darken. Hopefully it will match the grey paint better as that happens. When this one eventually comes to an end, I’ll find something else to repurpose and replace it. Have you ever lost your mind on a project?

I like the update with the slats. And yes, some projects make us question why we do what we do, but it is worth it. Pinned.
Gosh, Debra, I was seriously questioning it the entire time but, you’re right. Totally worth it! Thank you 😀
It looks great and I love that you did an update. I usually wonder how diy projects fair over time!
I wonder the same thing! I felt so bad as I watched it go downhill thinking, OMG, I put it out there for all to see. I’m just glad how it ended up! Thank you, Rachael!
I love this it is so clever, and I would love this potting table in my Organic Vegetable Garden – thank you for sharing Angie
Thanks, Amber! I can’t wait to put the “new” table to good use this year! 😉
The first thing I thought of when seeing your project was “ugh, fitting in all those slats” It sure was worth the work I bet, all that fiddling taking it out a bit at a time. It turned out really nicely.
Thank you Leanna! It was definitely worth it and I have no worries about it! 😀
This is such a great idea!! I used a Baker’s Rack for my Potting Bench…
Thanks so much for stopping by!!
Hugs,
Debbie
Yes! If I ever came across a baker’s rack, I was going to do the same thing! Thanks, Debbie!
Your work is amazing! It looks simply beautiful!
Wow! Thank you very much Cristina 😀
Oh Angie, I love you honesty and writing style. Would it be wrong for me to say that I’m glad the drawers were covered with shiny, slippery, plastic stuff? Coz this revamp of a re-purposed changing table is boootiful.
Michelle, you crack me up! I will say I’m happier with this 2nd go at it because I see how much better it is as far as water. The water just go through the cracks all the way to the concrete and whatever soaks into the wood is dried up when the sun comes out.