

Angie and I like to come up with easy yet creative handmade DIY gifts for holidays and birthdays. No matter if it’s for the kids or adults, you’re most likely getting a handmade present from us. Recently I needed a gift for my Dad who has a fondness for visiting Hawaii (who wouldn’t) so I set out to make an antique style map of the islands.

Please know some links in this post are affiliate links. If you click on a link and make a purchase, I receive a small commission with no extra cost to you. Thank you. Click here for my full disclosure
Materials Used
- 8 1/2″ x 11″ white paper
- Used coffee grounds
- Coffee filter
- String
- Tea Bag (optional)
- Hot Water
- Picture Frame
(optional background for frame)
- Digital image to print (Old map photo or other image)
Tools Used
(we use this black & white printer)
- Scissors or
- Oven
- Baking Dish or Cookie Sheet
- Mug

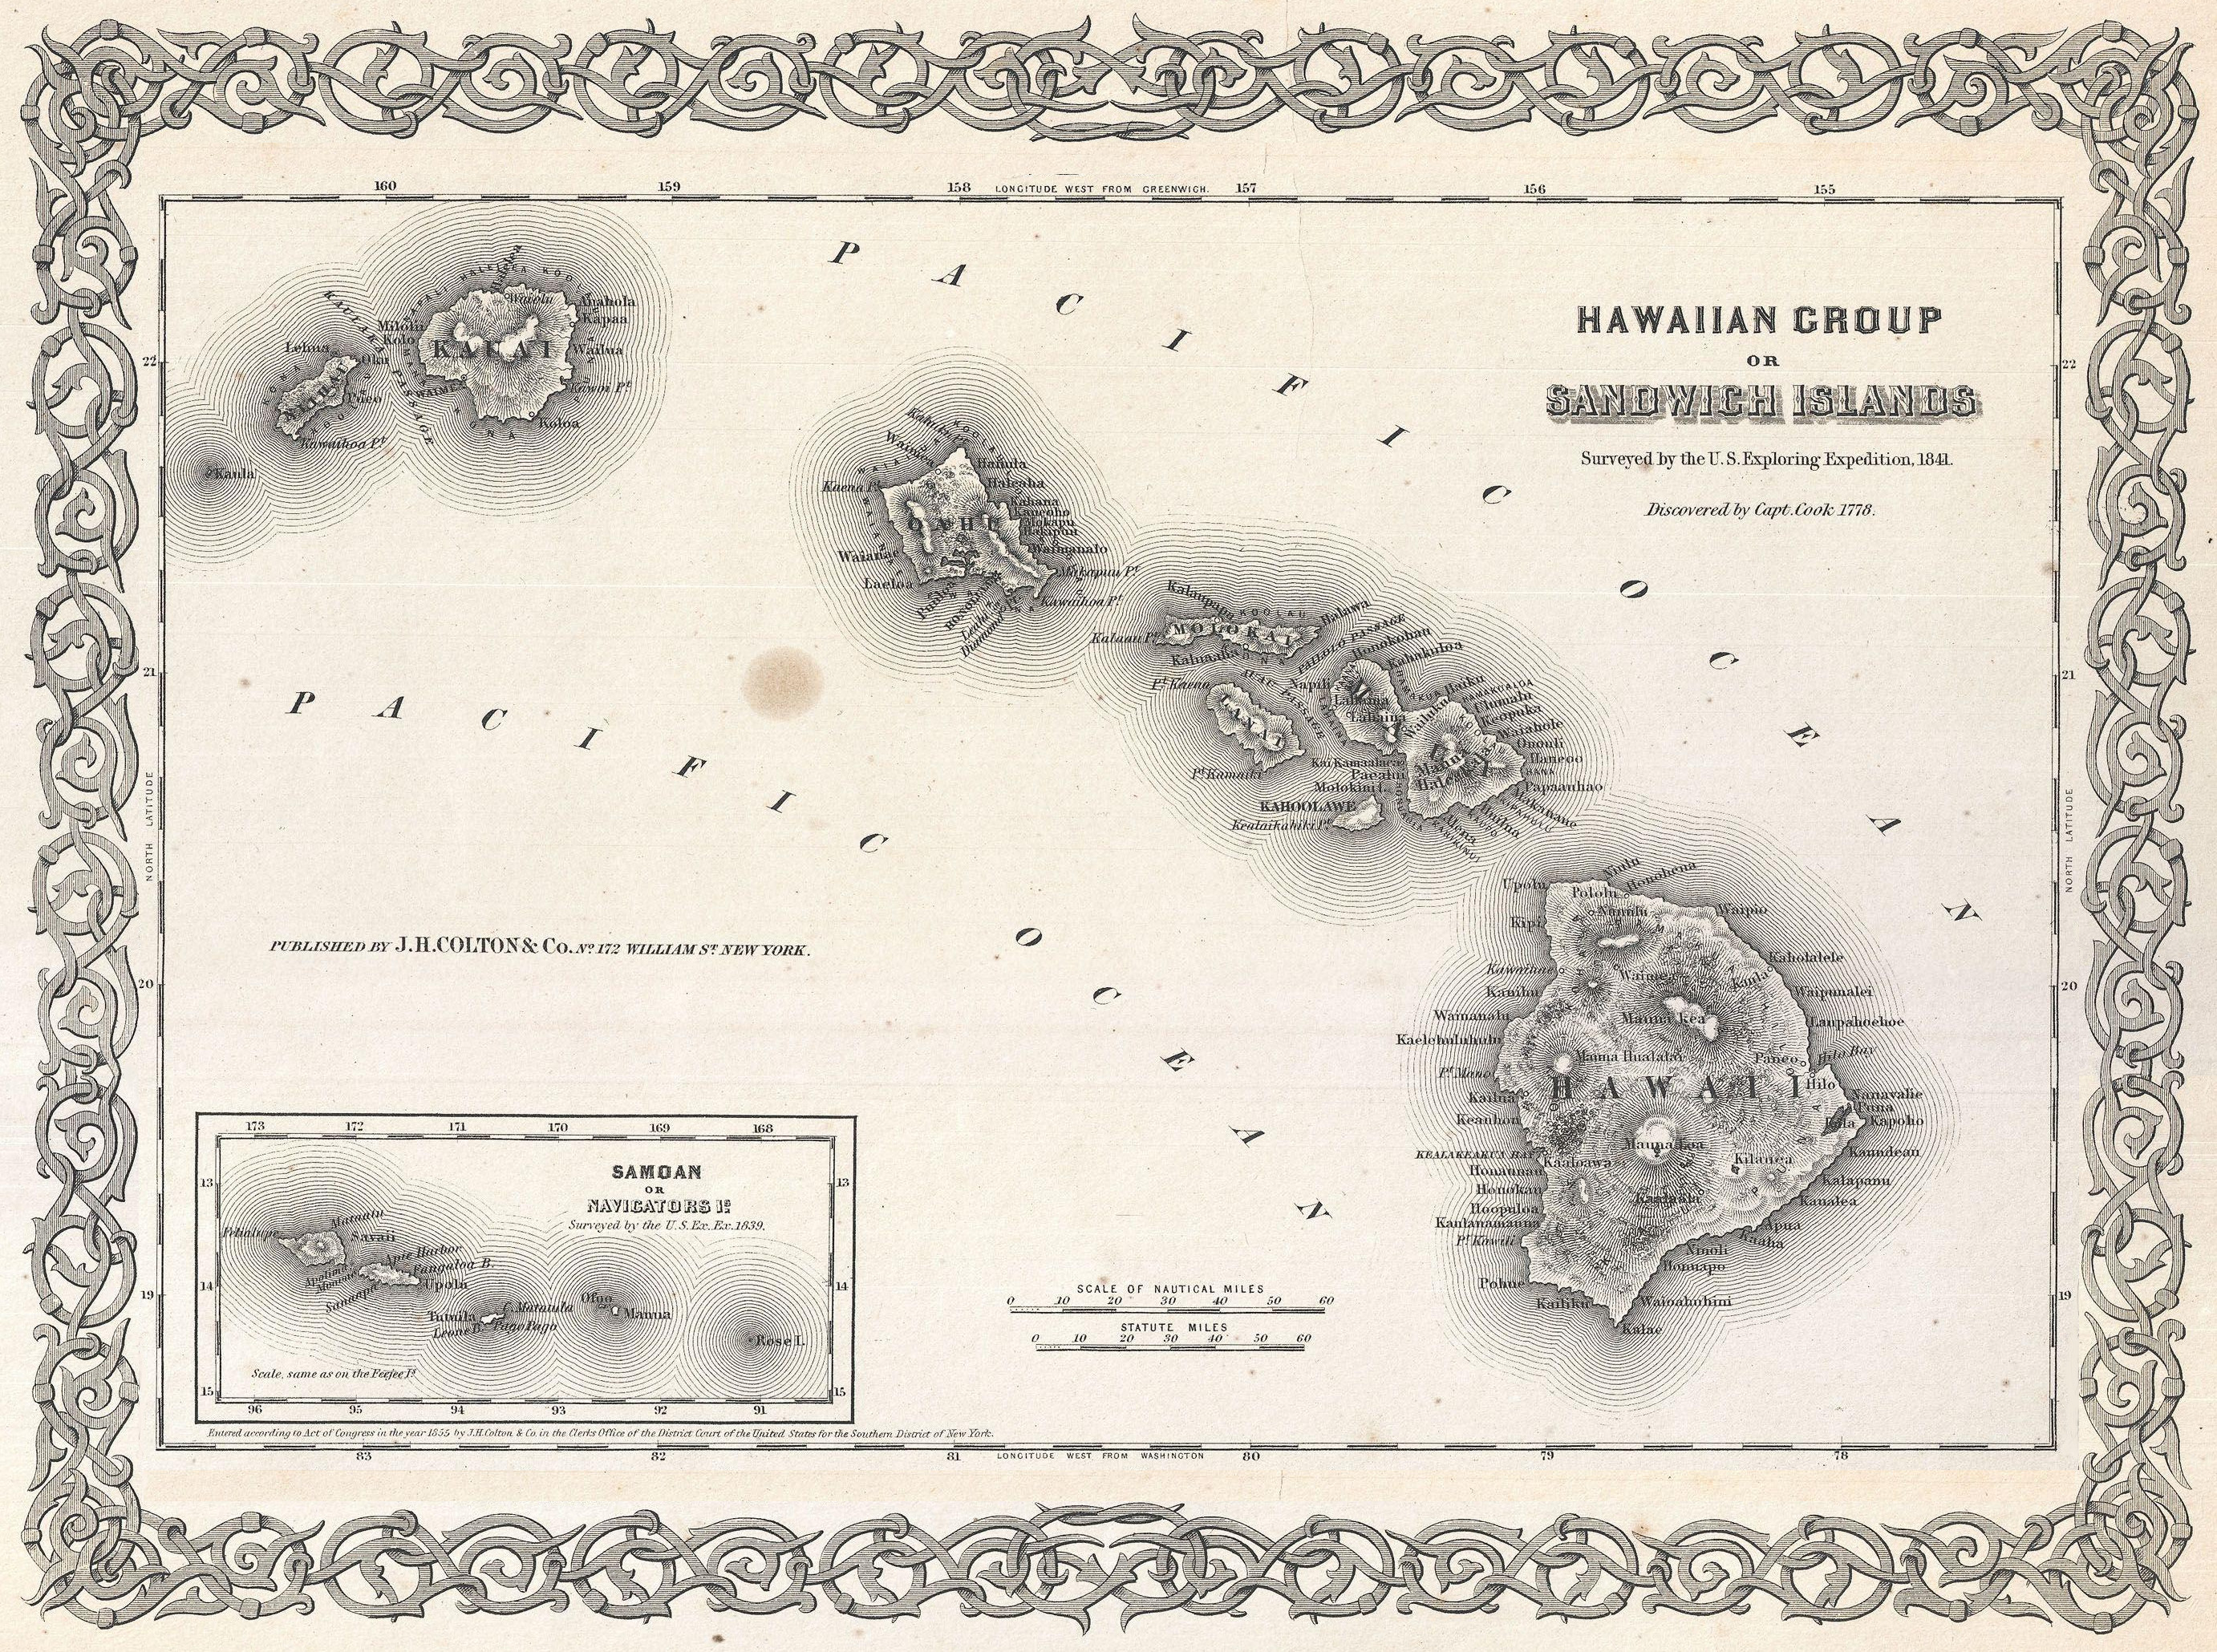
The first step was finding an antique map image. Google Image Search is a good starting point. I knew I wanted a map of Hawaii so my search term of “antique hawaii map” gave plenty of results. I narrowed my search down further by setting the usage rights to “Labeled for reuse with modification” and this map of Hawaii and New Zealand from 1855 came up.
The image is hosted at Wikipedia and there is no copyright on it. I really only wanted the Hawaii part so I cropped out the rest of the islands and did some image editing to fix the missing border at the bottom. I use the free and open source photo editor called GIMP which is comparable to Photoshop. Here’s my edited version (click the image for full size):

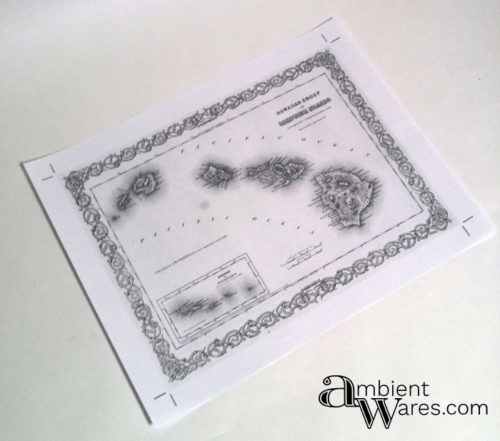
The modified map was printed on standard 8 1/2″ x 11″ white paper in black and white with our
Laser printers use dry toner and heat to fuse the image onto paper. I haven’t tested this with an Inkjet printer that uses liquid ink that dries onto paper and I’m not sure if the ink will bleed during the staining process. You could have your local print shop print the image with a laser printer or photocopy the inkjet image if you have access to a copy machine (which are usually toner based).
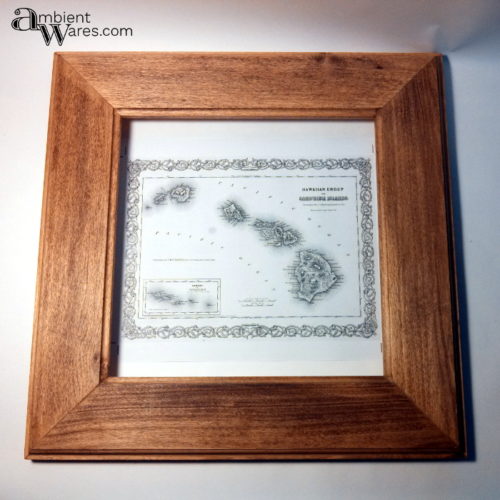
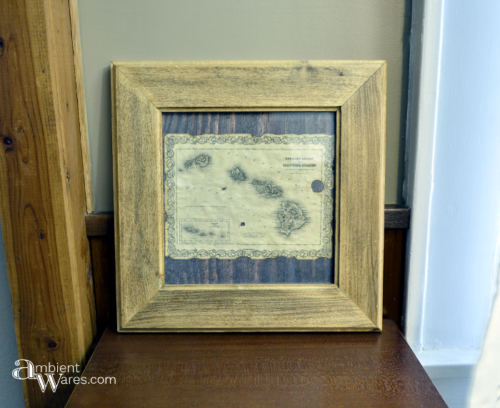
We found this wood frame at a local thrift store and thought it go well with the antique map. In the photo below, I made sure the map would fit inside the frame.
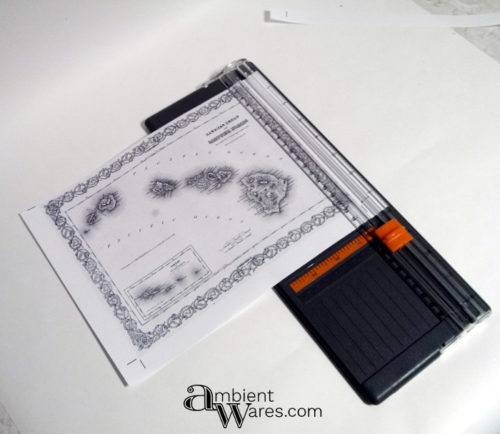
The extra white space around the map was trimmed off with our

For the stain, I used a combination of used coffee grounds and black tea. About two tablespoons of used coffee grounds were placed on a paper coffee filter and tied just like a tea bag.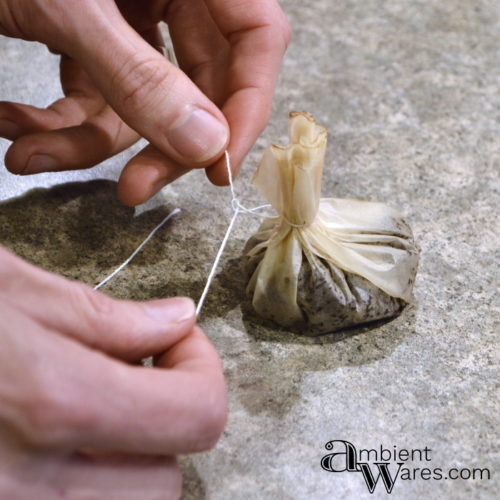
I filled a coffee mug about 3/4 full of water and put it in the microwave for 2 minutes. Then I put the coffee and tea bags in the water, dunking them often. The longer you leave the coffee and tea in, the darker the stain will be. I steeped it around five minutes.
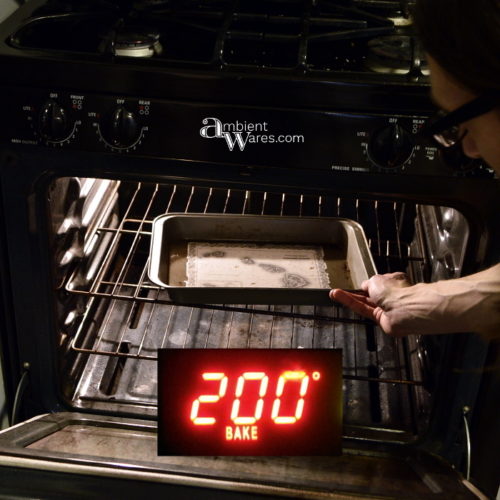
If I were to do it again, I’d probably leave out the black tea as the coffee is probably good enough. The tea alone would give a much lighter color. Now is a good time to preheat the oven at 200 degrees.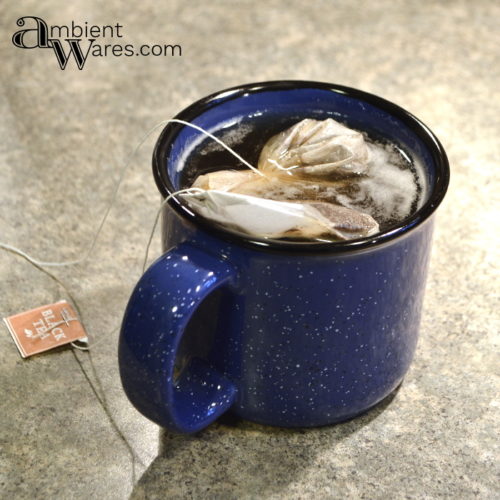
While the “stain” steeped, I used a disposable lighter to burn the edges of the map all the way around. Be careful not to let it burn too far in; I had to occasionally blow out the flame. This was done over a baking dish so the ashes would fall in it. 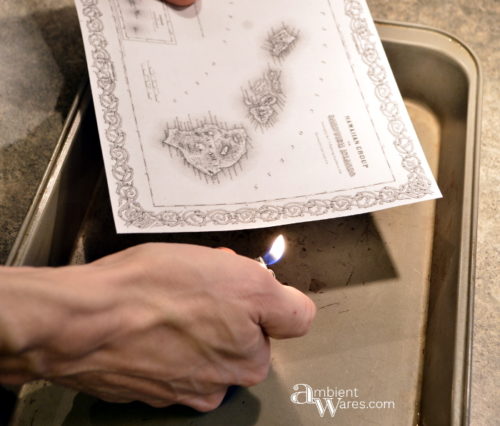
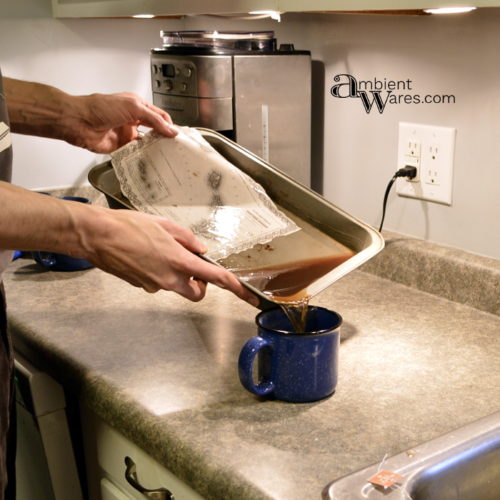
When the stain was ready, I poured it into the baking dish and placed the paper in it, pushing it down into the liquid to coat the entire piece of paper.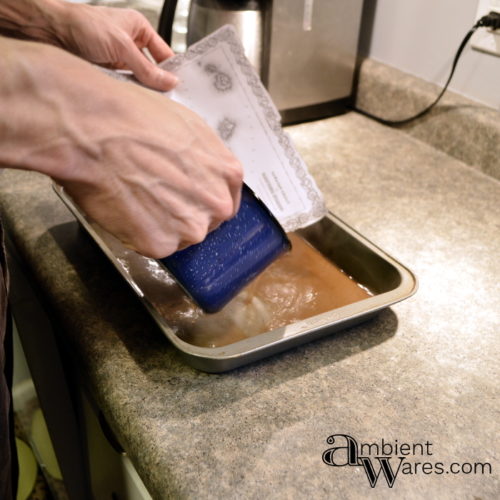
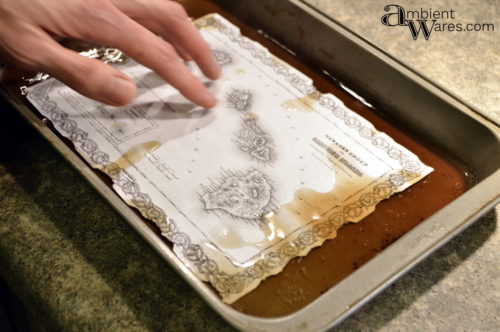
 After a few minutes of soaking, I used my fingernail to tear some small holes into the map giving it a more aged/used look.
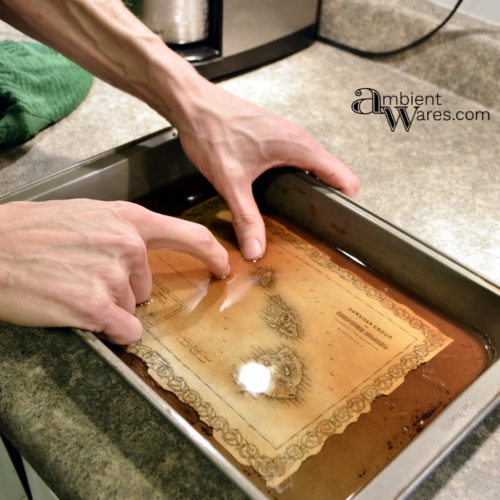
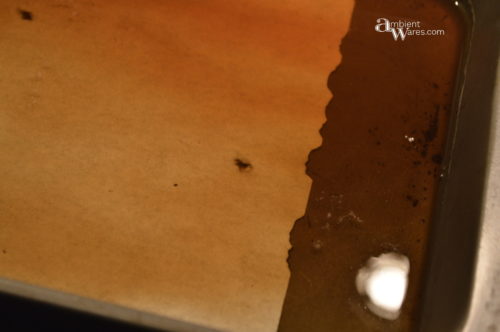
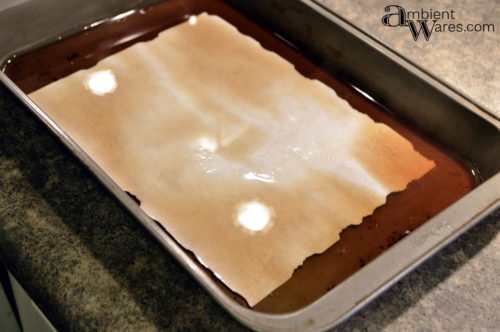
Total soak time was around 10 minutes. The longer you leave it in, the darker it will get. I poured the liquid back into the coffee mug while holding the paper. In the photo below, you can see that the paper really doesn’t look aged or yellowed too much. The magic happens in the oven.
The wet paper was put back in the baking dish and pressed down so it was stuck to the bottom of the pan. I placed the pan in the 200 degree oven and set the timer for 10 minutes. Oven temperatures may vary, so it’s best to turn on the oven light and keep an eye on the paper. As it dries out, the paper edges will start to bend and curl.
When the paper is dry or almost dry, remove it from the oven and let it cool. Antiqued map fresh out of the oven: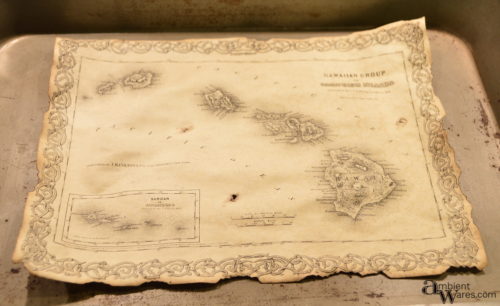
I decided to burn the holes I’d torn in the map and went a little overboard on the right side hole. I think it adds character 😉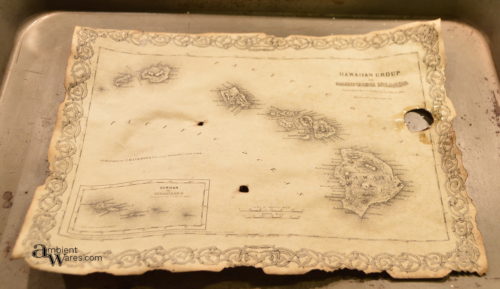
The frame had a plain wood backer that was about the same color of the map. I sifted through our scrapbook paper and found this dark wood grain pattern and used it for the background. I didn’t have to glue anything together. The sandwiching of the papers against the glass were enough to hold it into place.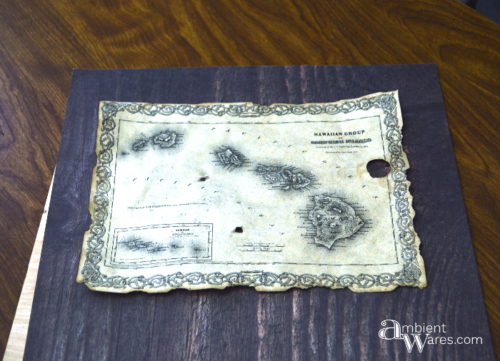
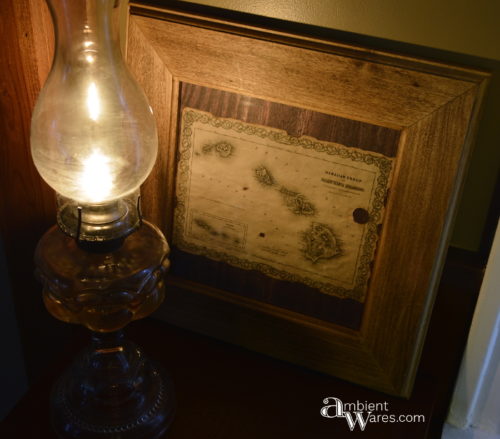
And here it is complete. I gave it to my Dad and he loved it!
Such a neat project! It turned out really great, er…old 🙂
Thanks, Jas 🙂
what a great idea! I want to try this.
Thank you, Kellie 🙂
Joe, that is amazing! What a great gift idea. I have never heard of GIMP I am definitely going to check into that one. I also would have never thought about the printer type either. Great tutorial!! I may have to have my husband do the burning on this project…I may burn up the whole thing, lol!! Angie, thank you for sharing this with at Create and Celebrate!!
Thanks Susanne! Yeah, we don’t own/have Photoshop and GIMP is just as good. At least it accomplishes everything we need 😉 About the burning, I don’t know, Joe got a little carried away with it too!! Ha! Thank you for the party!
Yay, thank you Joe, now I finally understand what I’ve been doing wrong. My tea and coffee staining projects never come out as stunning as this. I never ever turned the oven on to dry the paper. Oh well you’re never to old to learn 😉
Ha, Michelle! Next time turn that oven on! 😀