

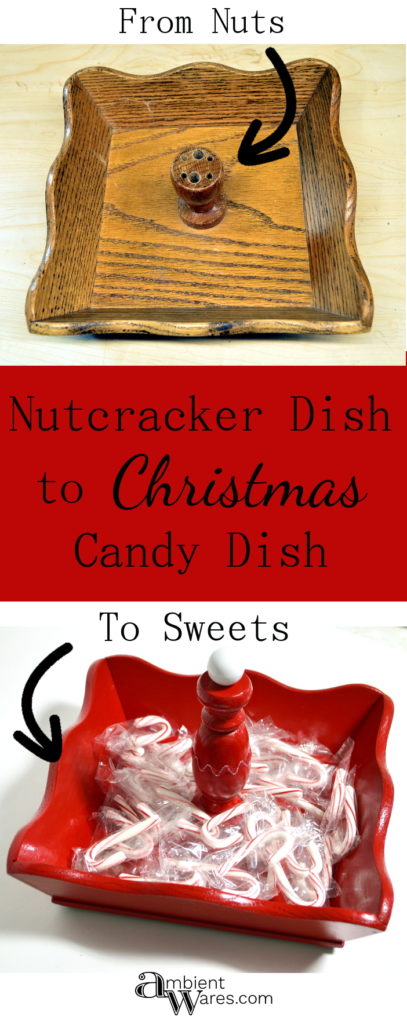
I think I take on most projects out of shear curiosity. While sometimes I think I might have a winner on my hands, other times I know I most certainly do not. I’m too curious though which draws me to things like this old nutcracker dish.
It was a lot of work to make basically the same thing without little holes for the nutcracker utensils.

I say this and you may think why is she telling me that she basically didn’t create anything new? The point is, sometimes I just need to DO and not think of the outcome. I just did this with no real expectations which is often hard for me. Are you like this? In the end, this isn’t perfect but, I did it.

I know Thanksgiving is this week but, I thought I’d make something Christmas-y with this ol’ dish. I could have just filled the holes with wood filler, painted it, and called it a day but, my day had just begun. No sense in ending it so abruptly.
Please know some links in this post are affiliate links. If you click on a link and make a purchase, I receive a small commission with no extra cost to you. Thank you. Click here for my full disclosure.

Materials I used:
- Nutcracker Dish
- Finials
- Painter’s Tape (we use this kind)
- Craft Sticks (similar to these)
- Drill
- Drill Bit
- Saw
- Miter Box
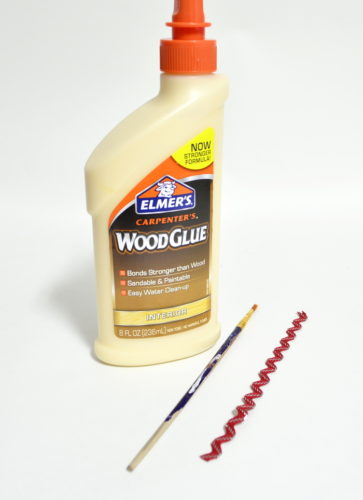
- Wood Glue (we use this kind)
- Wood Filler
- Red Spray Paint (we use this kind)
- Scissors
- Trim/Ric Rac
- Paint Brush
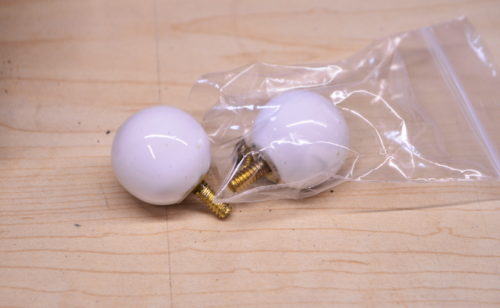
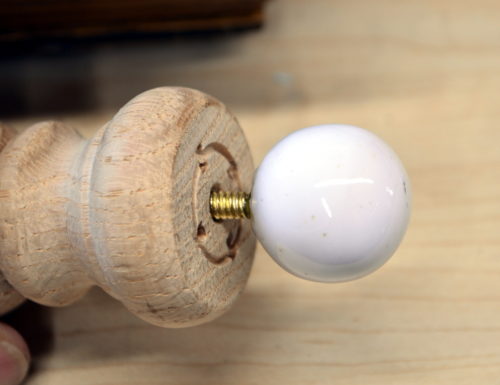
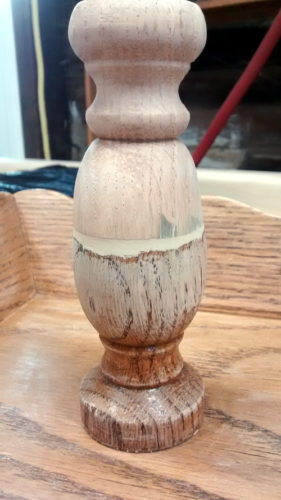
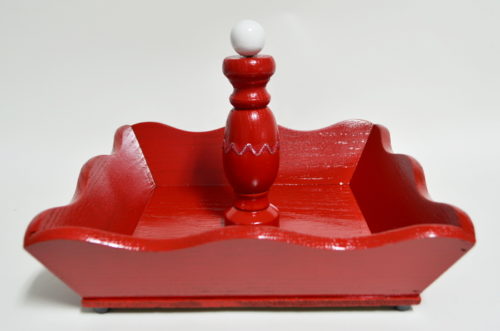
I really wanted to add to the top of where the utensils sat and thought I’d add the other half of the finial from the lid I made and miraculously, it was a near perfect fit.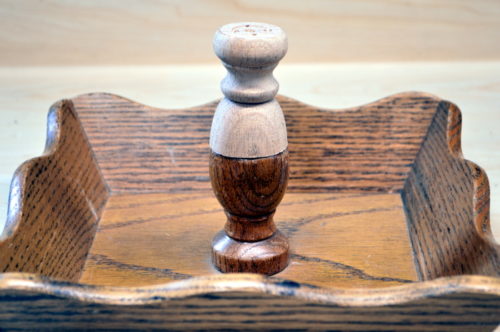 I then found these little glass top finials from who knows what. I only needed one and it too miraculously fit into where the original screw was before I chopped the wooden finial in half for the last project.
Now, I had to figure out how best to attach the wooden finial to the dish. I put a piece of tape over the original handle where the utensils went and, using the 2 largest holes as guides, poked through the tape just like I did on the hardware here.
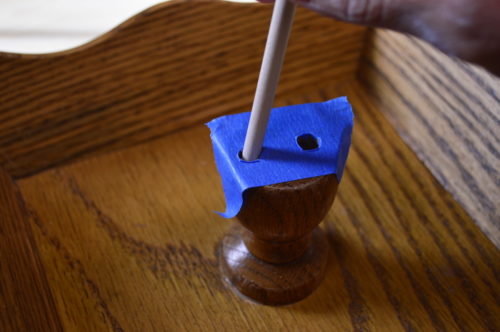
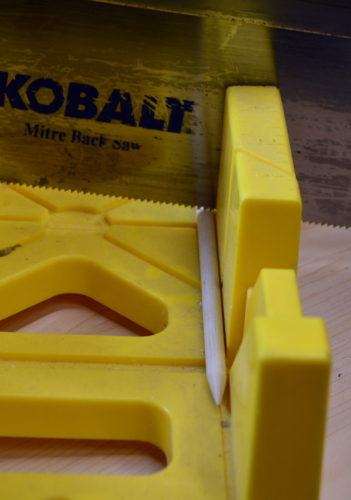
I then removed the tape from the base and put it on the bottom of the wooden finial so I’d know where to drill the holes. My thought was to insert small dowels into the holes plus add glue for more strength. I didn’t think glue alone would have worked because it just would have been wasted filling the holes first.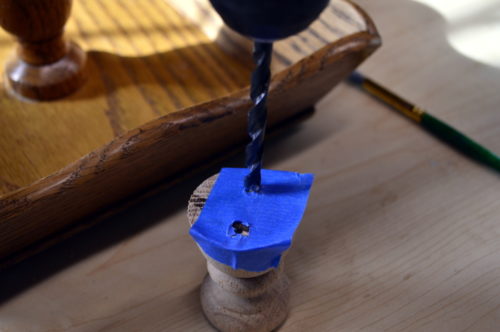 I’ve had these little craft sticks forever and they were just shy of being a perfect fit. I marked what I thought was a decent length and cut.
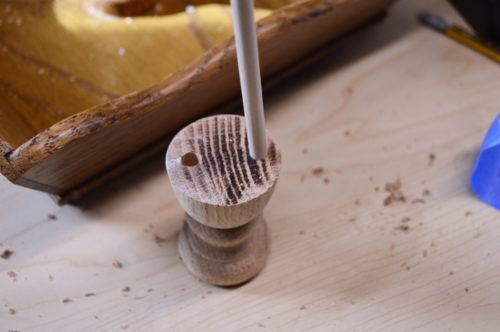
Once the dowels were in place on the base, I spread wood glue and fit the finial on top matching it up with the dowels and weighed it down with weights letting it dry overnight.
Maybe this is where I should tell you, I ended up getting a little too careless with the drill and drilled right through the finial when I was making holes for the dowels. Oopsie.
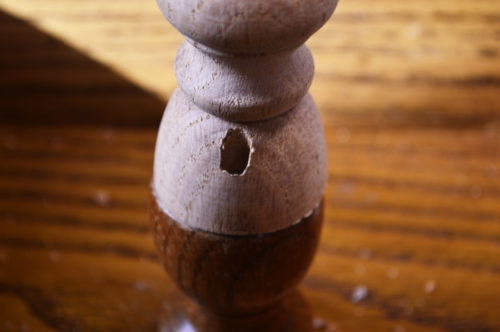
After the glue had dried, I went ahead and filled the giant hole along with the “seam” created by joining the two pieces. There were also some little holes on the top of the finial. I sanded everything down when dry.
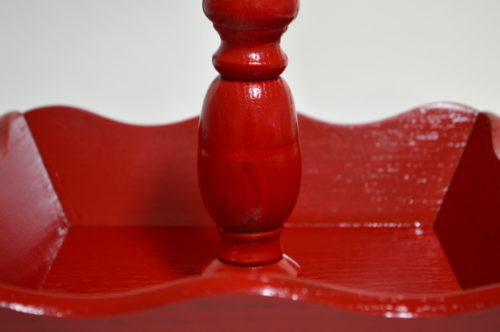
I spray painted it in red and didn’t worry about priming. The wood grain ended up showing through which I don’t mind.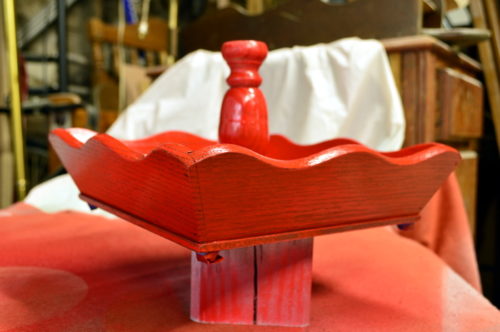 After a few coats and after drying, I plopped the little white glass finial on top.

BUT, if you look closely, you can see the line where I’d filled it in with wood filler. Drat.
So, I found a cute little red & silver ric rac I had, cut it to size and glued it around the mid section.

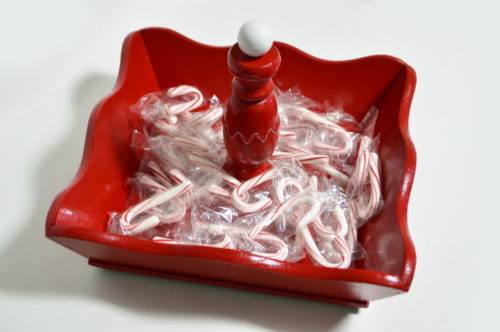
Of course this can hold anything, including nuts but, if you’re concerned about paint touching your food, I’d stick with the wrapped goodies or ornaments or garland; whatever you want. It could also be line with a napkin or paper doily, etc. I think it has a slight North Pole feeling to it, no?
My Amazon Picks…
PINNY PLEASE!
What fun. I love how you had an idea and if there is a set back no problem you make it better. The rickrack is a sweet touch. And the bowl is perfect for the holiday.
Thank you Debra!
Angie, I love when projects work out so well and the random pieces fit together so perfectly like they were just waiting for you to put it all together. Well I love this makeover you gave this nutcracker dish! The red is perfect for Christmas candy!
Thanks Keri! I think that’s one of the best parts of making things. When those random things come together, it feels so much more purposeful 🙂
Wow, such a difference, Angie! I love the festive color that you chose! Hope you are enjoying your holiday season!
Thank you Donna! Same to you 😀
Simply put, this is gorgeous! Happy holidays.
Happy Holidays to you too Ivory! Thank you 🙂